In additive manufacturing, if you want to succeed, then you need high speeds. The crucial question remains: how can you maintain quality while significantly ramping up production speeds?
Oftentimes 3D printer speed is equated with the speed of the print head: the faster the printhead moves and deposits filament, the faster a part is built. But that’s only part of the picture.
While the speed of the print head influences the deposition rate of filament on the print bed, it does not reflect the overall length of the 3D printing process. It is far from the only print setting to influence overall printing time.
Each step in the FFF 3D printing process adds time, contributing to how long it takes to get from 3D model to finished product. Fortunately, this means that the end-to-end 3D print speed can be accelerated by optimizing certain elements of the print process and tweaking certain settings. We propose a slightly more encompassing metric of speed that takes into account the time and labor spent before and after printing, as well as the printing time itself.
What Influences 3D Print Speed?
To accelerate and optimize the speed of the 3D printing process, it is important to understand what factors come into play across the pre-processing, build, and post-processing stages.

Understanding the factors at play can empower you to take your 3D printing projects to the next level – whether that’s through rapid prototyping using lighter materials and settings, or ensuring superior end product results with optimized print parameters.
Pre-Processing
Pre-processing encompasses the time it takes to prepare the 3D model and the 3D printer for the printing process. Three pre-processing stages determine how long a 3D print will take.
3D Model Preparation
3D model preparation is itself a category that includes parameter selection and printing preferences. Decisions made in 3D model preparation have a massive influence on overall printing times. For example, choosing the right orientation for the 3D print on the build platform can reduce or even eliminate the need for support, cutting back on printing time. Some slicing programs, such as BigRep BLADE, offer automatic settings—like auto-orientation—that optimize these features so you don’t have to spend time figuring out the right parameters.
Slicing
Slicing software translates 3D models into a language that 3D printers understand. This process takes time, especially if your 3D model is particularly complex or the STL file is too large. Adjusting the resolution of your 3D model as well as layer heights and infill densities can alter slicing times. Keeping your slicer software updated can also eliminate bugs that slow processing times.
3D Printer Calibration
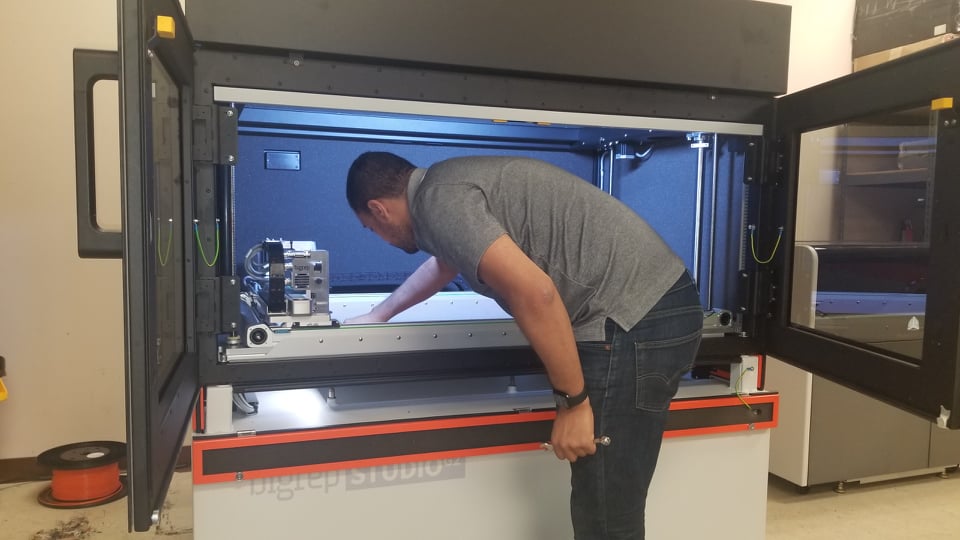
Calibration is a necessary step that ensures your 3D printer is properly positioned and all components, such as the extruder, motors, and axes, are aligned. Manual calibration can be time-consuming and take hours, but many FFF 3D printers offer automatic calibration that can be done in mere minutes.
3D Print Time
The print time refers to how long the 3D printer spends creating an object. As you might expect, it is typically the most time-intensive element of the 3D printing process. Different print settings and hardware features can increase or decrease printing times.
3D Print Speed
Print speed refers to the rate at which the 3D printer extrusion system moves when extruding filament. Print speed is measured in millimeters per second (mm/s), and most FFF 3D printers have the capacity to print at speeds in the range of 40 mm/s to 150 mm/s. This setting can also influence print quality: the faster the extruder, the less precise the print becomes.
Travel Speed
Travel speed indicates how fast the print head moves when not extruding filament. The travel speed can often be faster than the print speed without affecting quality. However, if it is too fast, it can lead to 3D printing defects like less precise prints or even layer shifts.
The sustainable travel speed you can achieve, depends a lot on the mechanical structure of your 3D printer. A sturdier frame and portal allow for higher travel speeds without the risk of vibrations showing in your part.
Layer Height
This measurement determines how thick each printed layer will be and thus has a direct influence on printer speed. The thicker the layer height, the fewer layers will be needed to complete a print and the faster your part will be built. As the layer height increases, however, the resolution of the print decreases.
Nozzle Diameter
The nozzle diameter is a hardware selection that can unlock faster printing rates. The bigger the nozzle diameter, the wider each printed line will be. This can eliminate the need for multiple perimeter layers to achieve a certain wall thickness. A wider nozzle diameter also allows for increased layer height.
Infill Density
The percentage of infill density—the internal structure that supports the outer shell of a 3D print—can have a big impact on print speeds. The lower the infill density, the less material is required, which can reduce print times.
You should note that lower infill densities also provide less strength than a higher infill, so it’s about finding the right balance between speed and quality.
Support Structures
Generated to reinforce overhangs and bridges, support structures can also increase the time it takes to 3D print a model. Support patterns, densities, and other settings will influence support printing time. Orienting your model on the print bed to minimize supports can also speed up print times.
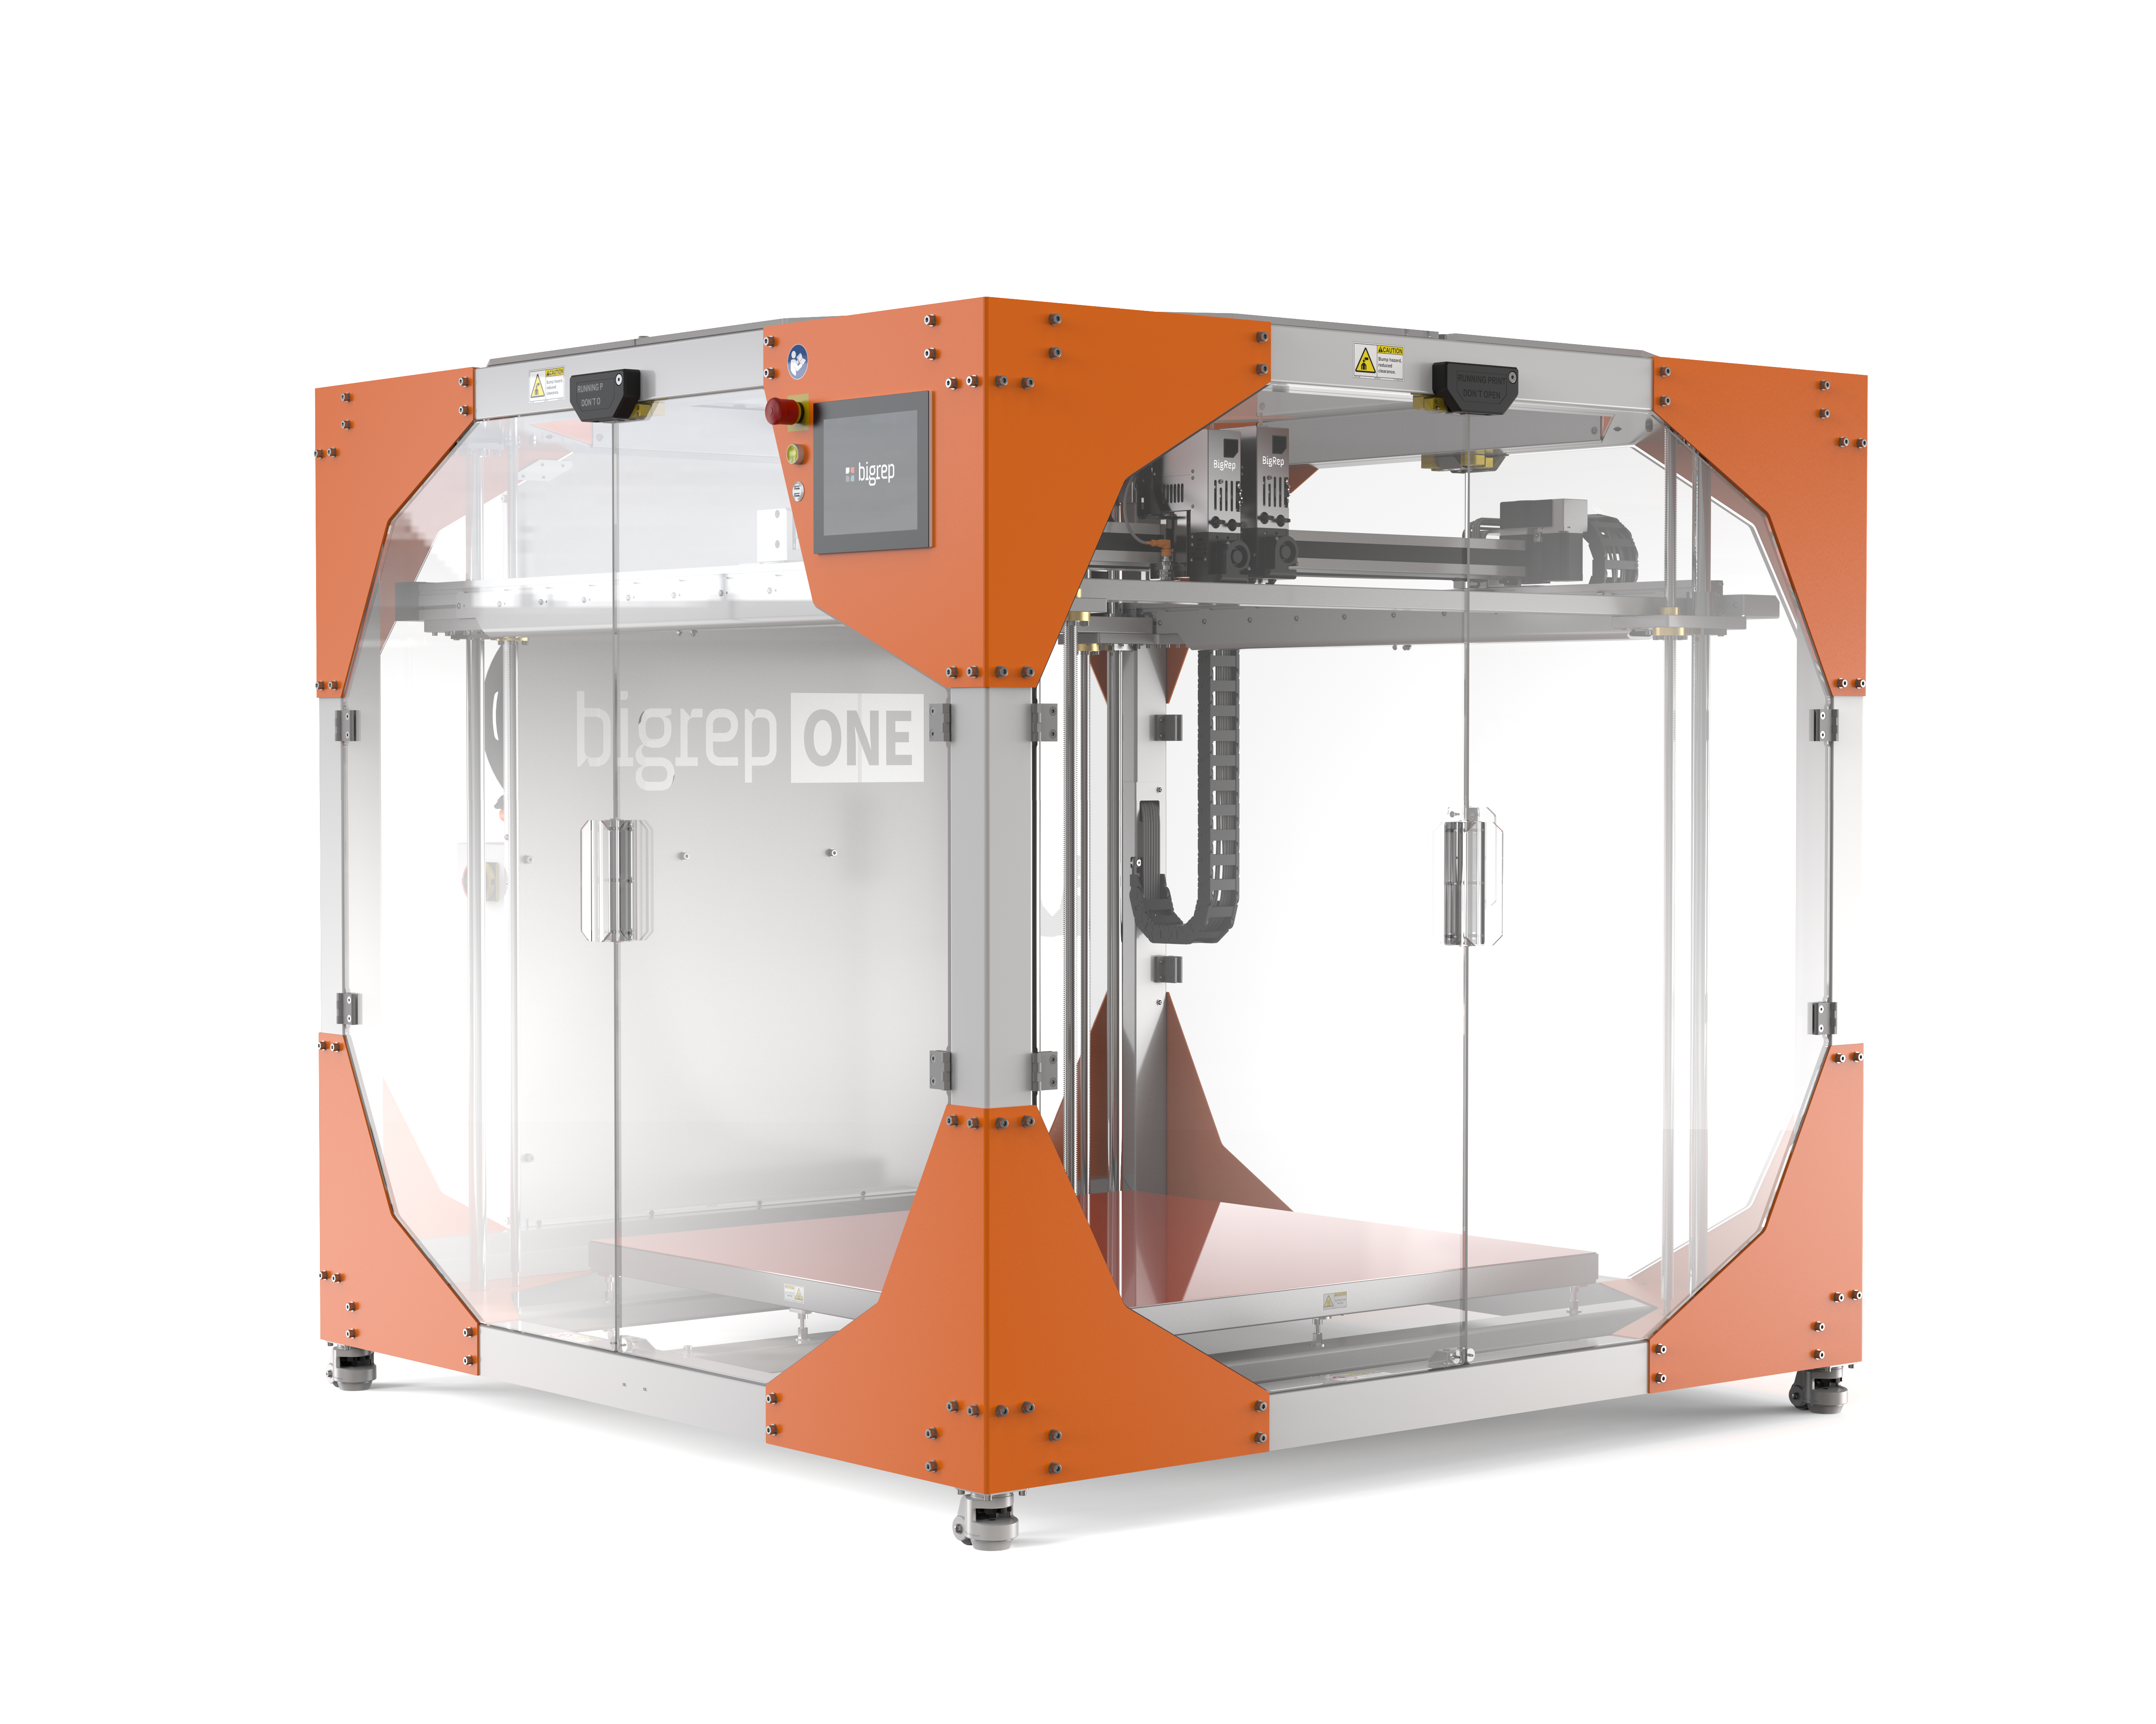
BigRep ONE V3

| Build volume | x 1005 y 1005 z 1005 (mm) |
| Layer height | 0,4 – 0,8mm (standard extruder) 0,15 – 1,4mm (power extruder) |
| Max Print Speed | 500 mm/s |
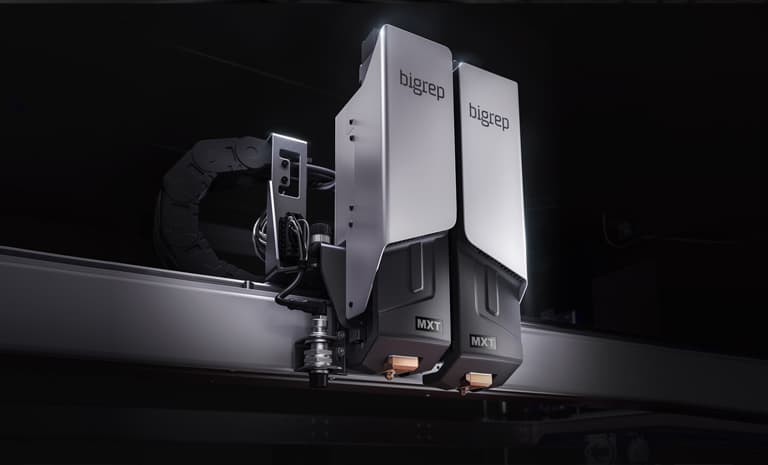
| Extruder | Two modular extrusion heads |
| Printing technology | FFF- Fused-Filament-Fabrication (FDM) |
| Certified materials | BigRep PLA, BigRep PRO HT, BigRep PRO HS, BigRep PETG |
Post-Processing
Once the 3D print is removed from the print bed, a certain level of post-processing is required. For prototypes and hobbyist-grade components, post-processing times can be minimal. For end-use parts or visual prototypes, however, post-processing can be demanding.
Support Removal
If your 3D model was printed with supports, removal is an obligatory step. The ease of removal is highly dependent on the type and number of supports.
Some supports can be removed manually in just seconds, while others require special cutting tools to avoid damaging the 3D print. The easiest and often fastest support removal can be achieved by using a dual extrusion 3D printer and a soluble support material that simply dissolves away.
Sanding and Polishing
Sanding and polishing are necessary steps for 3D prints that need a fine surface finish. Since both these steps are manual—requiring the use of sandpaper, polishing paste, or cloth—they can be very time-consuming, especially for larger prints.
Mechanical methods like tumbling and sandblasting are more complex yet speedier options for larger batches.
Priming and Coating
Other optional post-processing steps are priming, painting, and coating. The time each of these steps takes depends entirely on the technique used (for example spray coating, dip coating, or hand painting) as well as the scale of the 3D print and batch size.
For example, dip coating can accelerate post-processing for batches of parts, while spray coating can be more efficient for large prints.

Get Started Today!
We are excited to help you get the most out of your application. If any of our materials, equipment, or services can assist with solving your manufacturing design challenges, feel free to reach out! With additive manufacturing still in its infancy, there are many challenges ahead for this technology to be realized at full potential.

Check Out Our Available 3D Printing Equipment


