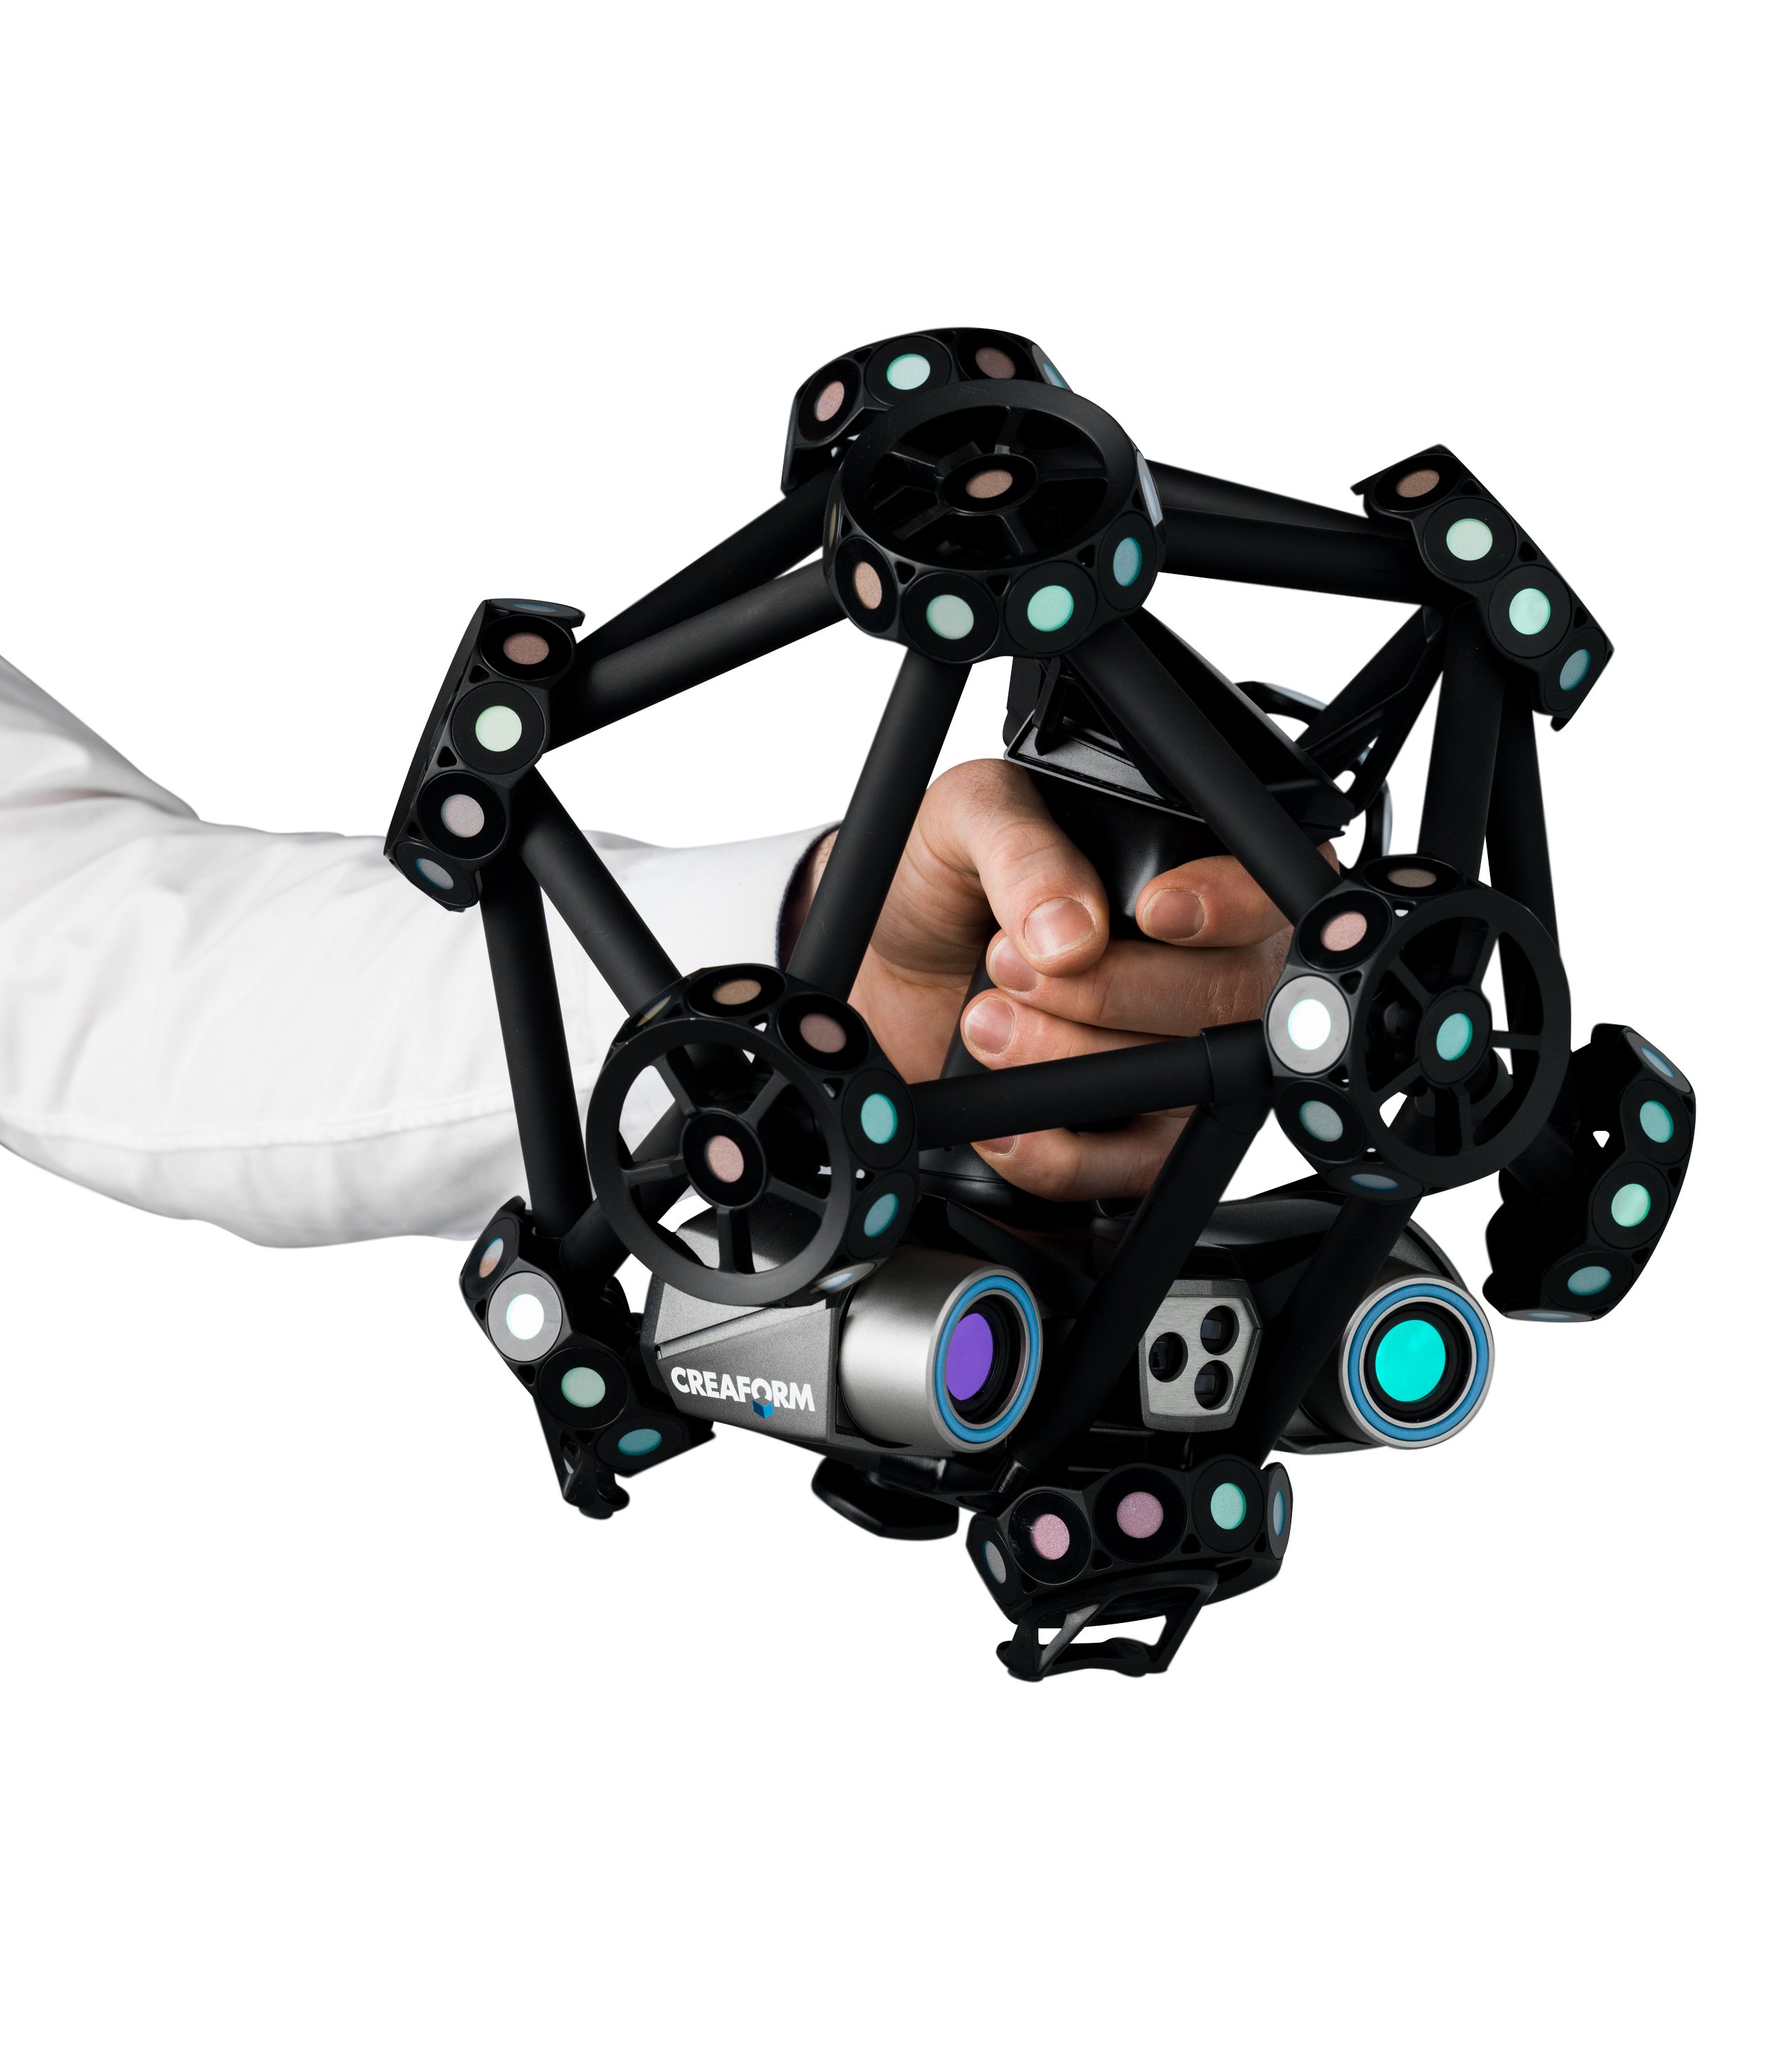
In this project, the Go!SCAN Spark was used to capture data from a human body in high-resolution and rich color. The process is quick and easy, while being very detailed and accurate with what the scanner captures.
To get the best final 3D model, a total of 3 scans were used to choose common points to align and then merge.
Cynthia Coulombe Begin is a renowned Québec painter and artist who started her professional career in 2006 by paying tribute to the aesthetics of the human body. Her first exhibit, Traces corporelles, took place at the Marius-Barbeau Museum and was acclaimed by local art critics. Over the past few decades, she has exhibited in galleries, private companies and collective events in Québec City, Montreal, Toronto, New York, London, Los Angeles, Singapor and Hong Kong. Her works have also been published in regional and national publications.
Her most recent exhibit, Le Corps à Coeur, took place in 2021 at the Corno X Beauchamp Gallery in Montréal; she was the first solo artist to host an exhibition following the death of renowned Canadian artist Corno, Joanne Corneau’s pseudonym, in 2016.
Le Corps à Coeur is CCB’s sculptural exploration of body image and self-acceptance. She actually used 3D scans of her own body to create stunning statuettes using Creaform’s Go!SCAN SPARK 3D scanner and VXmodel scan-to-CAD software module.
The scanning process of CCB’s body took place at Creaform’s offices, in Levis, and required approximately 4 hours. Data acquisition was conducted with a resolution of 1.00 mm. While 3D scanning only took 2-3 minutes for each pose, CCB took the same pose several times to ensure enough data was acquired for post-processing.
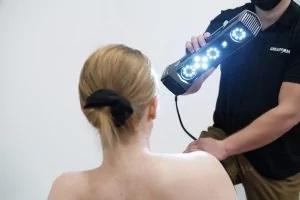
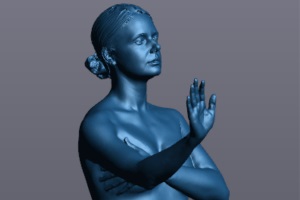
Because of the model’s micro-movements (due to breathing and difficult positions to keep for a long time), the 3D scanner operator only scanned all the required body parts once for each pose; this eliminated capturing the tiny changes in the model’s position during the pose. To help even more, the software was set in Semi rigid object mode, which increases accuracy on subjects that slightly warps during the acquisition. For some poses, stands were used so that the model’s body parts would not move during data acquisition.
To complete this art project, various VXmodel tools were used to correct the micro-movements and improve surfacing. The post processing of all the models took place over a 3 to 4 days span. After that, all that was left was to 3D print the models and let the artist express her creativity through added colors and textures. All in all, around 30 pieces of art were created.

The Go!SCAN Spark features:
- High level of details.
- Accuracy of 0.050 mm (0.002 in)
- Color acquisition
- No set-up required
- Worldwide support
- Resolution of 0.1 mm (0.0039 in)
- 1,500,000 measurements/s
- Part size range of 0.1-4 m (0.3-13 ft)
Don’t miss this video of a full body scan!
TRUsimplicity
- Hybrid positioning: uses the parts’ natural geometry and color.
- Point-and-shoot: no need to prepare parts. Just go!
- User-friendly: no experience required, up-and-running in minutes.
- Scan in color: allows for seamless capture of high-quality geometry and colors simultaneously.
- Real-time visualization: look at the computer screen to see what you are doing and what is left to be done.
TRUportability
- Stand-alone device: the part is the reference, no external positioning system needed.
- On-the-go scanning: fits into a carry-on case, so you can use it both in-house or on site.
- Lightweight and small: weighs under 1 kg (2.2 lb.), can reach confined areas. Fits into a carry-on.
- Speed
- Fast: typical objects are scanned in 5 minutes or less
- High measurement rate: capture large amount of 3D data for faster scanning
- Automatic mesh output: ready-to-use files (geometry and color), right as you complete acquisition.
- Quick workflow integration: usable scan files can be imported into RE/CAD/3D printing software without post-processing.
TRUaccuracy
- Professional-grade measurements: accuracy of 0.050 mm (0.002 in) and resolution of 0.1 mm (0.0039 in).
- Built-in intelligence: ensures that 3D data is high-quality and accurate.
- Optional targets: possible to use targets to compensate for an object’s lack of positioning information.
- No rigid setup required: both the part and the scanner can be moved during scanning.
More 3D Scanners
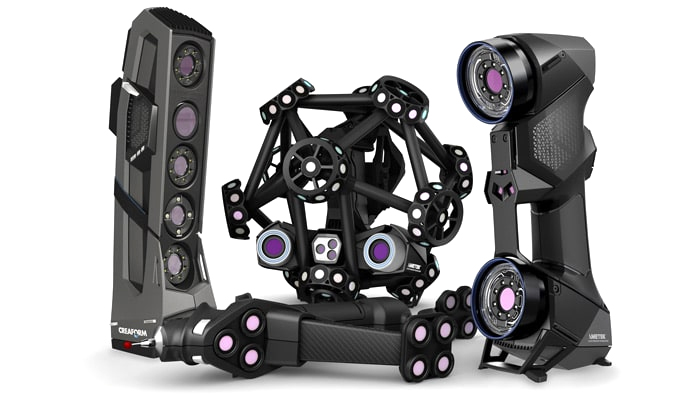
HandySCAN Black Elite™
The HandySCAN Black Elite offers increased accuracy and resolution. It is the most versatile 3D scanner on the market for inspection and demanding reverse engineering. The HandSCAN Black Elite™ features:- Accuracy of 0.025 mm (0.0009 in)
- Mesh Resolution of 0.1 mm (0.0039 in)
- Light Source of 11 blue laser crosses plus 1 extra line
- Scanning area of 310 x 350 mm (12.2 x 13.8 in)
- Has a small weight of 0.94 kg (2.1 lb)
- Measurement rate of 1,300,000 Measurements/s
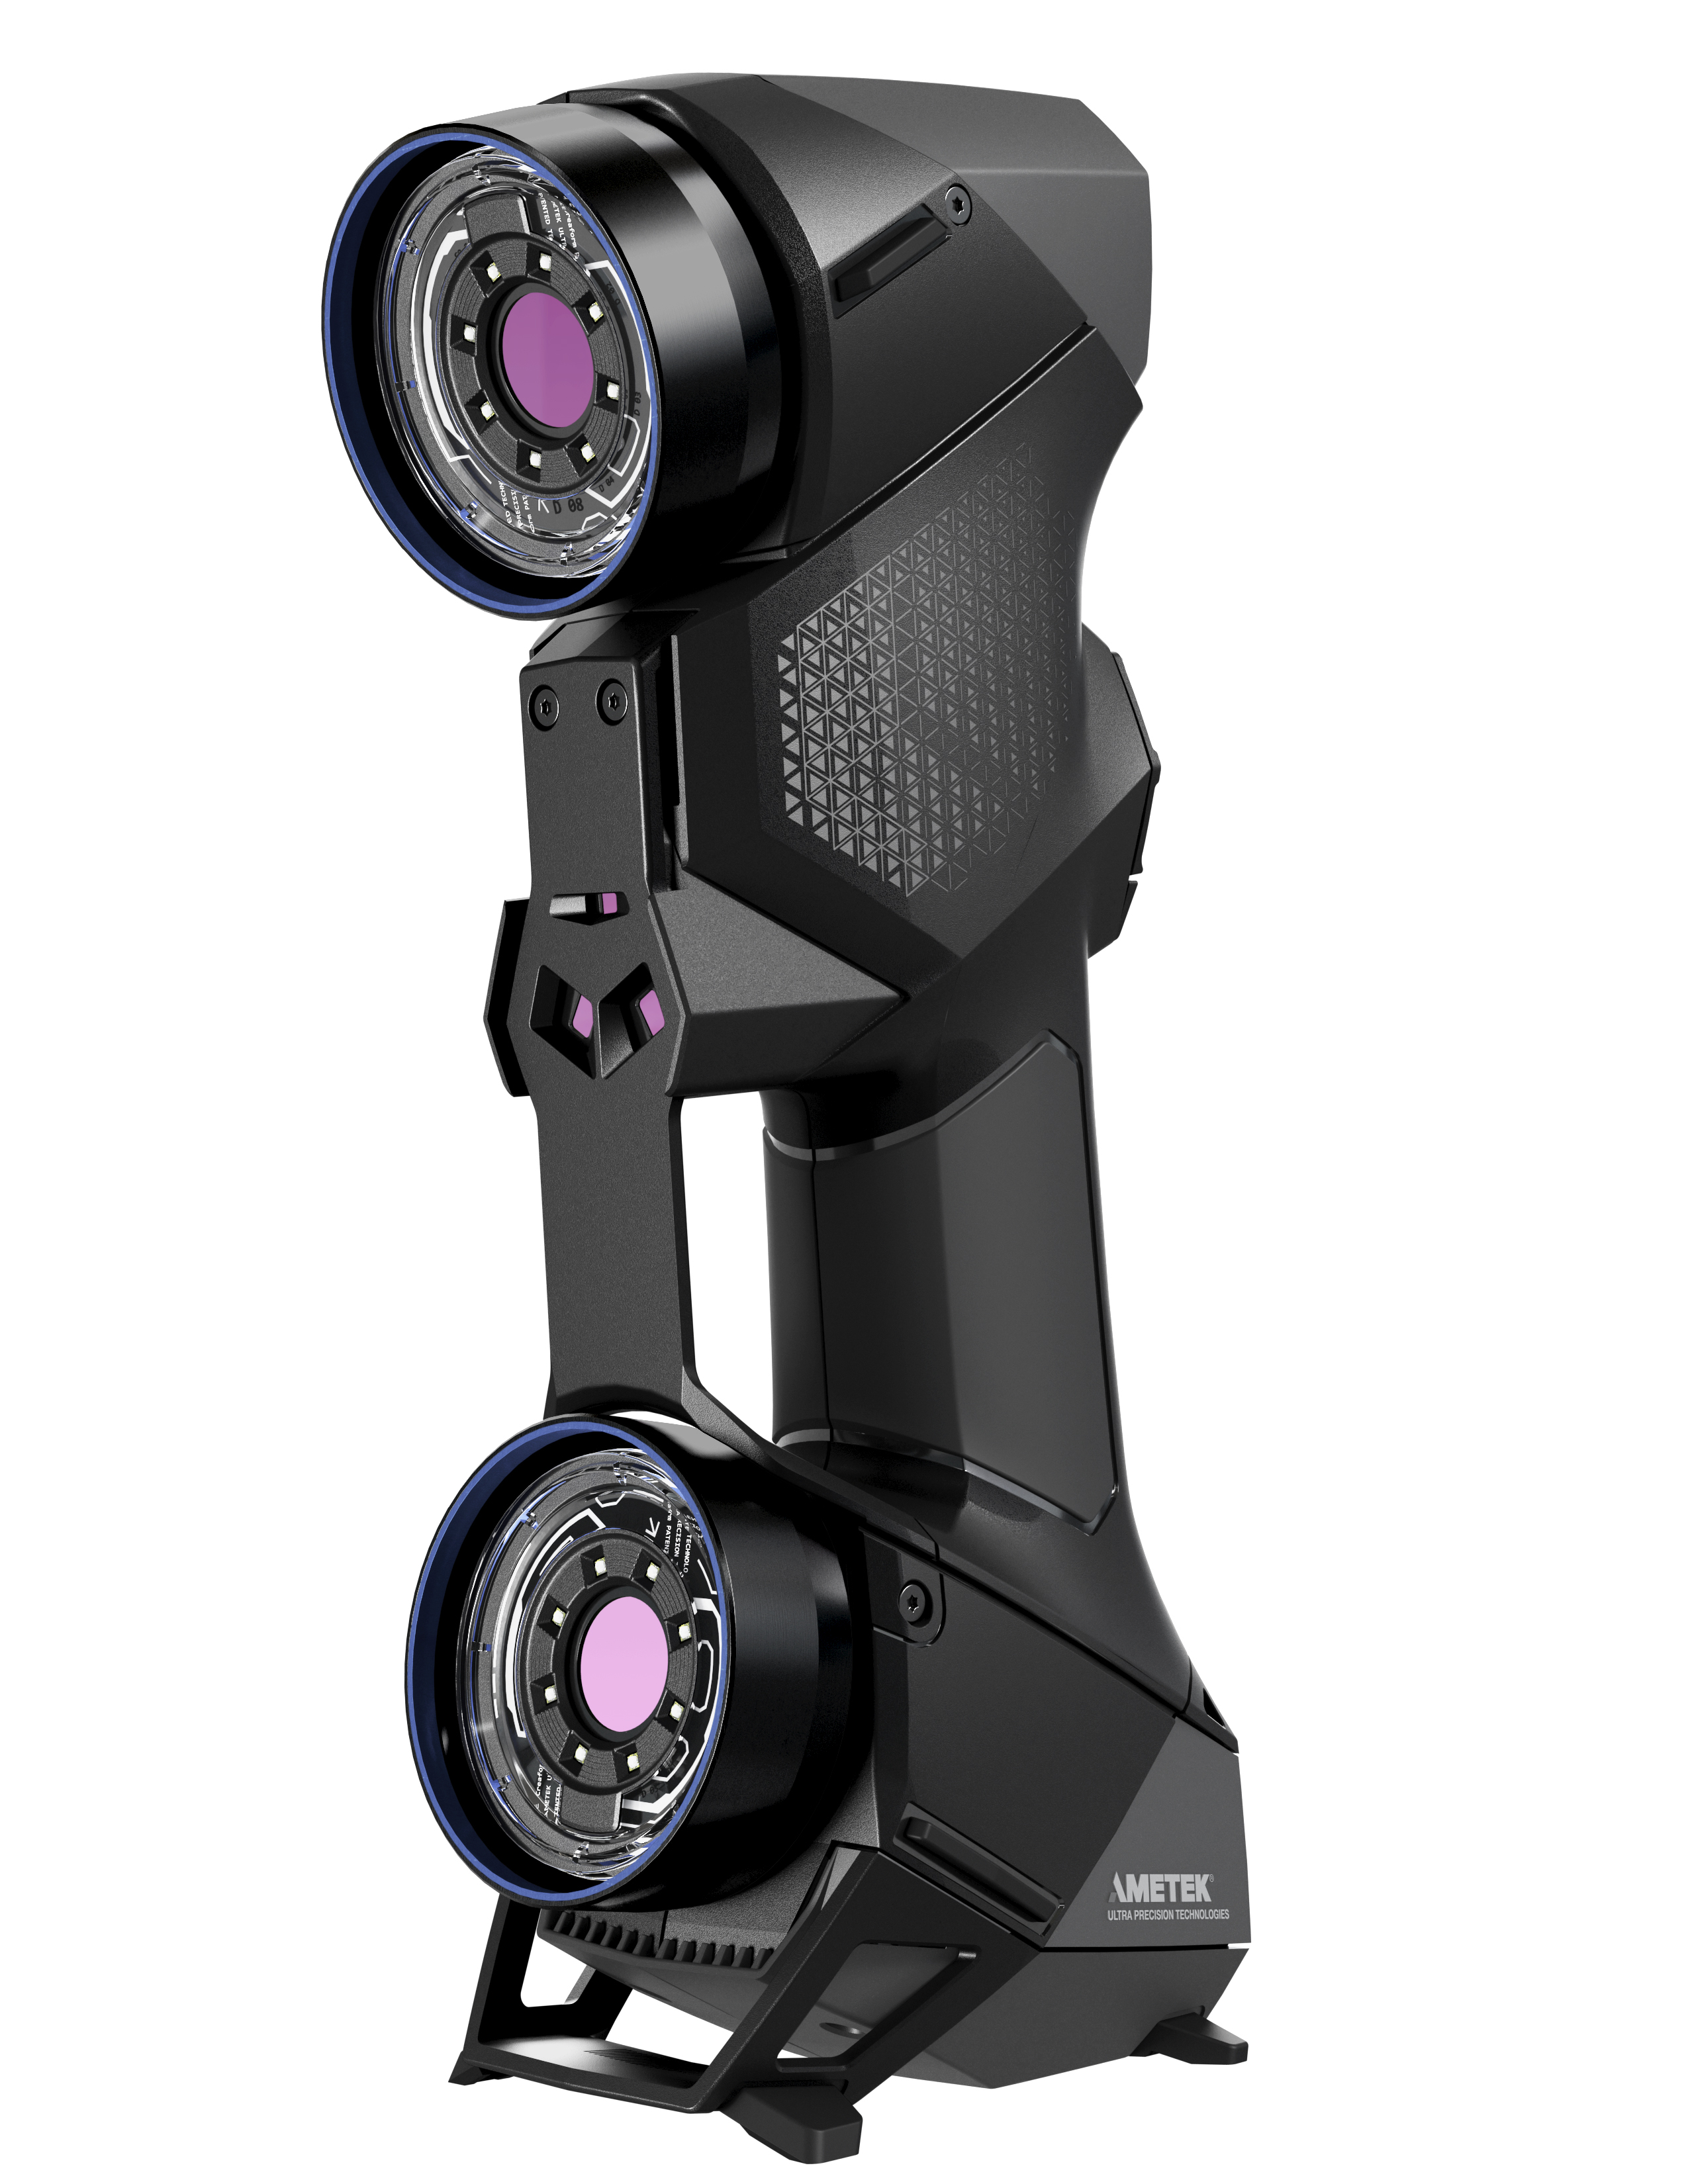
MetraSCAN Black
Highly versatile, the MetraSCAN 3D can be used to scan various part sizes and surface finishes in real time—all with the same device. With its extendable measurement volume, parts of any shape, complexity, and geometry can be measured easily without loss in accuracy or conventional leapfrog. When combined with the HandyPROBE, the measurement system acquires even more versatility: probing for geometrical entities and 3D scanning for complete surface inspection. The MetraSCAN Black features:- Accuracy – 0.025 mm (0.0009 in)
- Volumetric accuracy – 0.064 mm (0.0025 in)
- Reliable acceptance test
- Based on VDI/VDE 2634 part 3 standard
- ISO 17025 accredited laboratory
- Shop floor accuracy with dynamic referencing
- Measurement accuracy insensitive to environmental instabilities
- High resolution
- Masters complex and highly detailed parts


