Measuring instruments are not without their share of errors and it is important to be aware of them before using an instrument for precision work. The most common type found in manufacturing shops, fortunately enough there’s always room for improvement with modern technology!
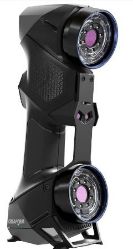
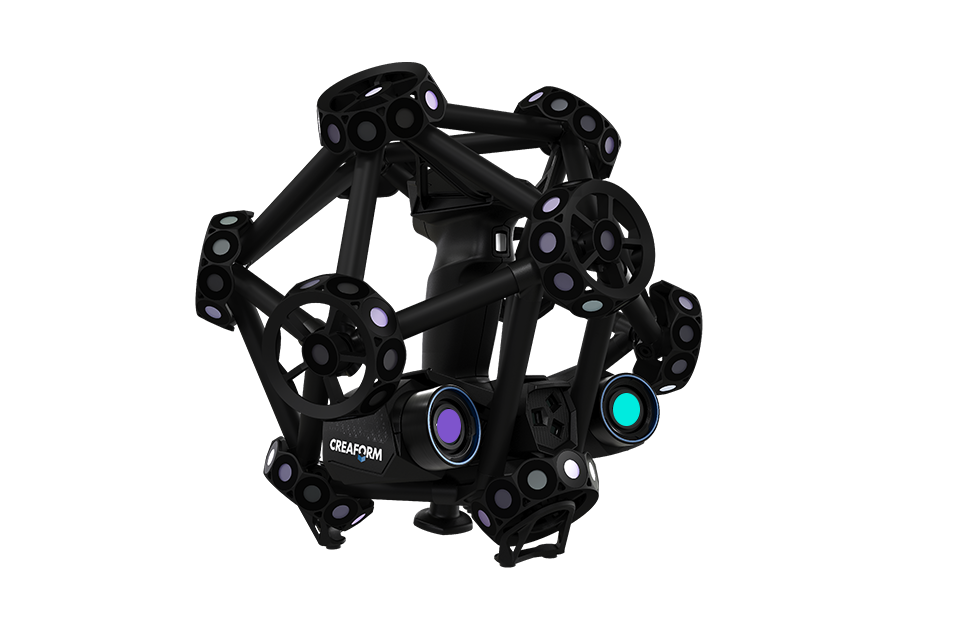
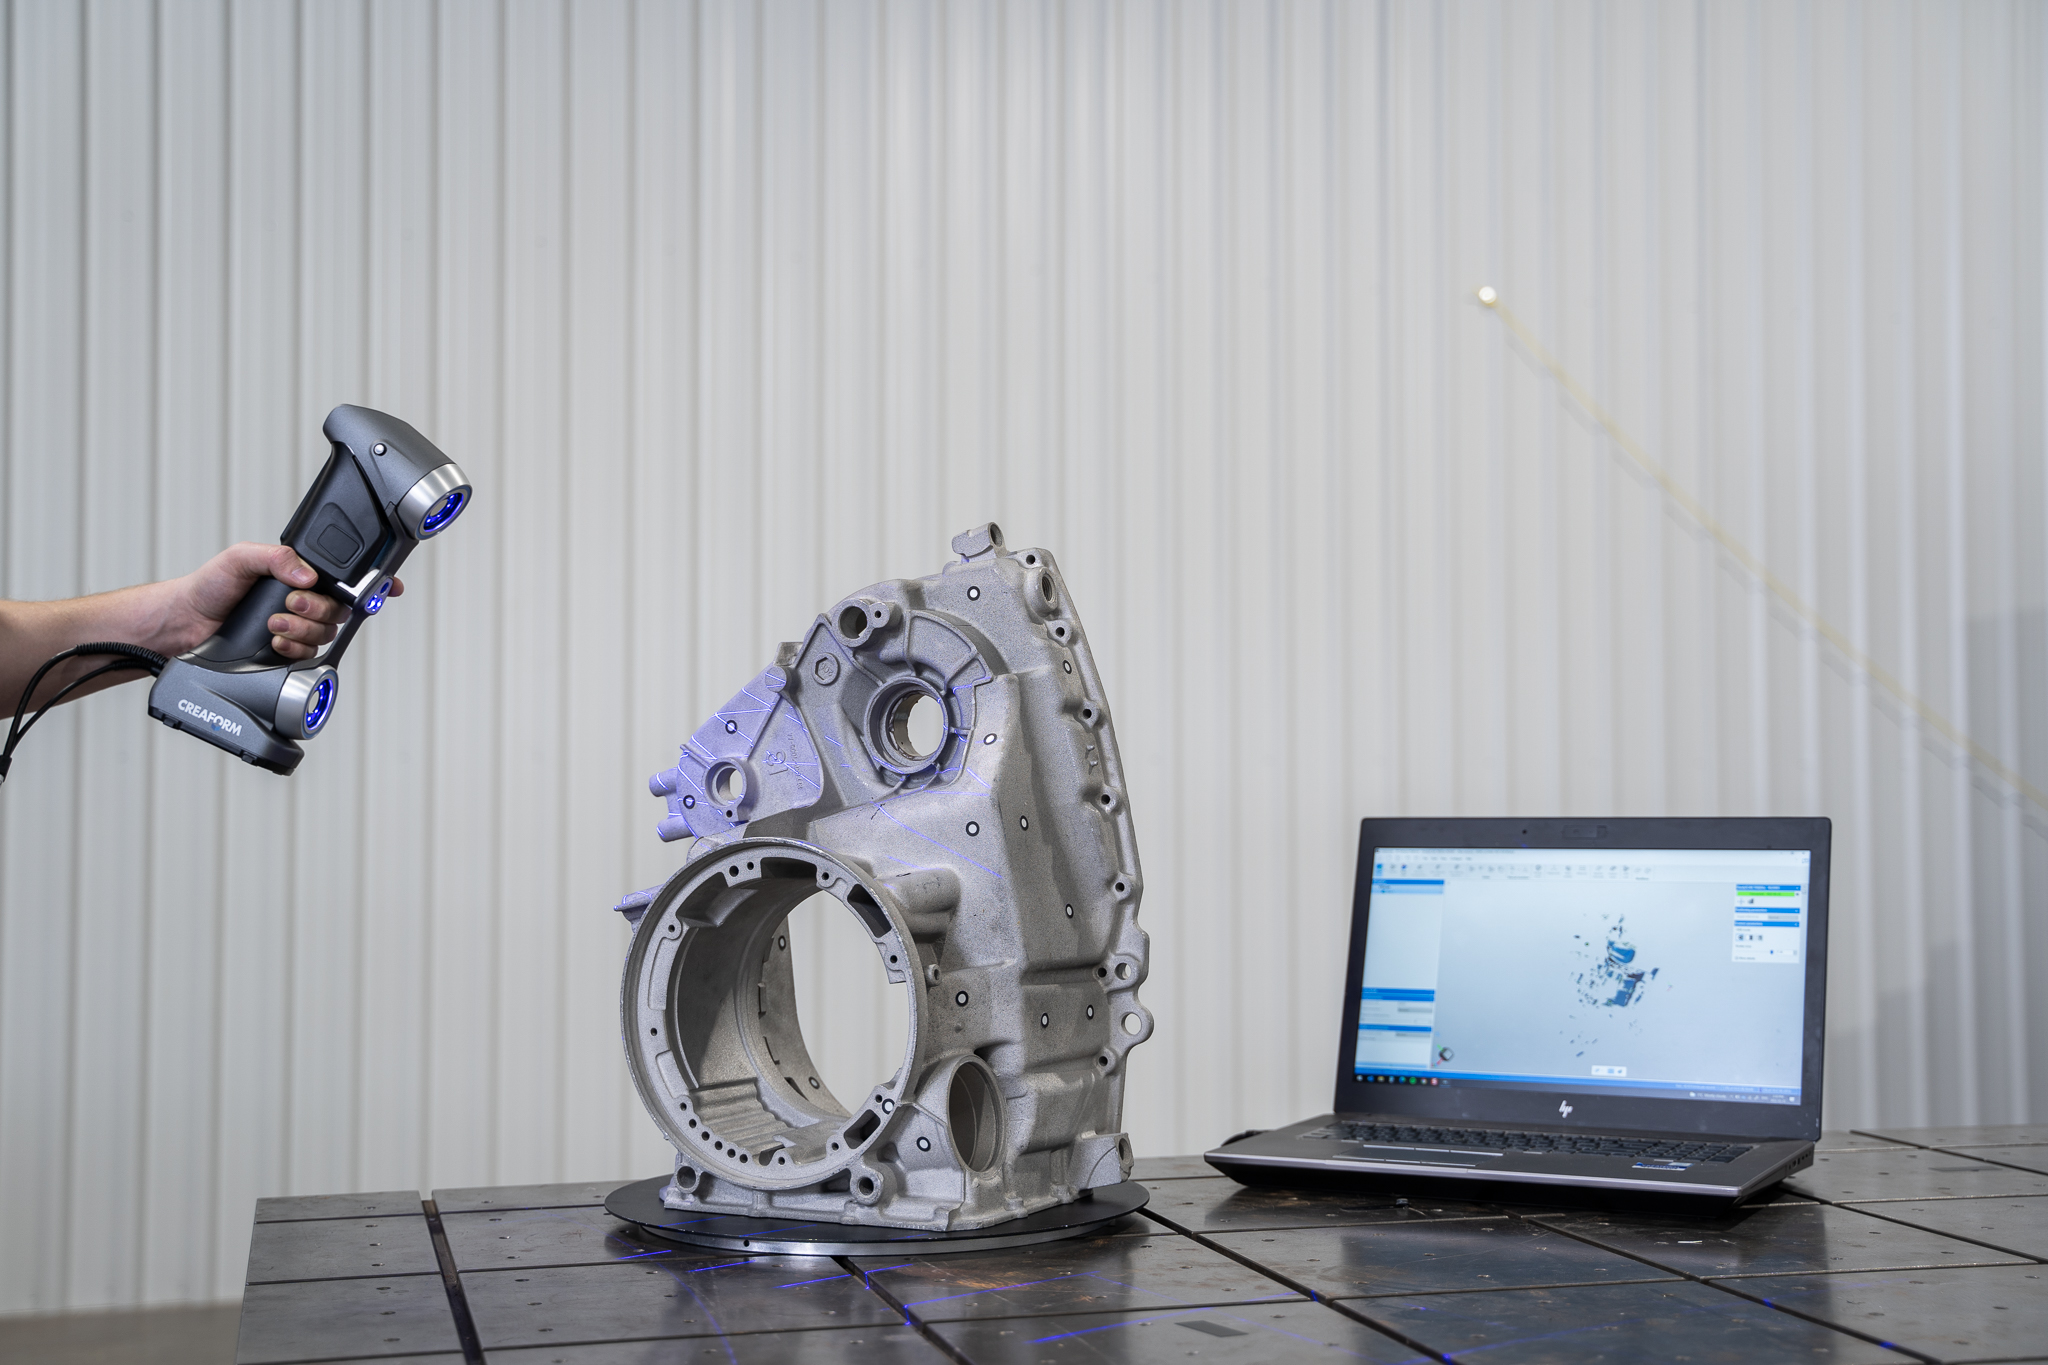
3D Scanners are often used in many of todays modern industries to measure different pieces of equipment. No two parts will ever be completely alike, and this makes them an essential tool for any engineer who needs accurate measurements on their projects!
Types of Measurement Variations
Here are some common types of variation:
- Instrument variation. Not all instruments repeat as well as others. A vernier micrometer of 0.0001-inch resolution may be more stable than a digital micrometer of 0.00005-inch (50 millionths) resolution. And differences in measurement variation between a micrometer and a caliper can be large indeed.
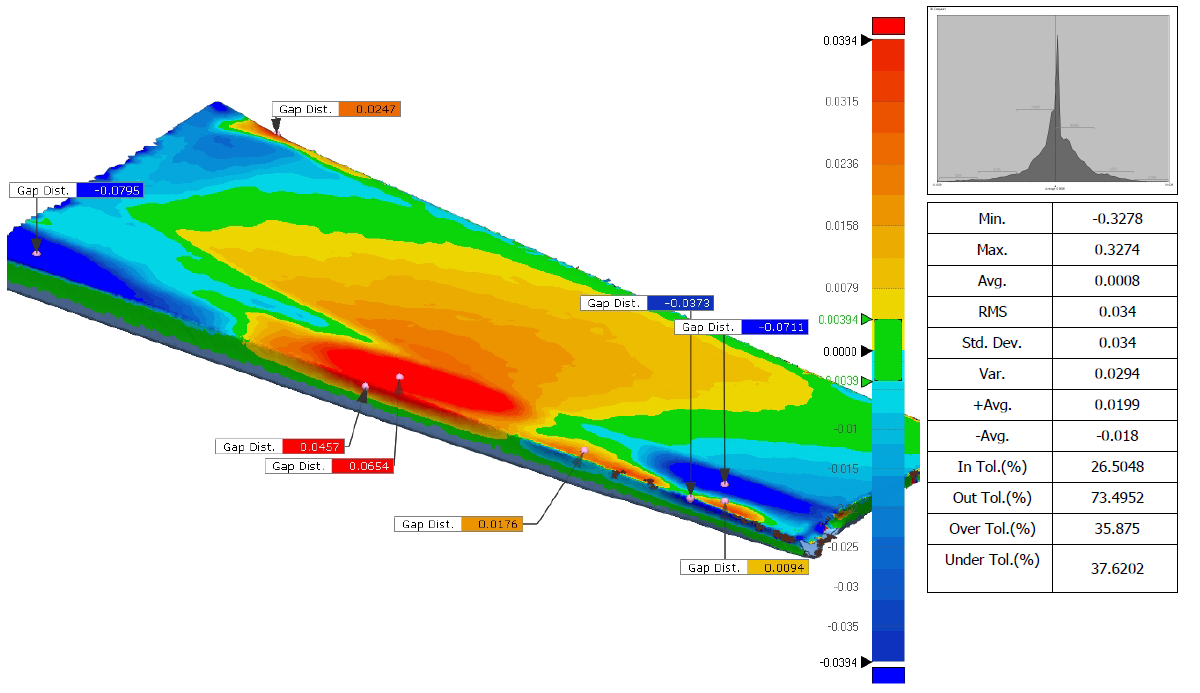
- Part variation. The true form of a supposedly flat surface or a supposedly cylindrical bore can depart considerably from the expected ideal. For there to be confidence in any precision measurement, there needs to be a specific, agreed-upon definition as to what each measurement means and entails.
For example, measuring a particular bore may entail measuring the diameters in the X and Y directions at each end of the bore as well as in the middle. The diameter of the bore may be defined as the grand average of all of these values.
- Operator variation. Everyone measures a little differently from everyone else. This seldom means anyone is “wrong.” However, if subtle differences from one operator to the next aren’t addressed, then we could all be wrong as a group. Reference standards—sample parts of known measurement that can be used to make a quick confirmation of a gage—can be used to identify individual measuring tendencies. For example, one operator may consistently measure a tenth on the plus side compared to the rest of the shop. Further variation comes from the simple fact that we all have good days and bad days. Given these circumstances, reference standards can help the overall team. Making a quick measurement of the reference standard just before the critical feature is measured can ensure that a particular combination of operator and gage is measuring accurately at that moment. Think of this as a variation on the maxim, “Measure twice, machine once.”

Repeatability
Reproducibility
The most common terms used to describe measurement variation are repeatability and reproducibility. “Repeatability” describes the range of values obtained when a single operator measures the same part several times. “Reproducibility” describes the difference between the average measurements obtained by two or more operators. Operator 2, for example, may measure the same plug and obtain the same results .
The key to getting accurate readings from a measuring device is understanding its sources of error and how those effects are minimized. Users should also know what they can expect when it comes time for them collect their own data, as well as the scope (or range) in which variation will occur. Download our 3D Scanning Capabilities PDF to learn more!
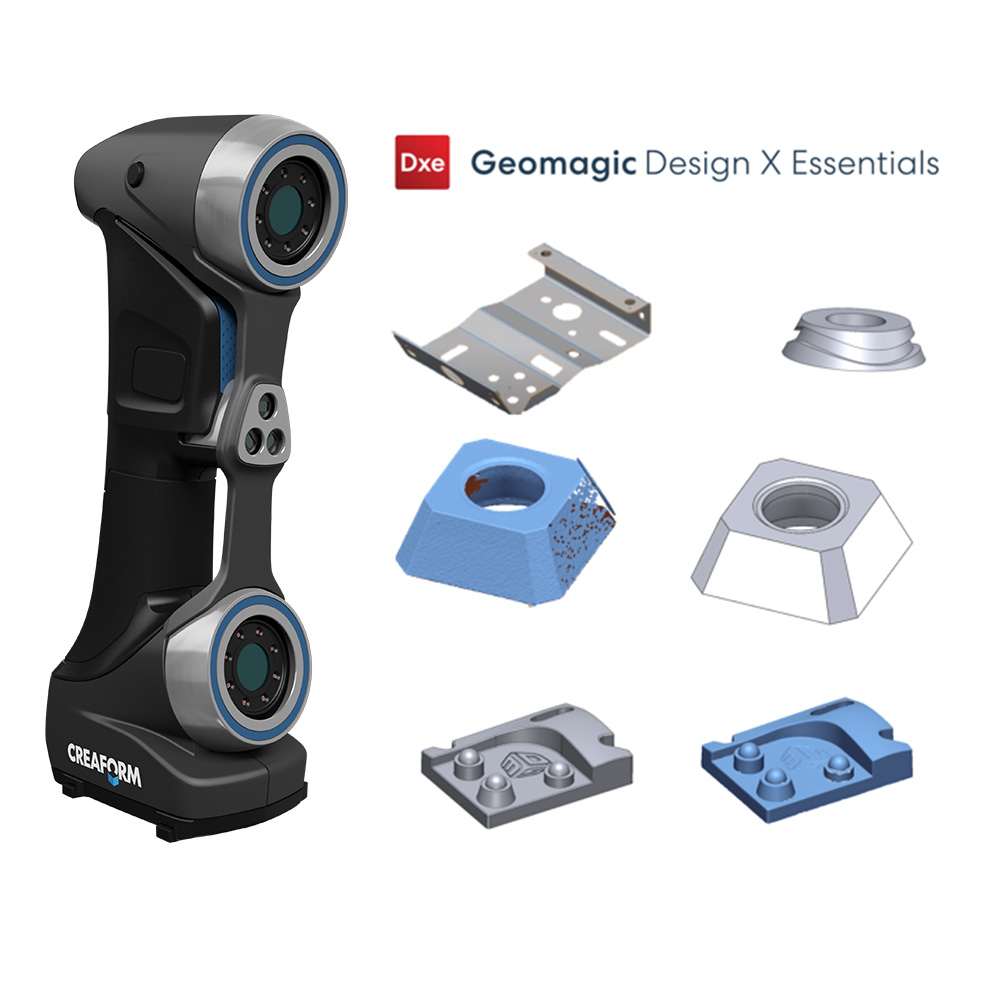
Design X Essentials Bundles
- HandySCAN 700 or 307 |Elite
- Design X Essentials
- Training (2 Days @Neo)
Original Article: https://www.mmsonline.com/articles/understanding-errors-in-hand-held-measuring-instruments

