US Department of Defense Uses 3D Measurement to Solve Maintenance Challenges
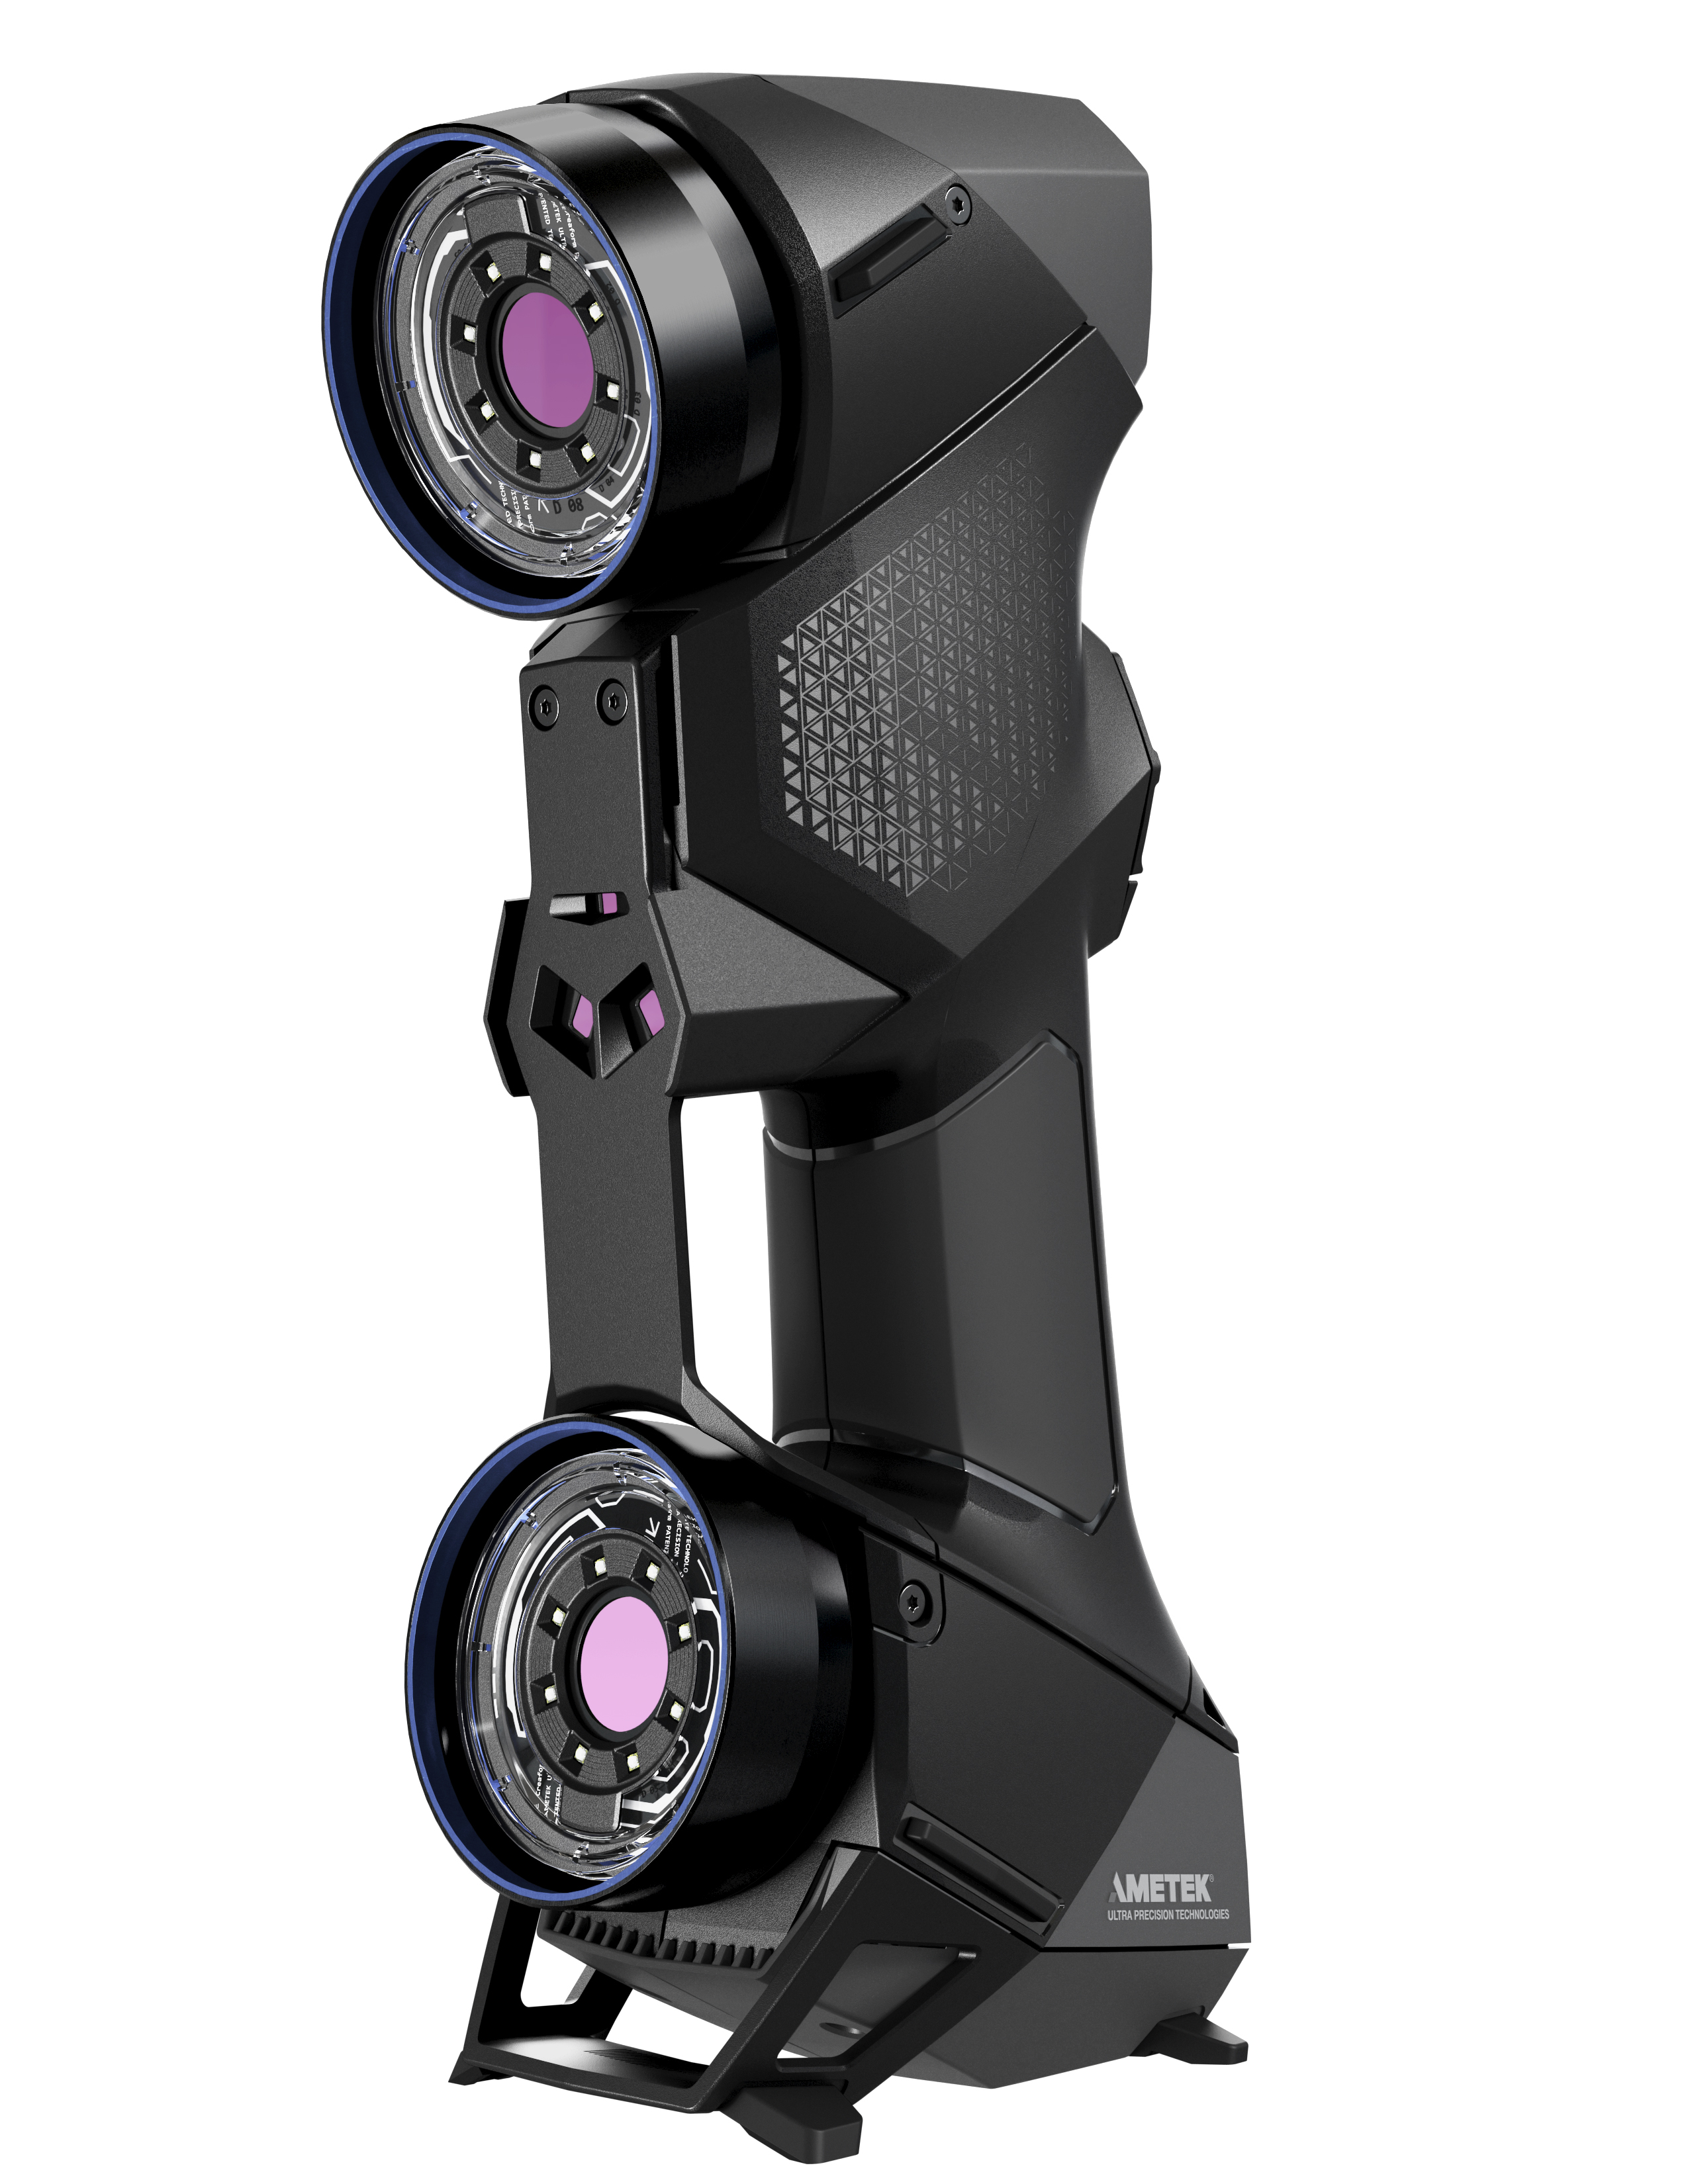
The model above was scanned using a HandySCAN BLACK portable 3D scanner; you can zoom in and see the level of detail around the edges, the holes,
the bends and the fasteners.
The United States military sector has a huge duty when it comes to maintenence, repairs, and making sure all parts are high-preforming. For example, Aircraft will only have value if they are flight worthy. Those who are responsible for this need the most efficient and effective tools to reduce risks, costs, and maintenance turnaround.
3D scanning instruments and technologies remedy discrepancies due to user errors, they allow for time-saving MRO and reverse engineering operations, and are effective for providing CAD files for 3D-printed replacement aircraft parts and prototypes.
Metrology Hardships in Military: What Can 3D Measurement Do to Help?
Since reliable CAD data is typically not available, the aircraft must be measured to make repairs. Measurement discrepancies typically result from the lack of adequate tools to measure multiple objects and complex surfaces in addition to the challenges to inspect a wide range of part sizes, finishes and colors.
In a nutshell, 3D scanning devices and technologies can be used to accelerate reverse engineering, MRO operations and 3D printing applications, thus increasing mission effectiveness.
- Reverse Engineering – Manual to Digital
- MRO – Streamlining Inspection and Structure Damage Analysis
- Align and Mate: The Bell Helicopter Case
1. Reverse Engineering – Manual to Digital
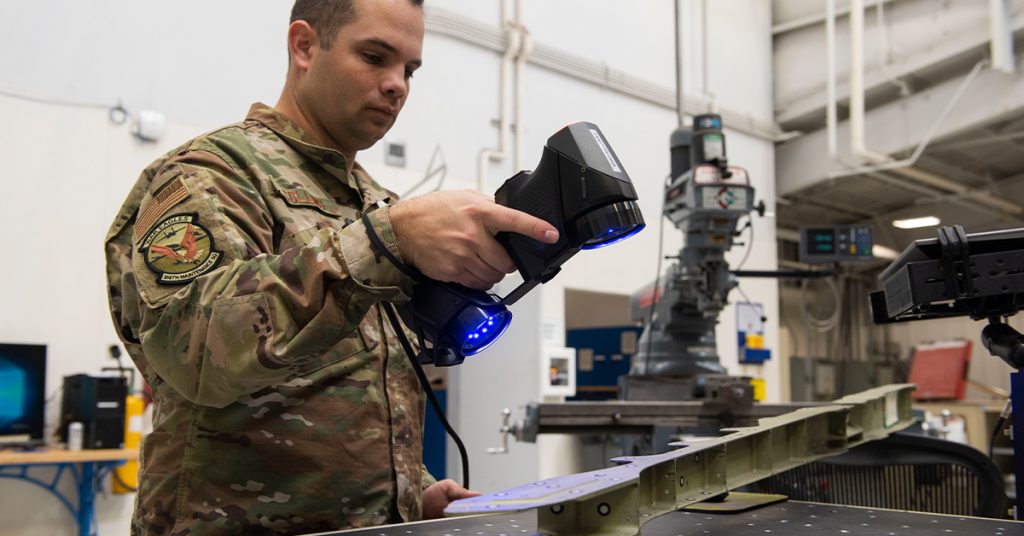
The 366th Maintenance Squadron (MXS) at Mountain Home Air Force Base (MHAFB) acquired a Creaform HandySCAN 3D handheld 3D scanner to scan large aircraft structures quickly and efficiently.
Prior to using the device, MHAFB Airmen would use “facsimile mold” to fix broken parts or recreate structures. The main issue with facsimile mold is that it takes 48 hours to dry. “When it is done drying, you take it out and still have to go in and measure everything and hand draw it on the computer. It [is] so time consuming,” says Tech. Sgt. Kevin Collins, 366th MXS aircraft metals technology section chief. This tedious reverse engineering process consisting in manually designing models on the computer puts the personnel at the mercy of user errors and premature maintenance.
3D scanners provide the data required to perform full-scale engineering, manufacturing and development of parts and structures. 3D scanning removes the user error factor and provides unmatched traceability for documentation purposes. Also, device portability means on-site analyses, and reduction of inspection times. It has a stronger ability to get into less accessible spaces.

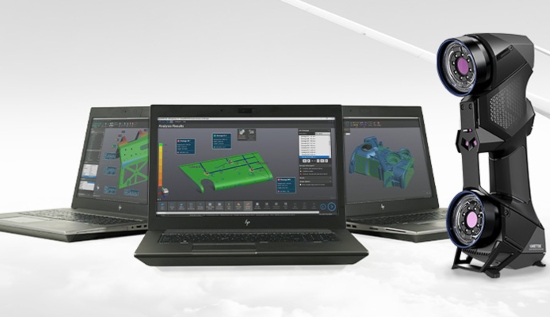
The most versatile 3D scanner on the market for inspection and demanding reverse engineering
2. MRO – Streamlining Inspection and Structure Damage Analysis
Fairfield’s Travis AFB, via the 60th MXS, reported using various innovative strategies to improve mission effectiveness and reduce wasted time. The Air Force allocated $64 million in Squadron Innovation Funds to “increase readiness, reduce cost, save time and enhance the lethality of the force,” said Joshua Orr, 60th MXS. Among the new technologies were 3D printing and 3D scanning; the former using the latter to print and replace aircraft parts that suffered damage.
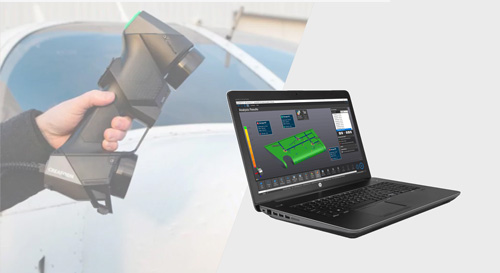
In one notorious case, a C-5 aircraft had been damaged by hail, resulting in numerous dents and scratches on all of the plane’s panels. Every 180 days, Travis Airmen would inspect the aircraft to locate and measure the dents that were still on the wing’s surface. Using traditional measurement tools and methods, performing this task would take around 48 hours. But equipped with a Creaform HandySCAN 3D and SmartDENT 3D, the Airmen were able to complete the inspection in 30 minutes. Unlike manual dent measurement methods, SmartDENT uses good material around damage to create reference surface and provide reliable measures.

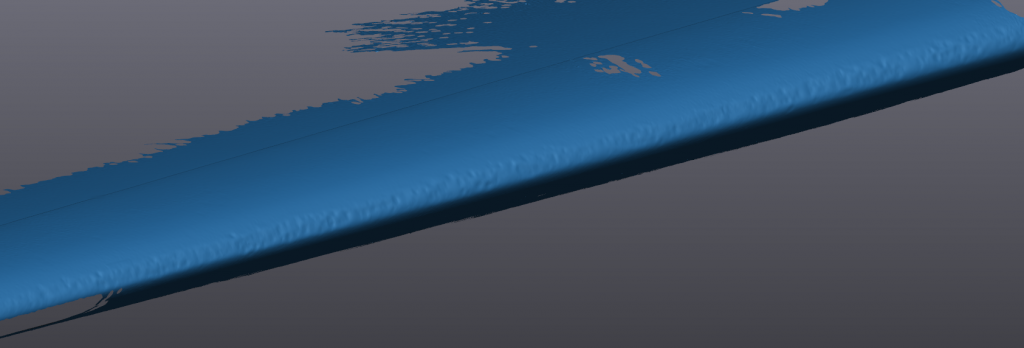
3D scan of the leading edge of a Boeing 767 aircraft
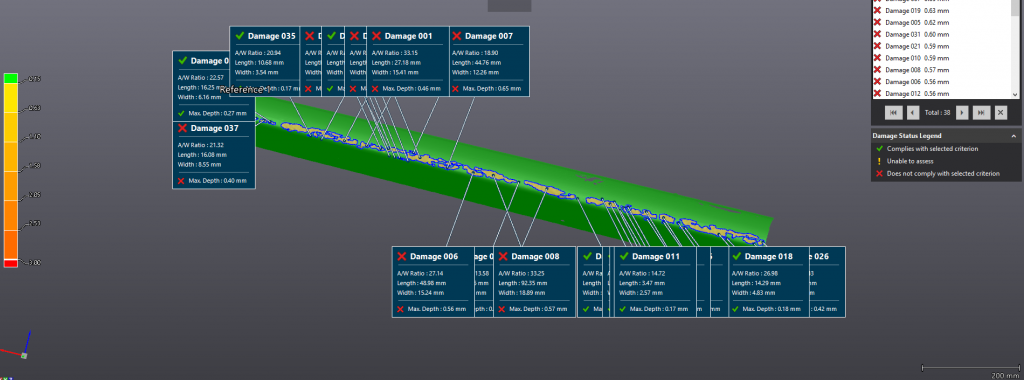
Analysis of leading edge of a Boeing 767 stabilizer in SmartDENT 3D. Total analysis/reporting time is 30 minutes for full stabilizer damage assessment with a 25-micron accuracy compared to 1-2 days with traditional manual methods.
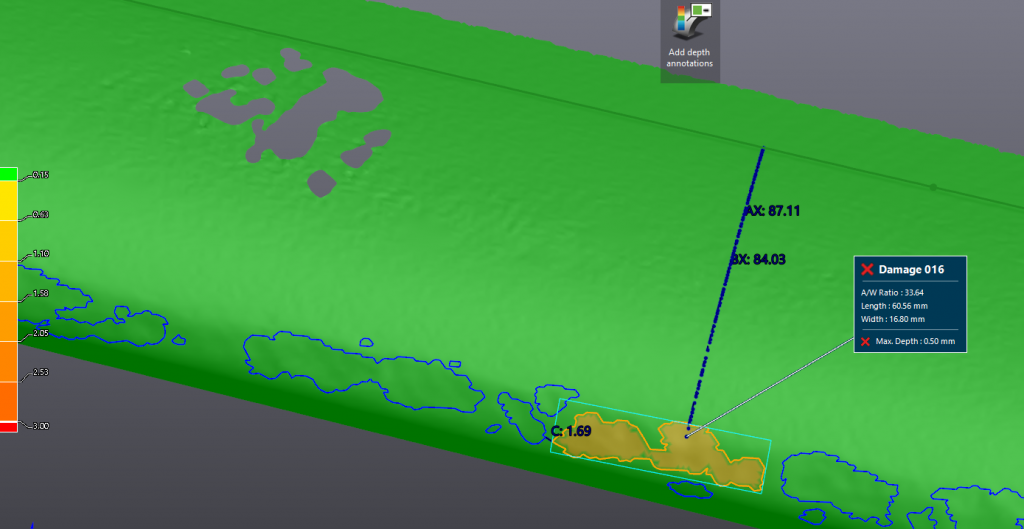
Sample dent inspection on an aircraft. Feature measurements with out of tolerance maximum depth.
Master Sgt. Christopher Smithling 60th Maintenance Squadron assistant section chief for aircraft structural maintenance
Moreover, the procurement of two additive manufacturing units by the 60th MXS will undoubtedly unlock development, repair, replacement and production capabilities at Travis AFB. Aircraft are typically down for two days when a replacement part is needed. However, a solution comprising a 3D scanning device, scan-to-CAD technology and 3D printing can dramatically decrease out-of-service time. “With the two additive manufacturing units, we will be able to grab any aircraft part, scan it, and within four to eight hours, we will have a true 3D drawing of it that we can send to the additive manufacturing unit to print it,” said Christopher Smithling, 60th MXS.
Back to the hail storm matter, Creaform developed a complete 3D scanning solution for the aerospace industry named HandySCAN AEROPACK. It addresses the specific challenges of aircraft quality control, such as assessing damage resulting from aircraft incidents and natural phenomena, like hail, as well as flap and spoiler inspections. The 3D scanner and software package includes VXinspect, VXmodel, SmartDENT 3D and provides the most versatile solution for a maintenance base/MRO facility.
3. Align and Mate: The Bell Helicopter Case
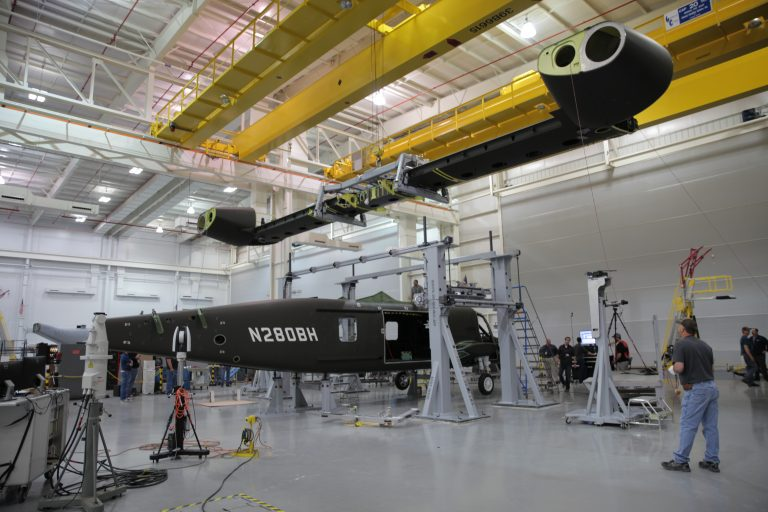
At their Amarillo factory in Texas, Bell Helicopter, a Textron Inc. company, performed the mating of heavy components with the V-280 Valor’s fuselage, a medium-lift tiltrotor transport prototype aimed at “[rekindling] the Army’s interest in tiltrotors.” First, nacelles were attached to the wing, and then the nacelles-wing assembly was attached to the fuselage. These complex operations require vivid attention to detail, bearing in mind the extreme accuracy with which the massive components must be oriented and positioned prior to the mating process.
Multiple C-Tracks and the Creaform VXtrack software module for dynamically tracking multiple objects came in handy to accurately measure the position and orientation of the components of this assembly in real time, as they are assembled (in this case, the tiltrotor’s wing, nacelles and fuselage).
MRO: How to Choose the Best 3D Measurement Solution?
To choose the right 3D measurement solution for your maintenance, repair and engineering project, start by mapping out your current 3D measurement or inspection process, and identify the major, most recurring problems of your workflow and opportunities for improvement.
Of course, accuracy, portability and price all make great impact on decision making, but the more information you can get about the target application and the results you want to generate, the better your choice will be.
Considerations with respect to object dimensions, environment, processing speed and software compatibility will help you find the solution that best fits your needs. That way you will probably be able to start simple and scale things up along the way.
For instance, decision-makers in the aerospace MRO industry will tend to orient their choice based on the fact that the objects to scan are relatively large, that the environment greatly affects the surfaces, and that time is of the essence: the longer aircraft are grounded, the more stakeholders lose money.
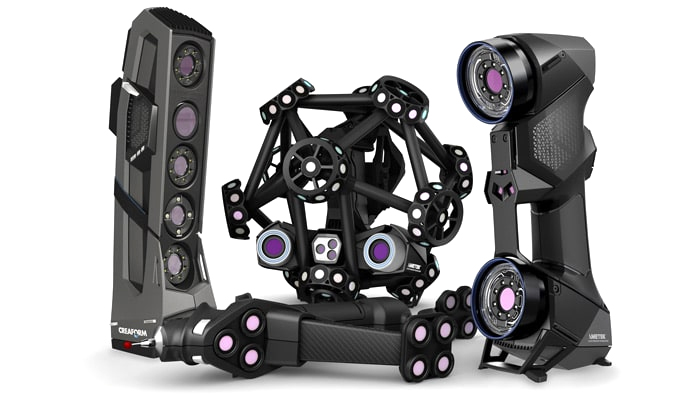
Do not hesitate to reach out to various providers to ask for a demonstration and discuss your current challenges with 3D measurement specialists. Creaform offers a full suite of 3D solutions for this type of work: metrology graded, truly portable, fast and versatile. We maintain an ISO 17025 accredited in-house calibration laboratory and can provide unmatched support across the world. Creaform offers traceable solutions that will provide you measurements you can rely on.
We Will Work with Your Team to Deploy a Solution and Help You Get Back to Service
Original Source: Creaform
Professional grade 3D scanning solutions for metrology & engineering applications.

