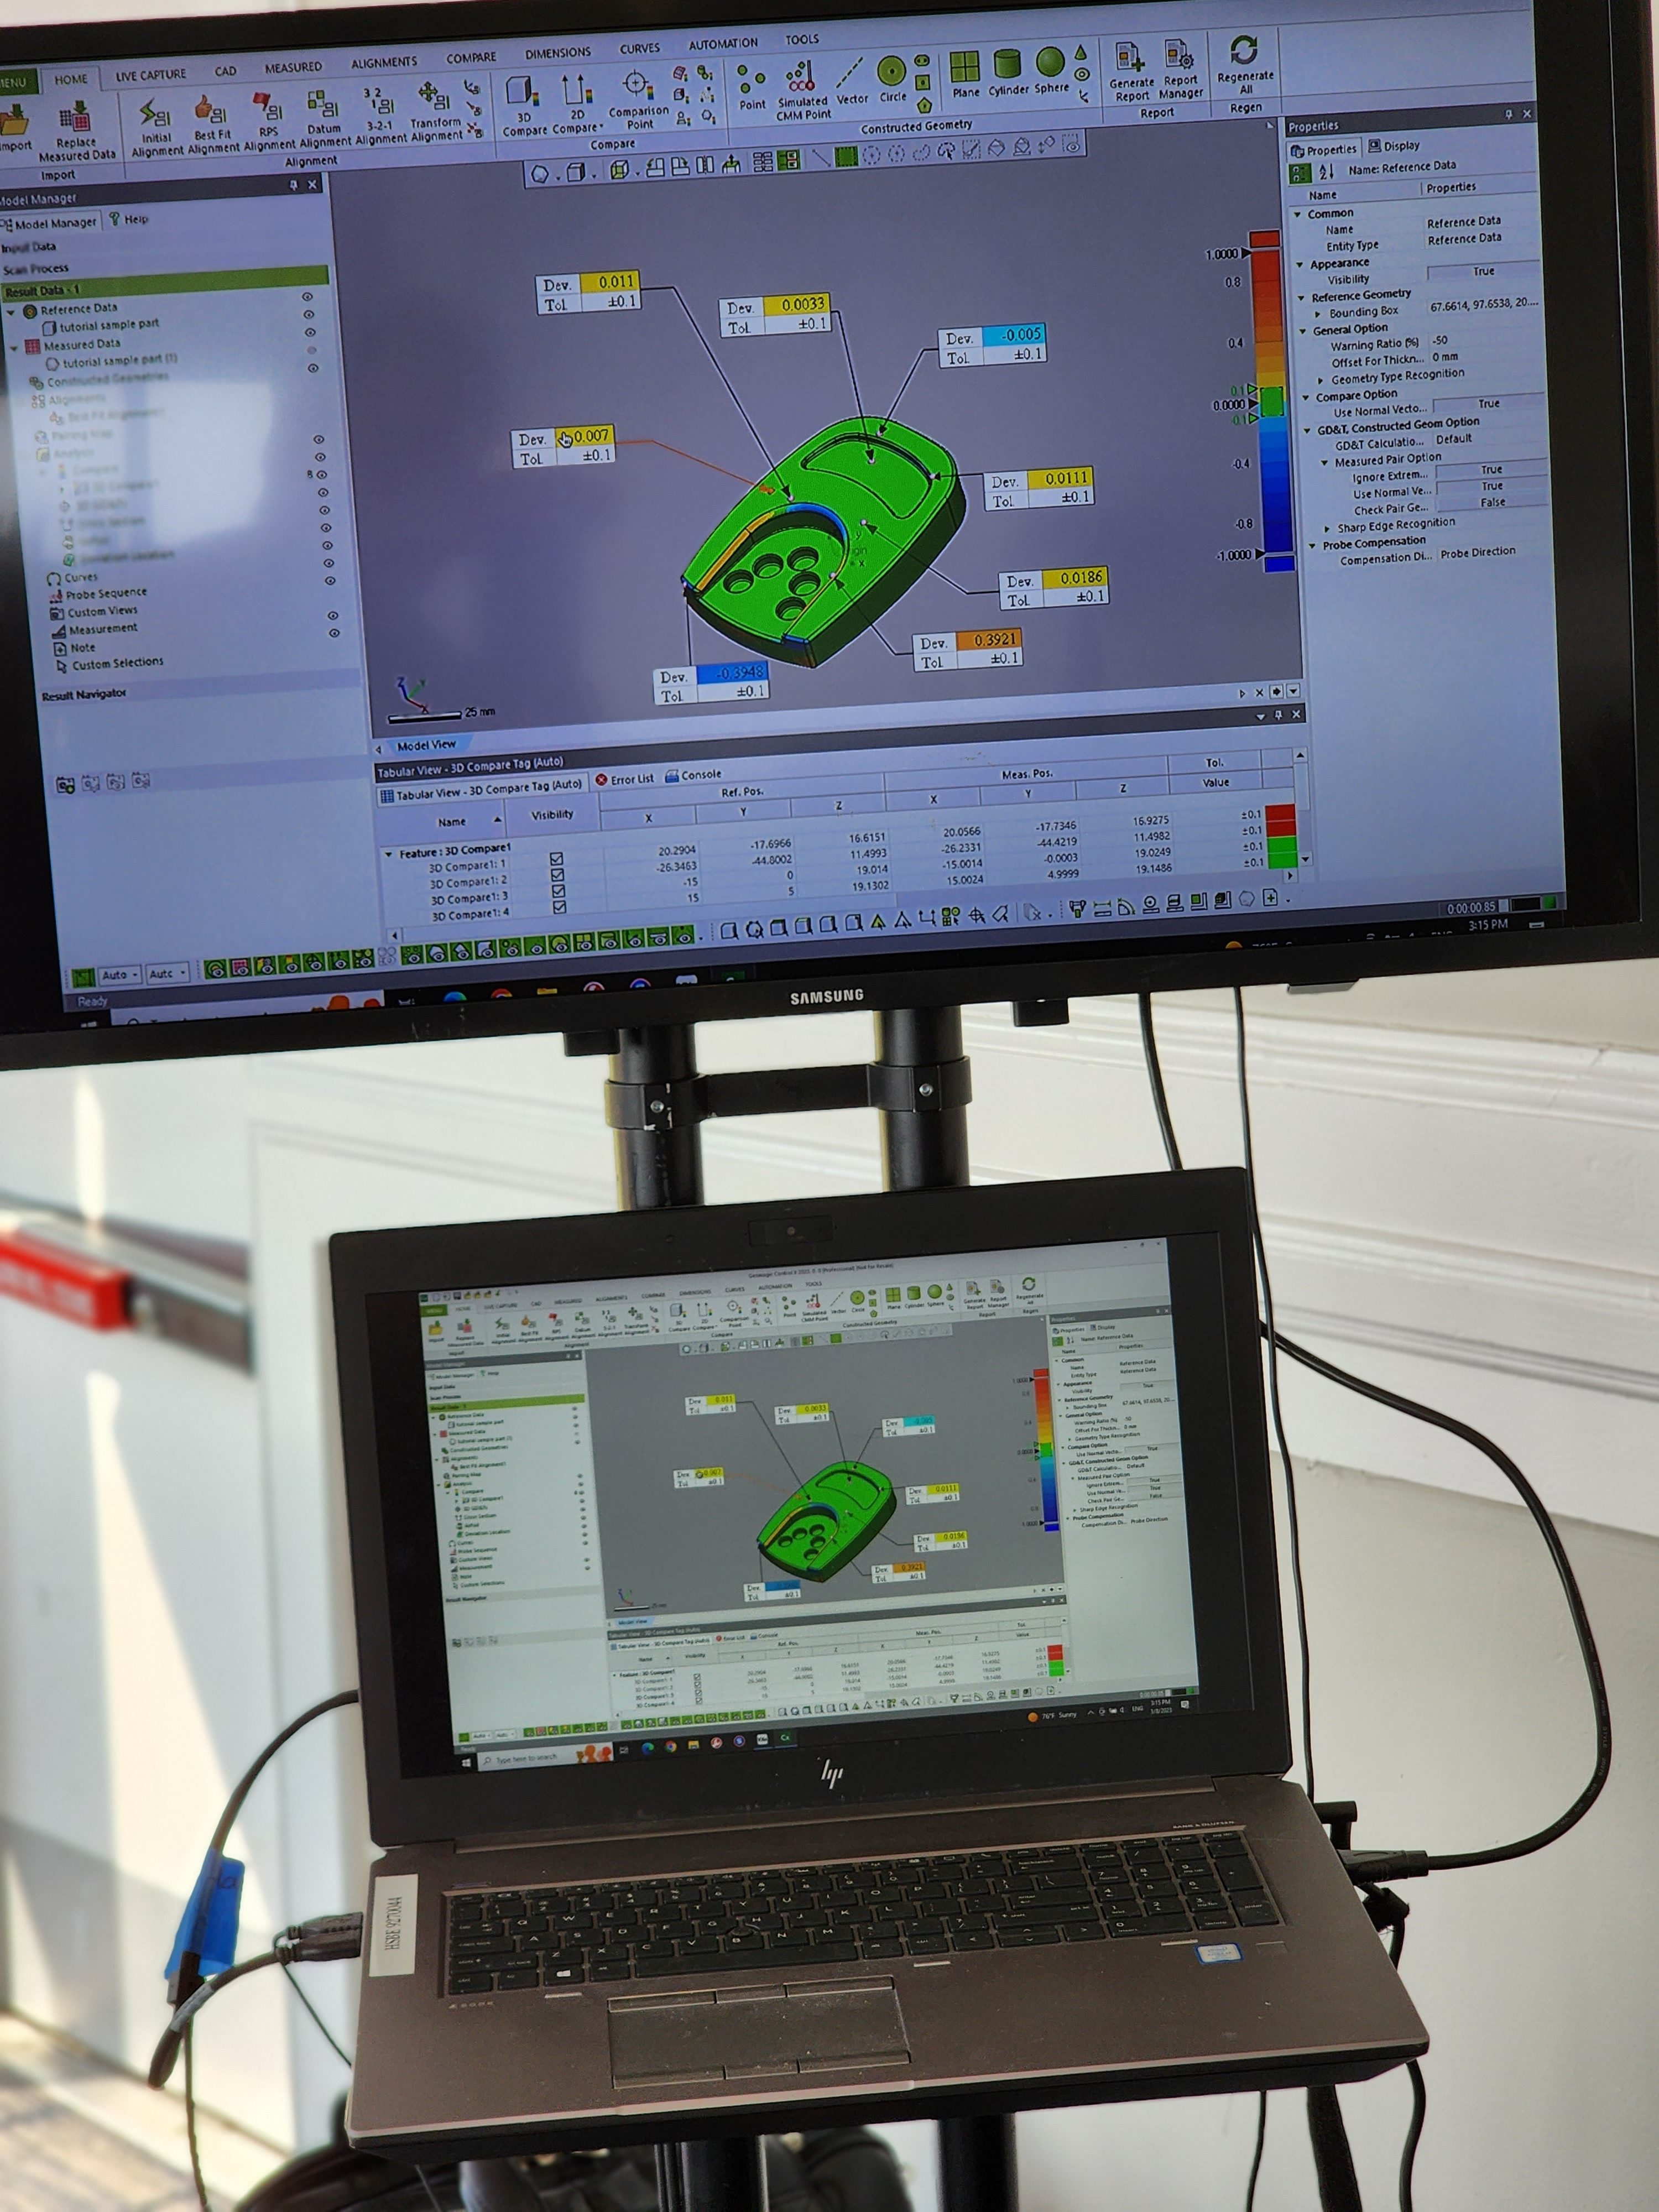
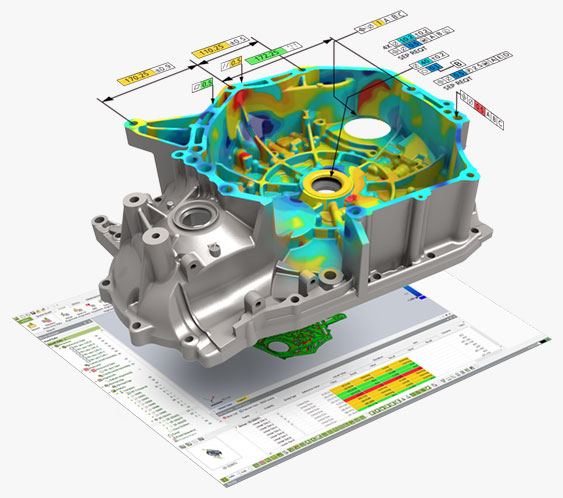
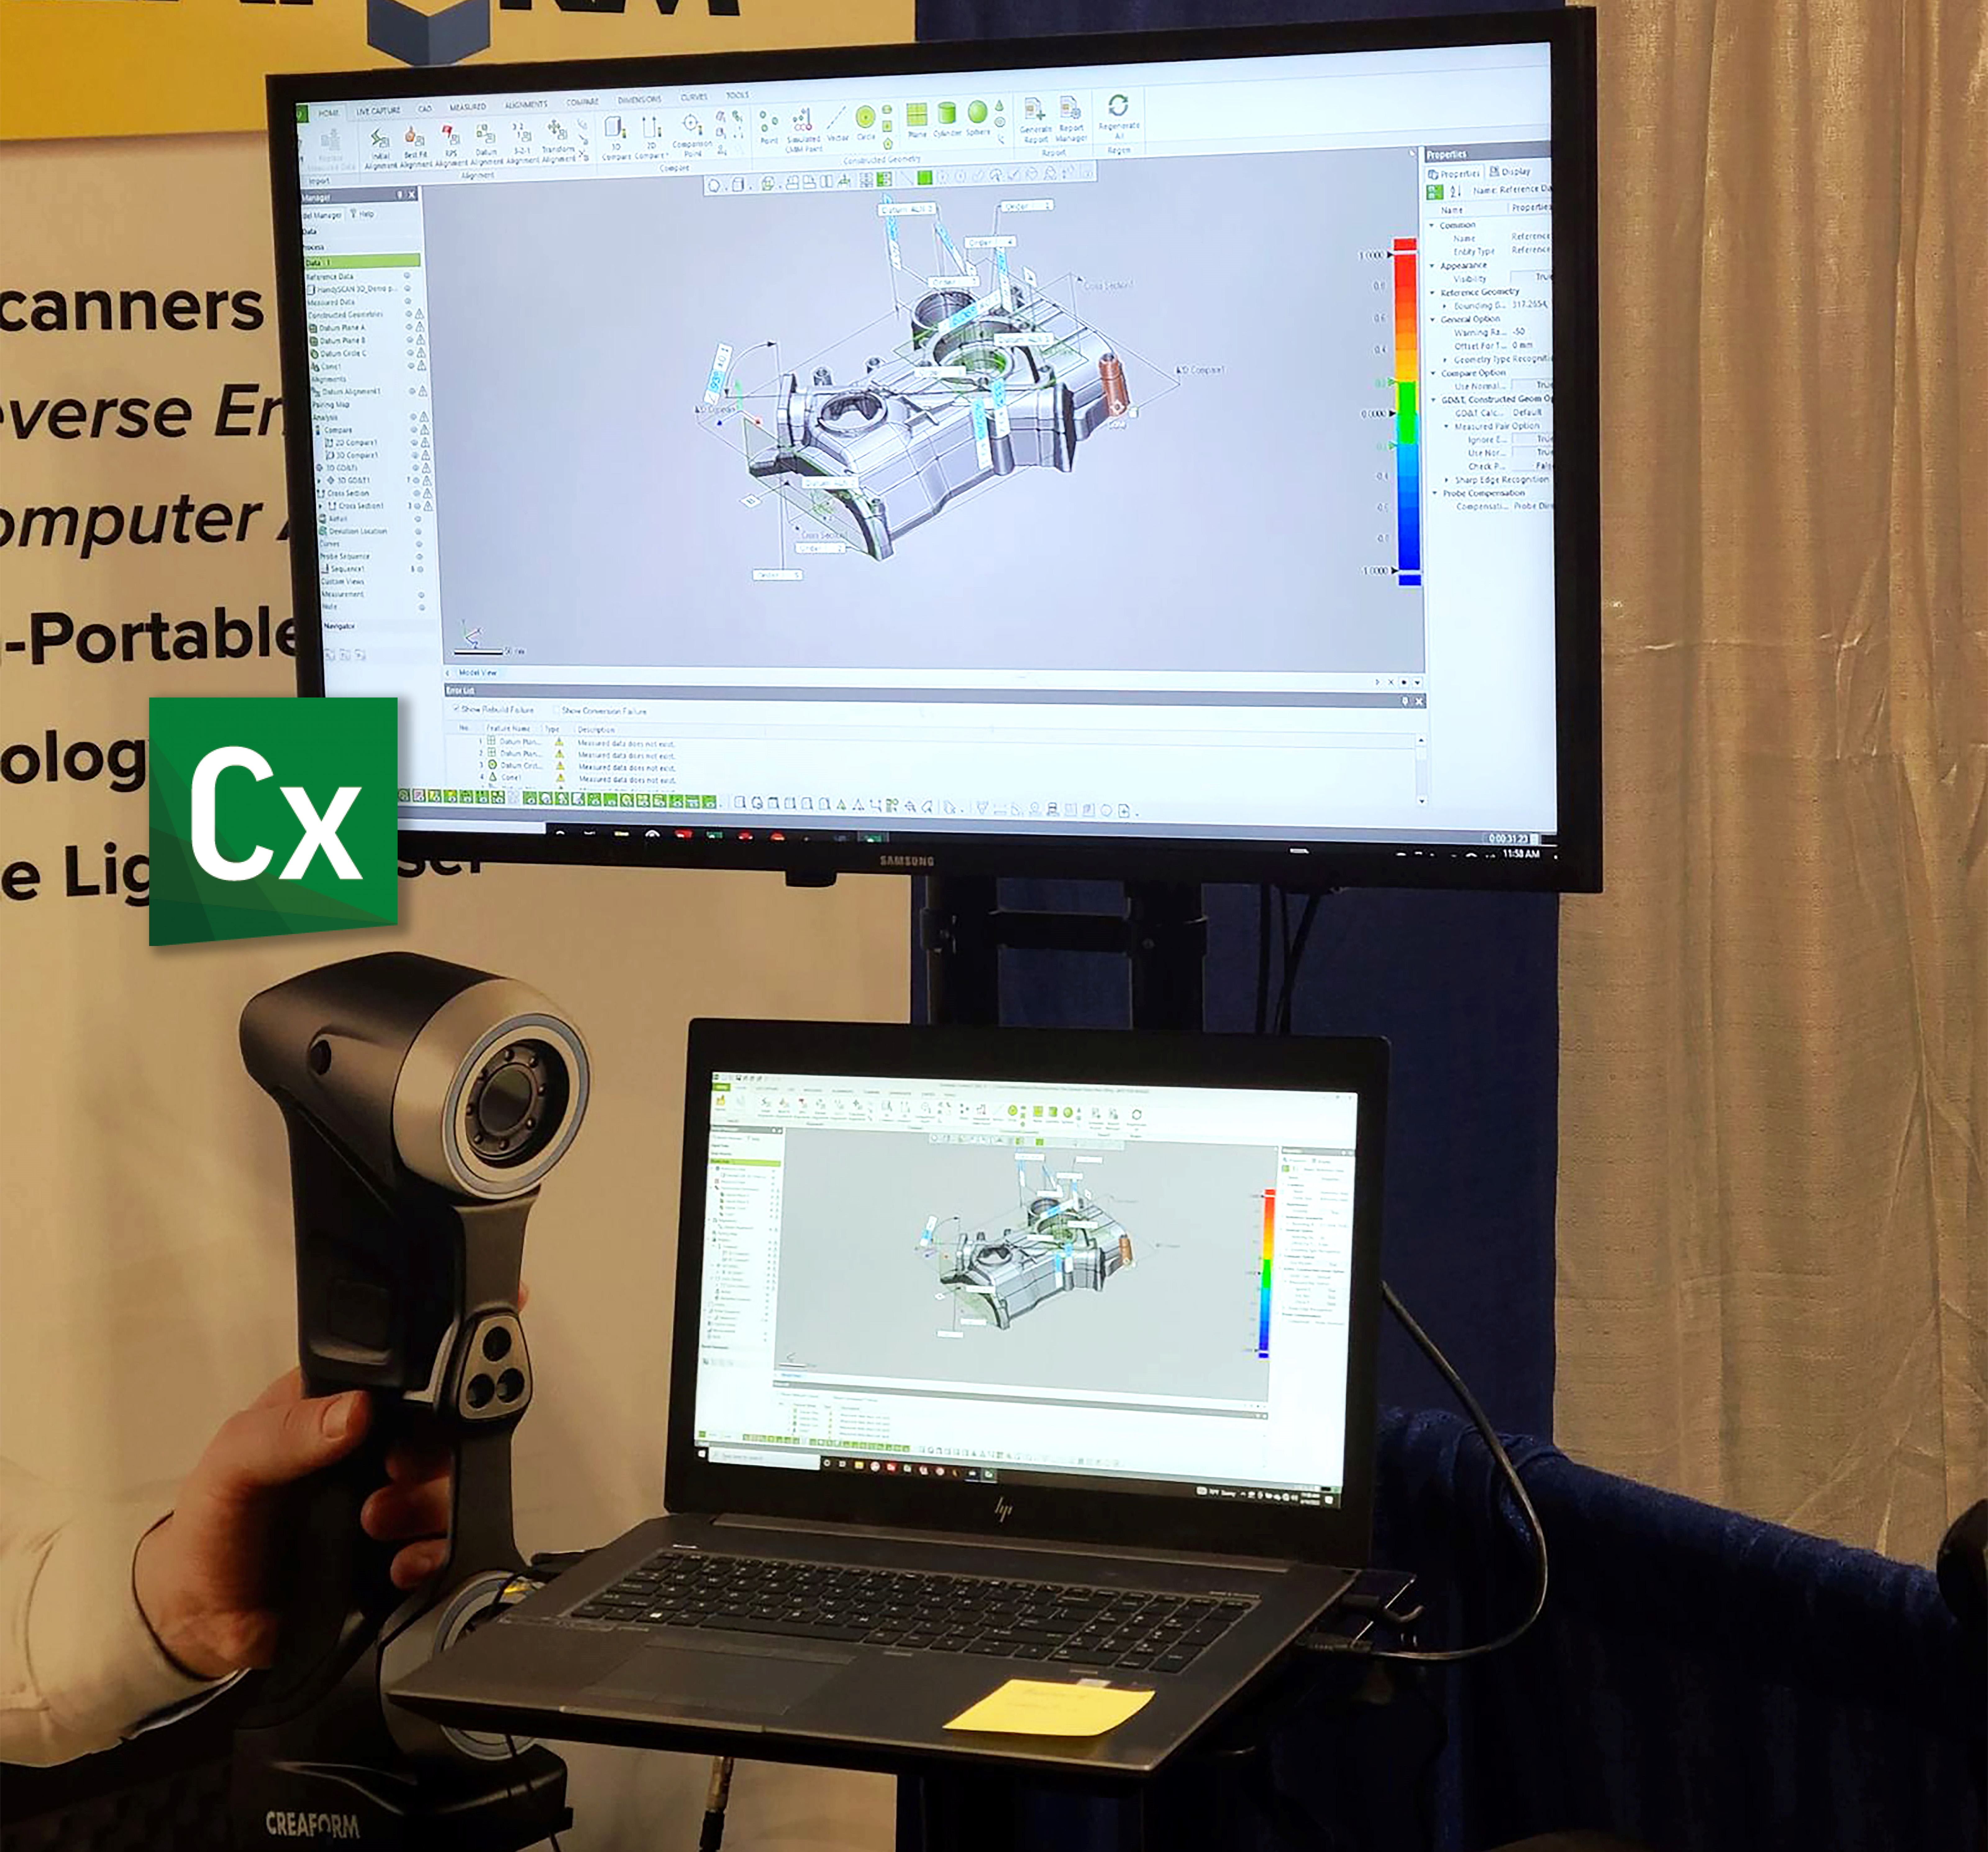
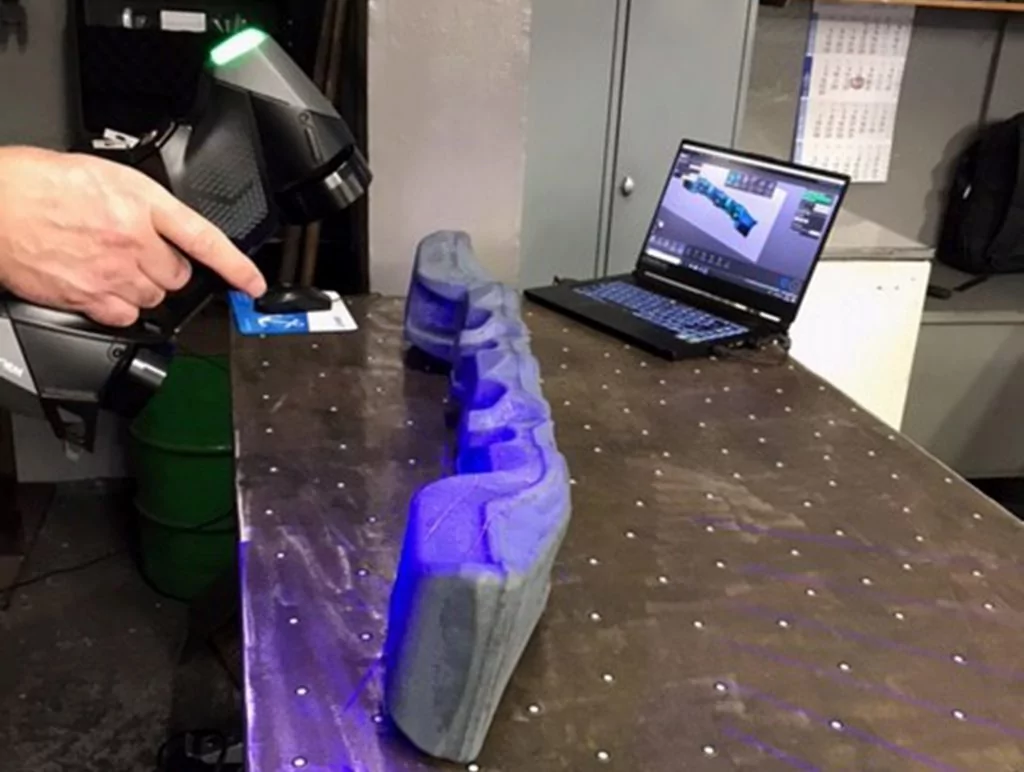
3D Scanning parts is faster and more efficient than any other form of capturing measurements. Scanning captures all edge breaks, fillets, chamfers, and other aspects that may have been missed during the design process. With a complete and detailed representation of the part, you can use GD&T (geometric dimensioning and tolerancing) tools like Geomagic Control X to further analyze the size, form, orientation, and location of features. Control X can measure various dimensions and includes automation and interactive reporting for easy communication with other teams.
GD&T guarantees with 100% certainty that a part will fit and function properly at the assembly level, saving time and money. GD&T also helps convey the design intent of the part, which a conventional drawing or model cannot do.
Check out Geomagic Control X to streamline manufacturing problem-solving with 3D scan-based part inspection and GD&T tools.
Exclusive Design Bundles
Professional Metrology Software –
Ensure Quality Everywhere
Inspection Software

Geomagic Control X offers three software packages to best fit your inspection needs:
– Essentials
– Essentials Connect
– Professional
(888) 696-7226 info@neometrixtech.com
Analyze and Inspect
- Inspect products in a fraction of the time
- Capture a comprehensive set of data for comparison
- Perform in-depth product and process assessment
- Automation designer lets you reuse existing inspection workflows
- Collaborate on the inspection process

Top Features:
- Customization and automation of inspection workflows using Visual Scripting
- Scan with Hexagon Structured Light Scanners within Control X
- Productivity and efficiency improvements for handling meshes
- Update native CAD file import along with PMI for most formats
- Unequal tolerance zone for surface profile
Use mesh as reference data - Improved CAD tessellated mesh segmentation
Read full article here: https://oqton.com/posts/understanding-geometric-dimensioning-and-tolerancing-gdt/
Contact us
For More Info on NeoMetrix 3D Solutions:
Call anytime:
888-696-7226
neometrixtech.com


