Fast and Repeatable 3D Scanning: Ensuring Accurate Measurements on Aircraft Propellers
Complete 3D Scanning and Reverse Engineering Solutions Enhance My Design ProcessTHE PROBLEM
Ship MRO service suppliers are tasked with providing repairs and/or direct replacements to critical components of large vessels. This often includes damaged or worn propellers, which may either require added material to blemished areas and then a subsequent machining back down to the proper surface, or a direct replacement part. The propeller blades are qualified by measuring the spline profile perpendicular to the blade at specific locations.
TRADITIONAL METHOD
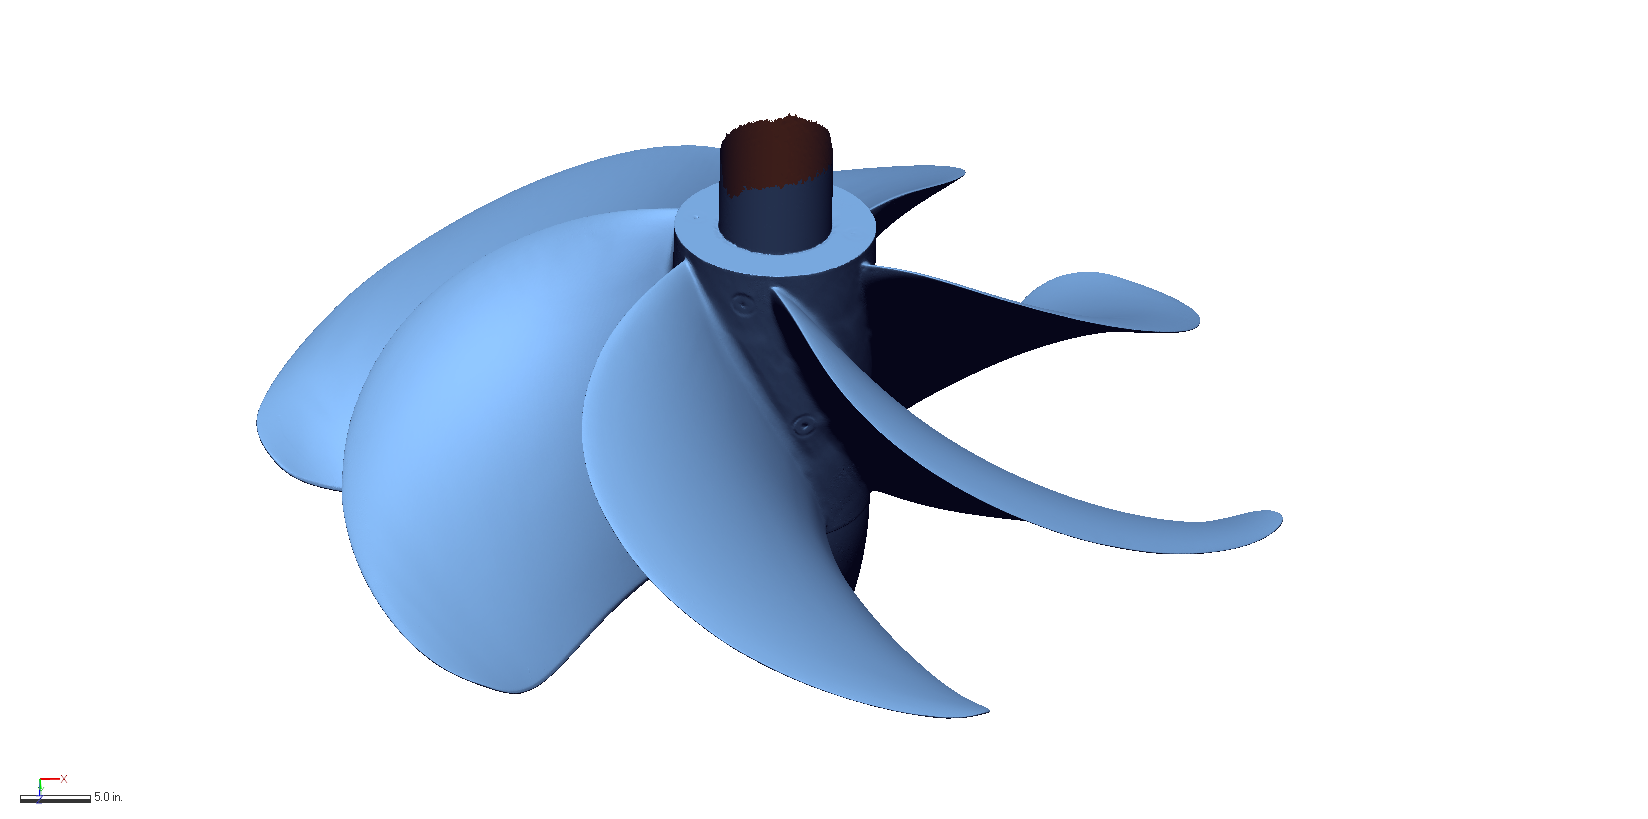
3D Scan Data
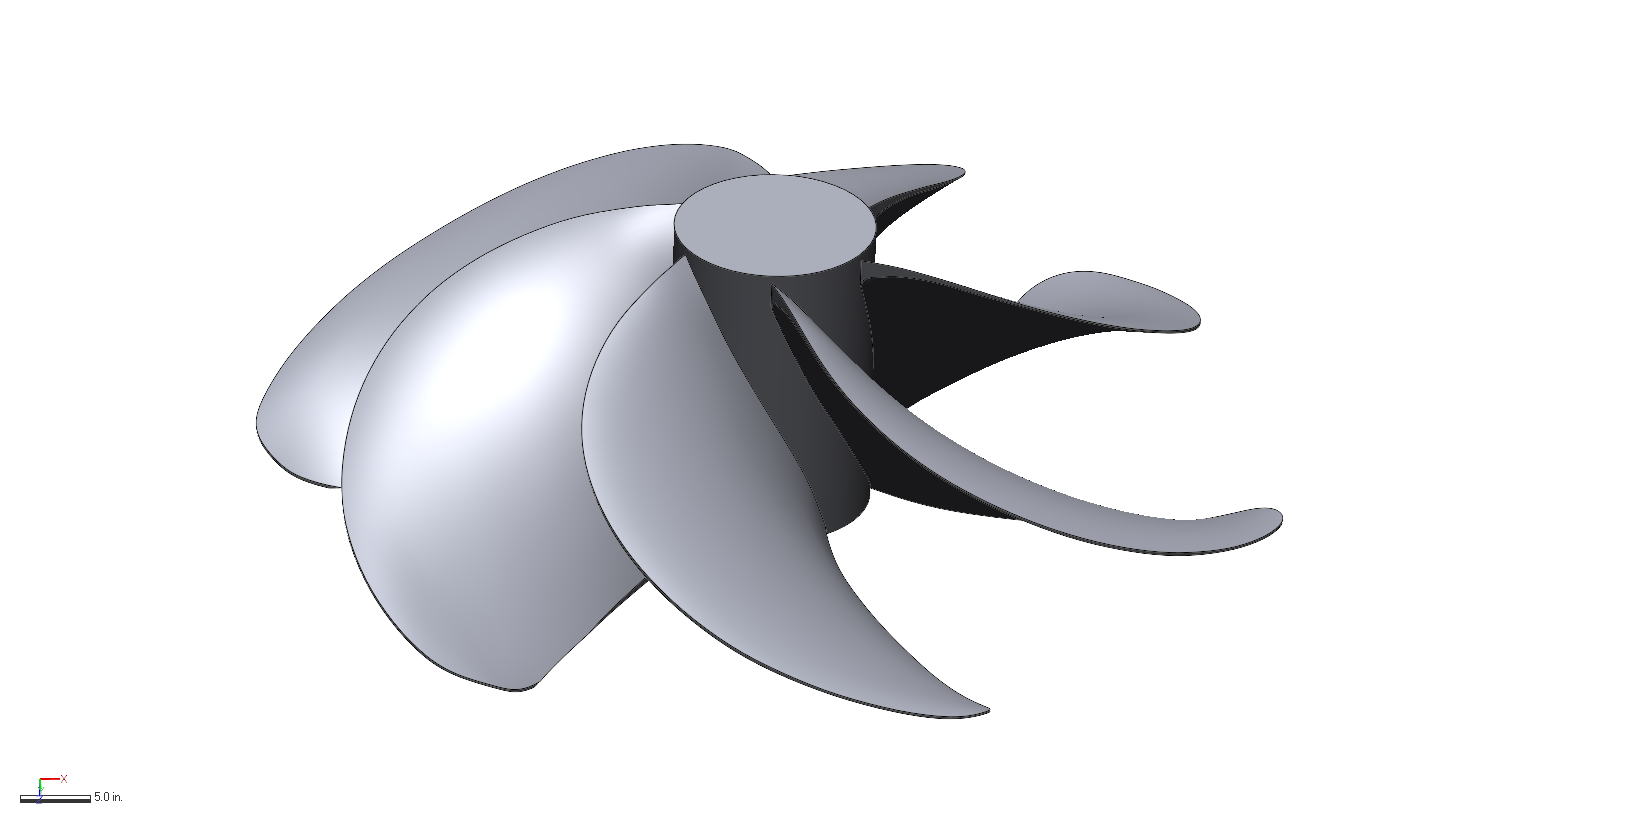
Final CAD Model Designed in Geomagic Design X
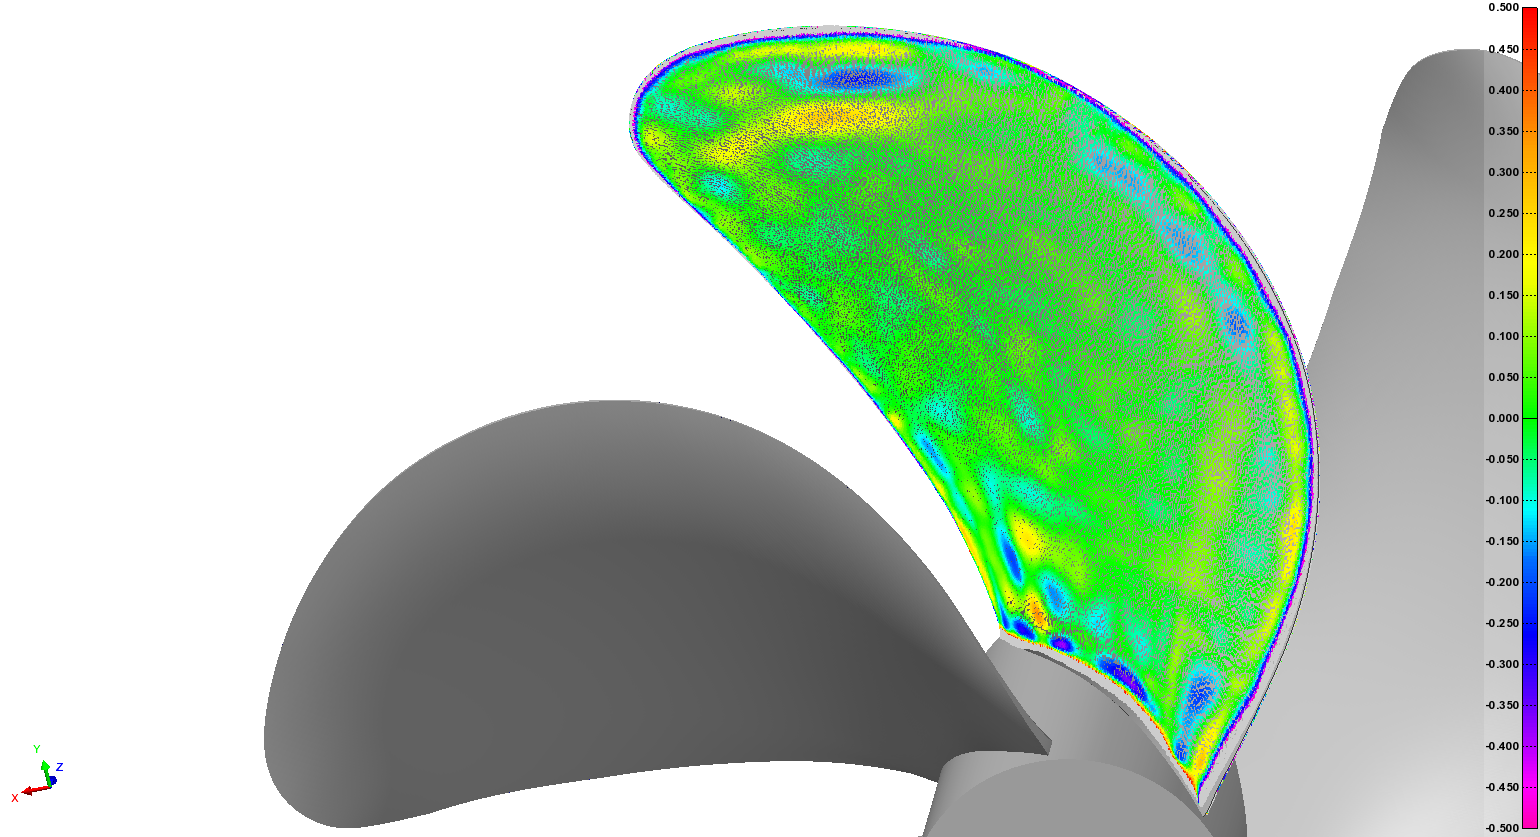
Propeller Deviation to show High-Accuracy between Original Part and Final CAD Model
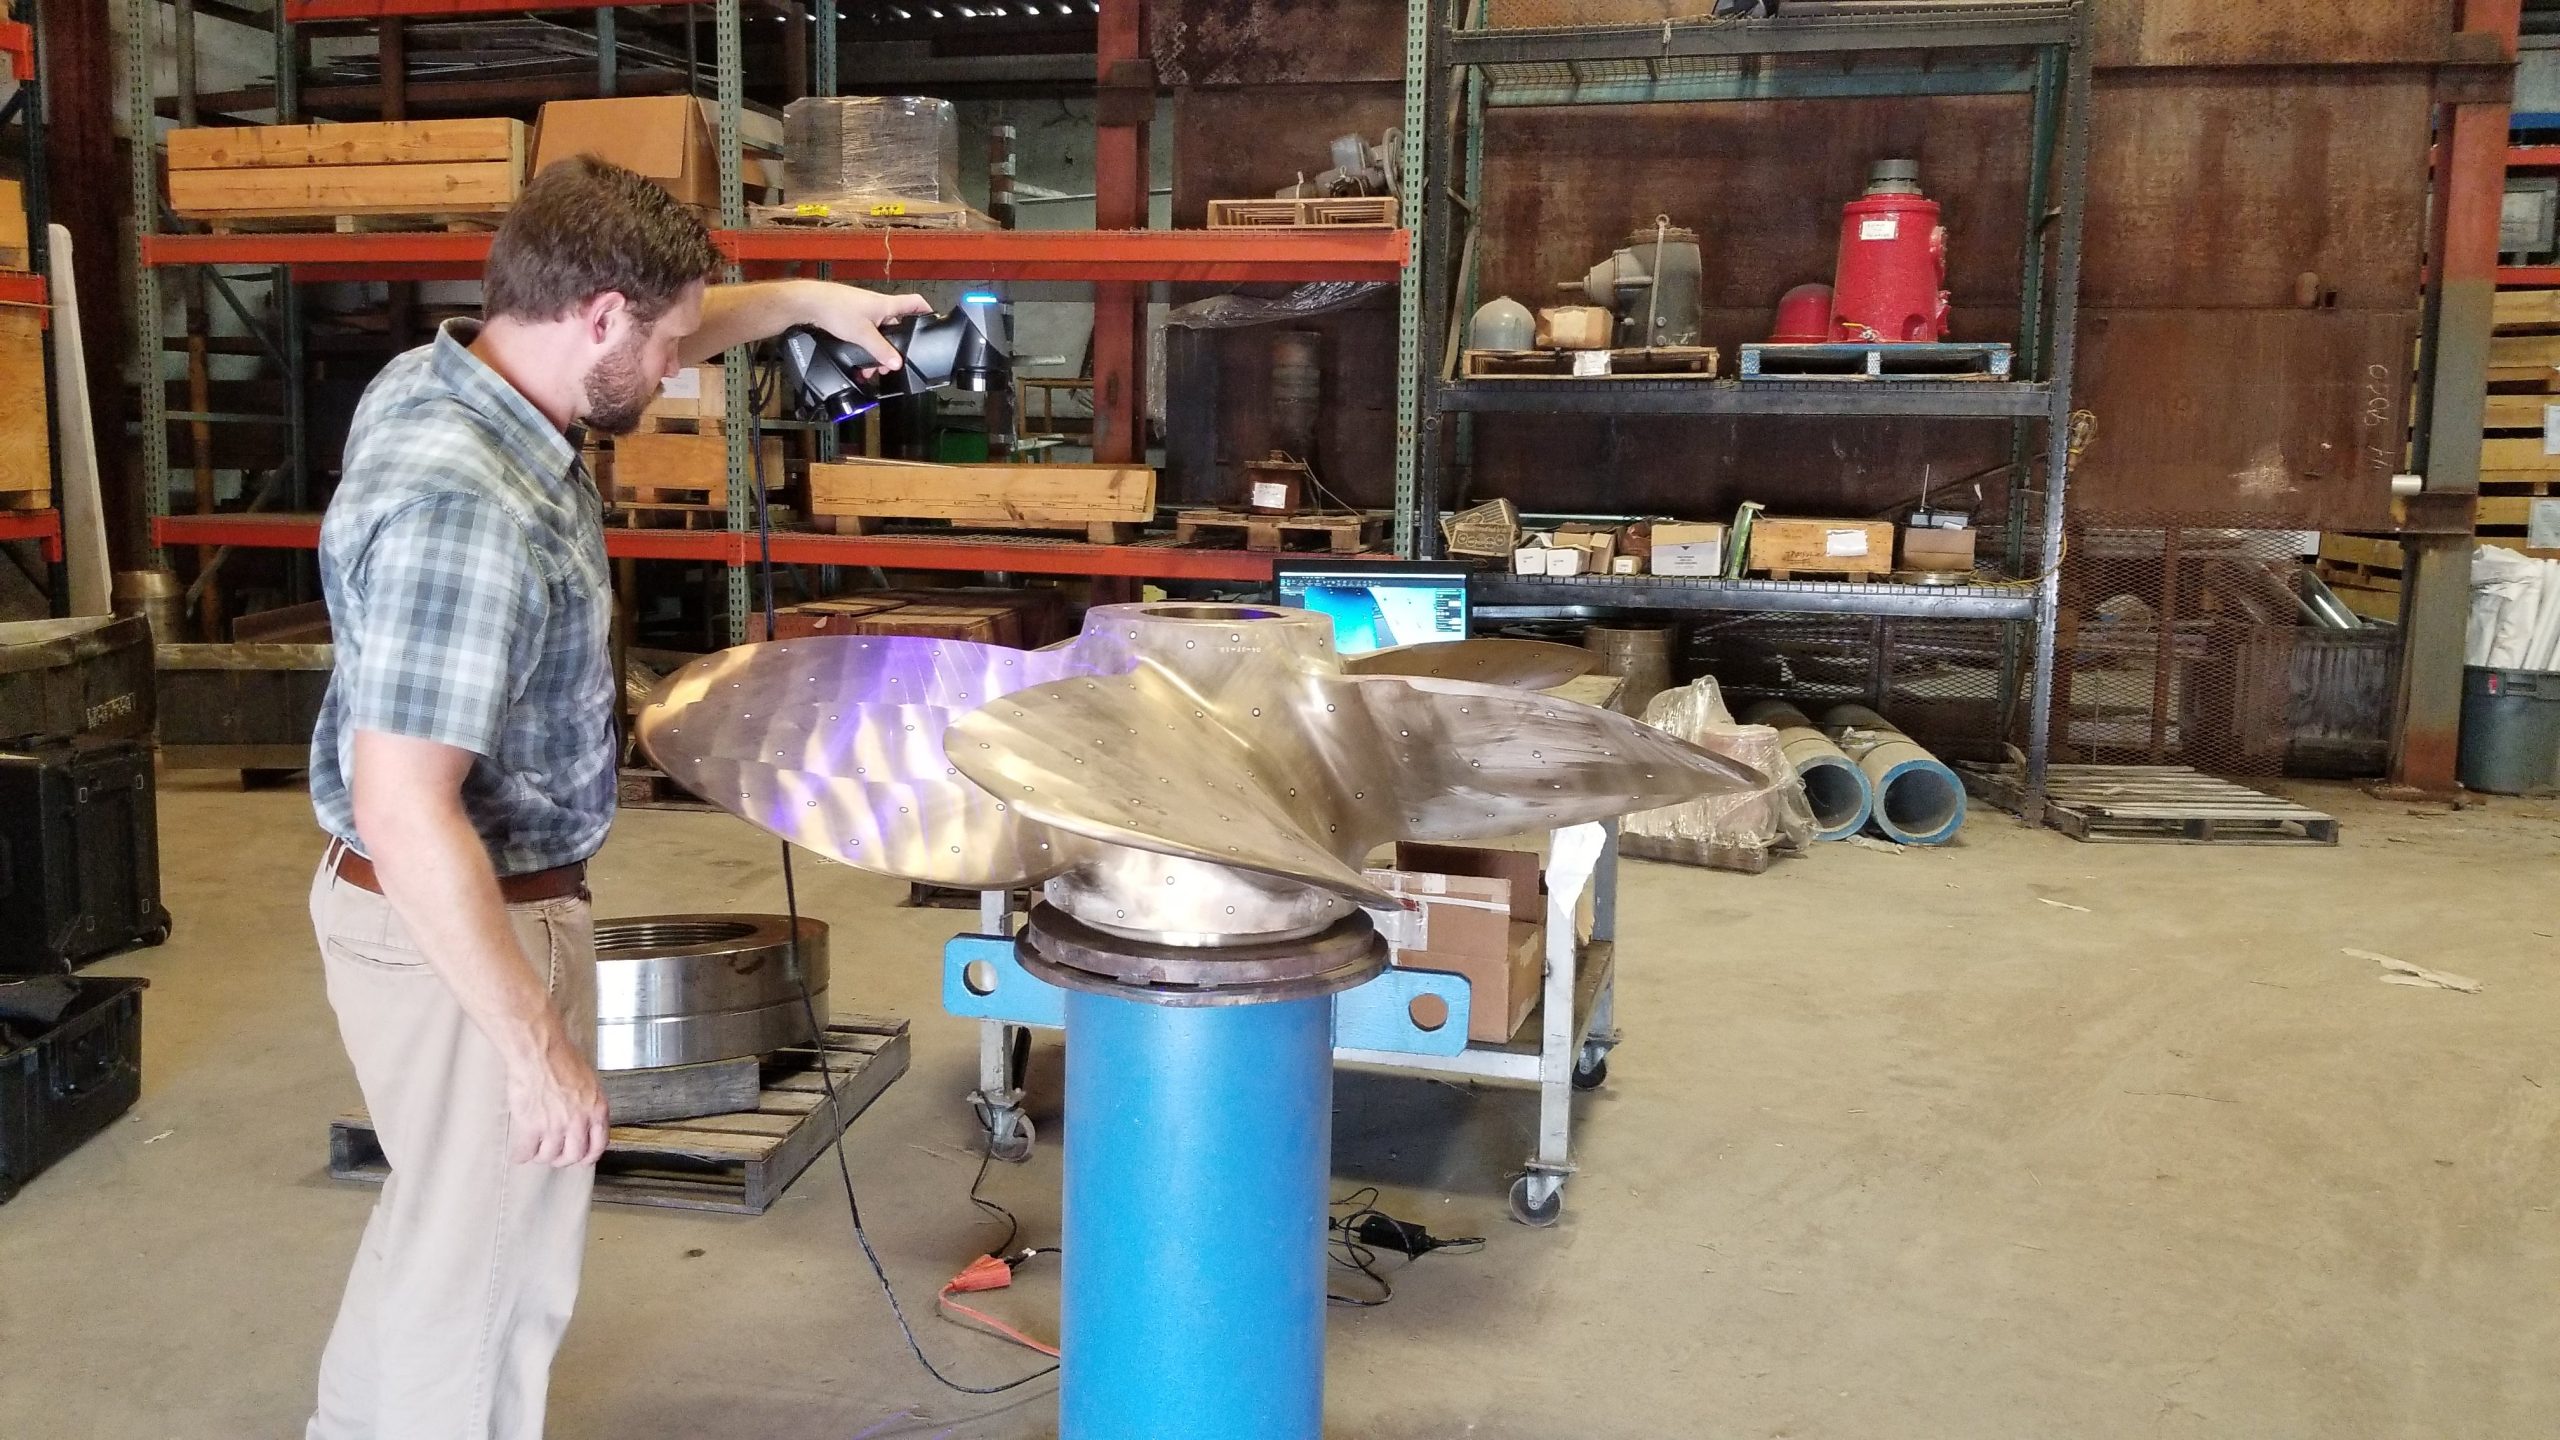
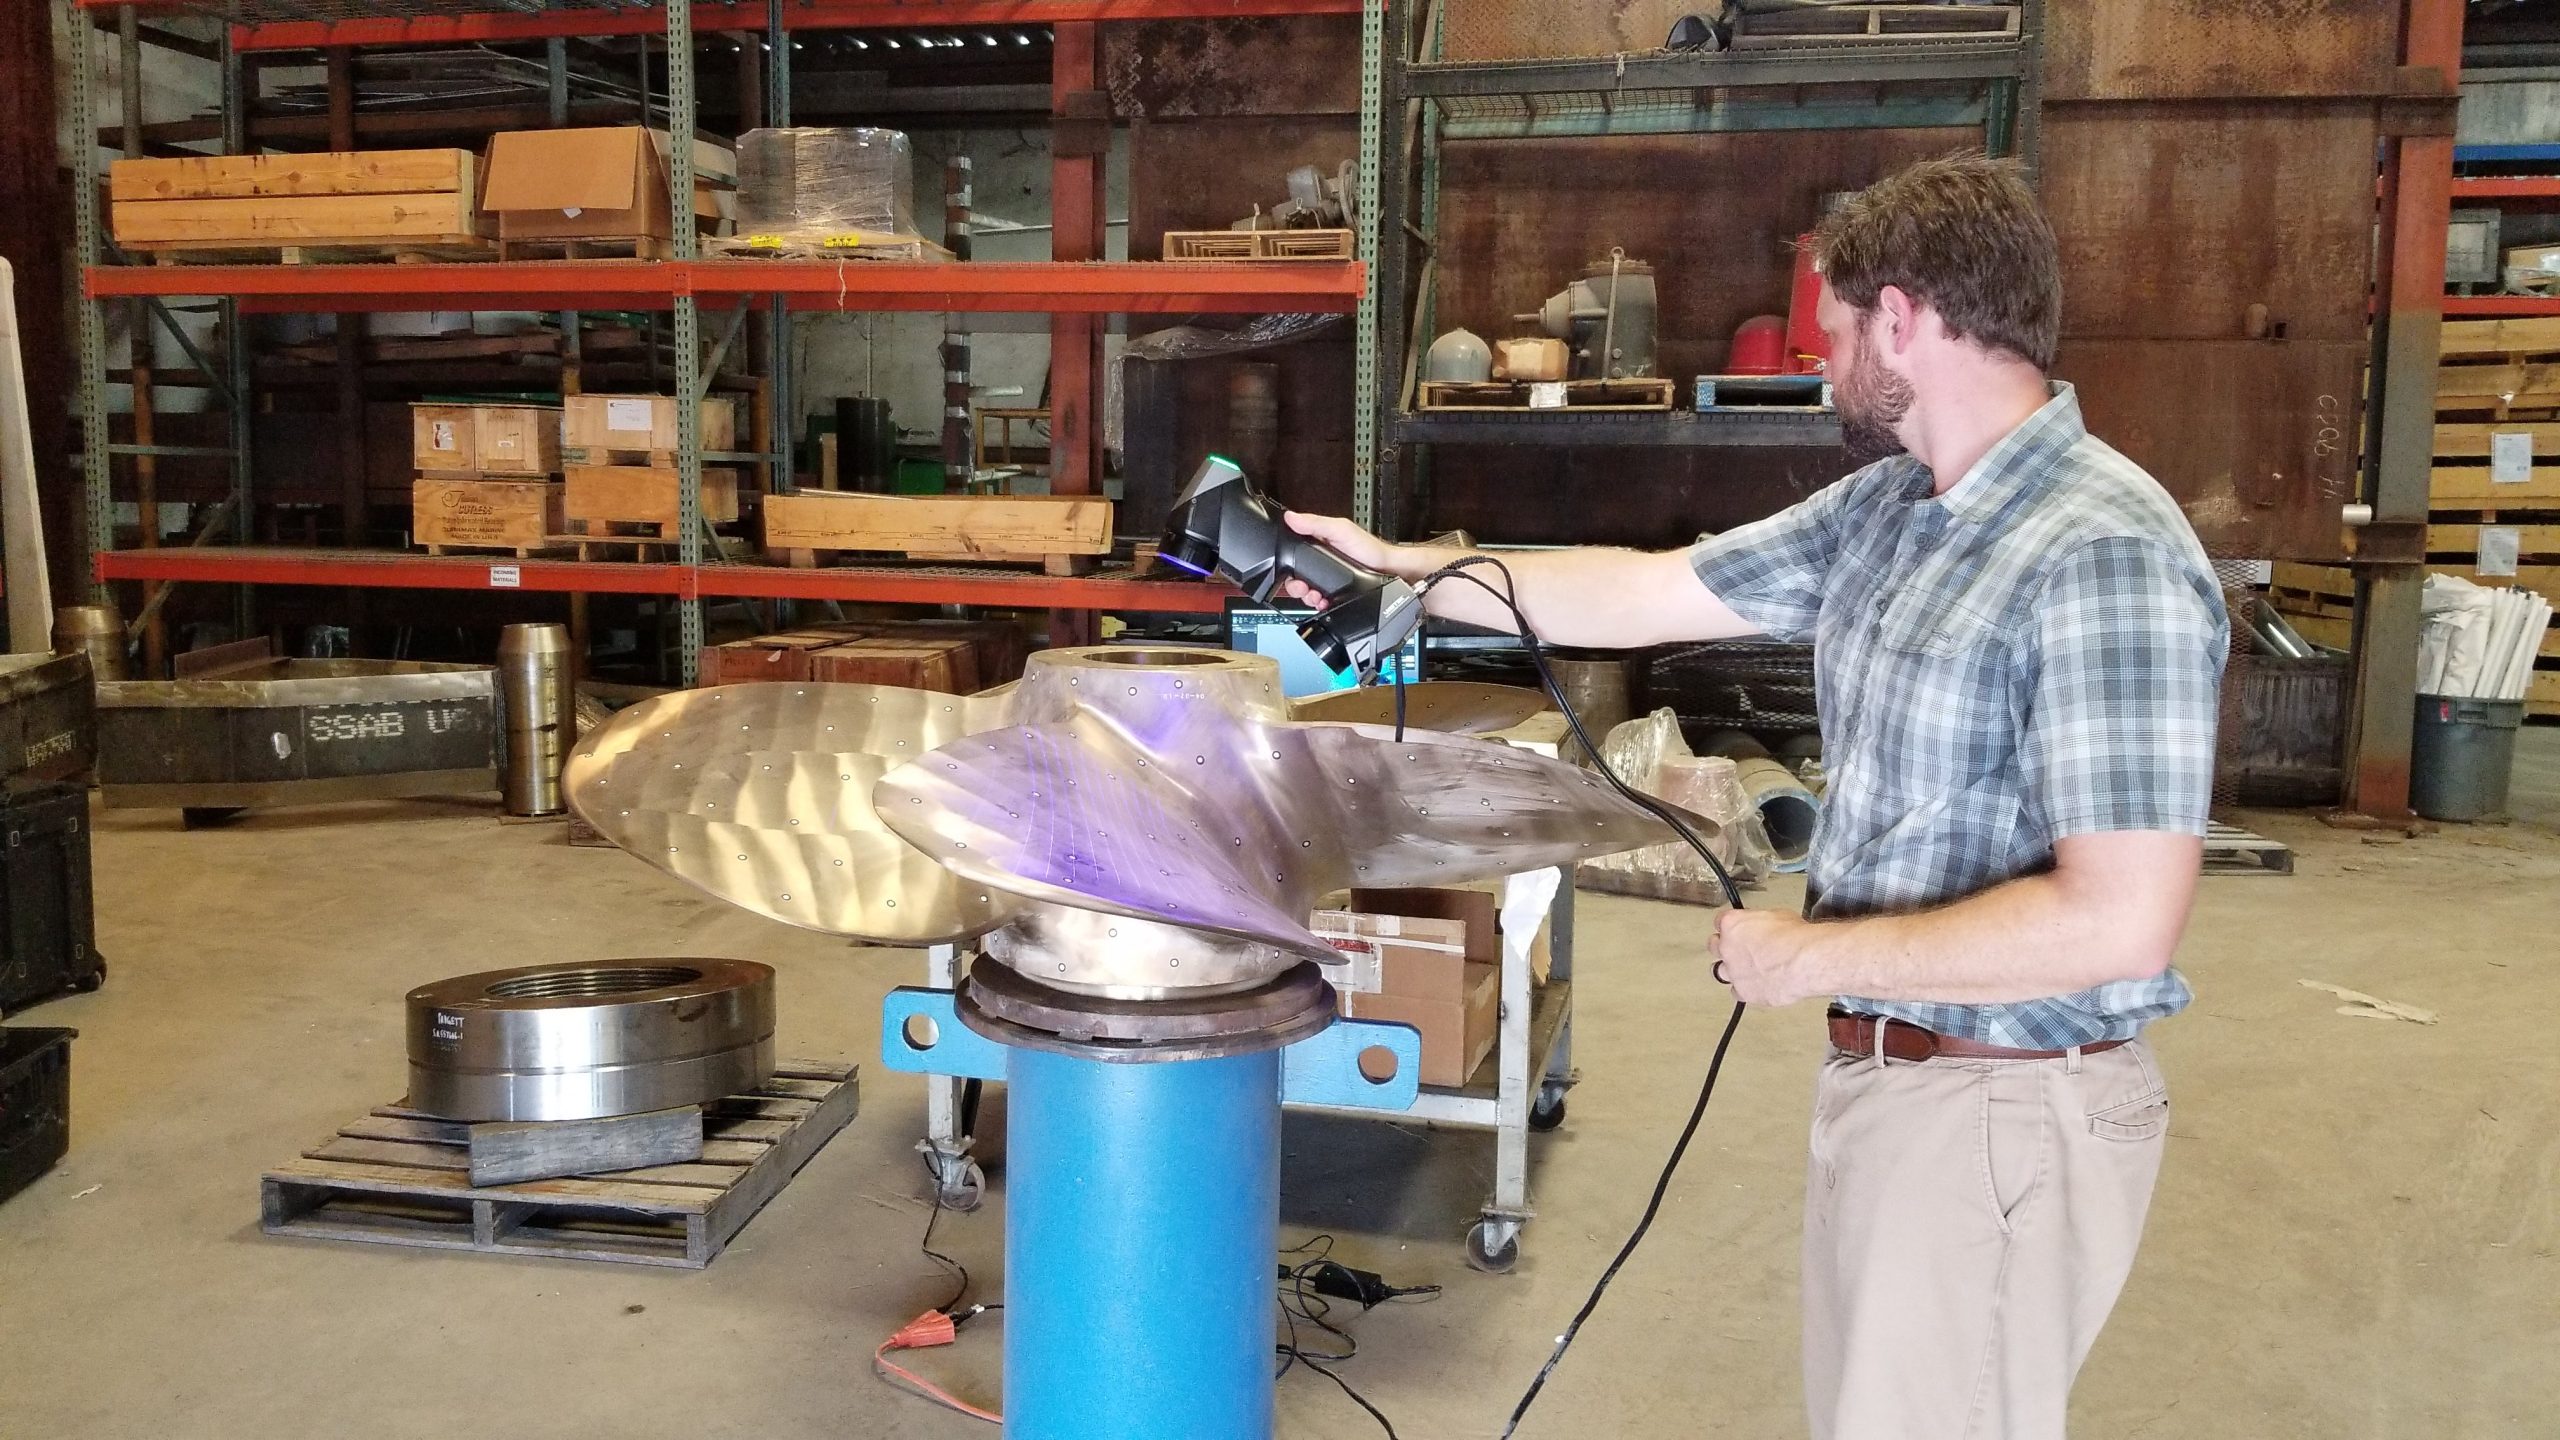
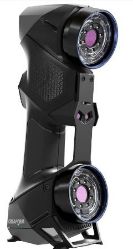
NeoMetrix uses state-of-the-art handheld 3D scanning solutions from Creaform to capture complete blade profiles quickly and accurately on these large propellers. Depending on whether mobility or setup speed is required, we employ our HandySCAN Black|Elite or MetraSCAN Black|Elite to gather surface data in minutes.
From there, the complete data set is pulled into PolyWorks Inspector for analysis to determine whether a propeller needs repair, or if a repair has been done correctly. If a replacement prop is required and the customer has not supplied the CAD, we can create a catalogue of parts by reverse engineering the scans in Geomagic Design X, basing the models off the undamaged blade(s).
NEOMETRIX ADVANTAGE
For data capture, there is no faster repeatable equipment for the job than Creaform’s lineup of hand-held scanners. Gathering on average 1.5 million data points per second, entire large ship propeller surfaces can be gathered in minutes. Equivalent scan times for latest-generation scan arm technology takes hours into days, depending on part size. That means more propellers scanned, and more workers servicing incoming equipment. Additionally, we compensate for environmental factors with a calibration process that takes seconds, therefore ensuring that our accuracy in the field is comparable to accuracy in the lab.
Polyworks Inspector allows blade cross-section lengths to be taken radially, a requirement that many customers stipulate for the qualification of their propellers, thus making it THE choice for this application.
In instances where a propeller model needs to be generated by the supplier, Geomagic Design X has a comprehensive mesh-to-CAD conversion tool suite to most efficiently reverse engineer these complex surfaces into accurate and usable CAD.
HandySCAN Black Elite
 Geomagic Design X
