Metal 3D printing unlocks an entirely new world of manufacturing capabilities for both technology and business. It eliminates the need for tooling spend, which decreases the cost per part dramatically and provides geometric freedom through additive processes. In addition, 3D printing in metal allows automation because printers can produce parts automatically from design files.
The three main steps in the metal 3D printing process are Print, Wash, and Sinter. Each step has unique areas where metal 3D printing stands out from traditional manufacturing.
Step 1: Print
Every 3D printed part starts in CAD, where you design your part. You then export to STL and upload into Eiger. Eiger is a cloud-based slicing and print management system that comes with every Markforged product. Eiger automatically configures your part based on the material and printer you’re using for the job.
When Eiger slices your part, it gets scaled up to account for shrinking and deformation in the downstream processes. Eiger then slices your part into discrete layers and identifies overhanging features, and builds supports and a raft underneath your part.
Eiger also monitors the metal part’s progress through each stage of the process. After preparing the print with printing software, it’s time to move to the metal 3D printer itself, the Metal X.
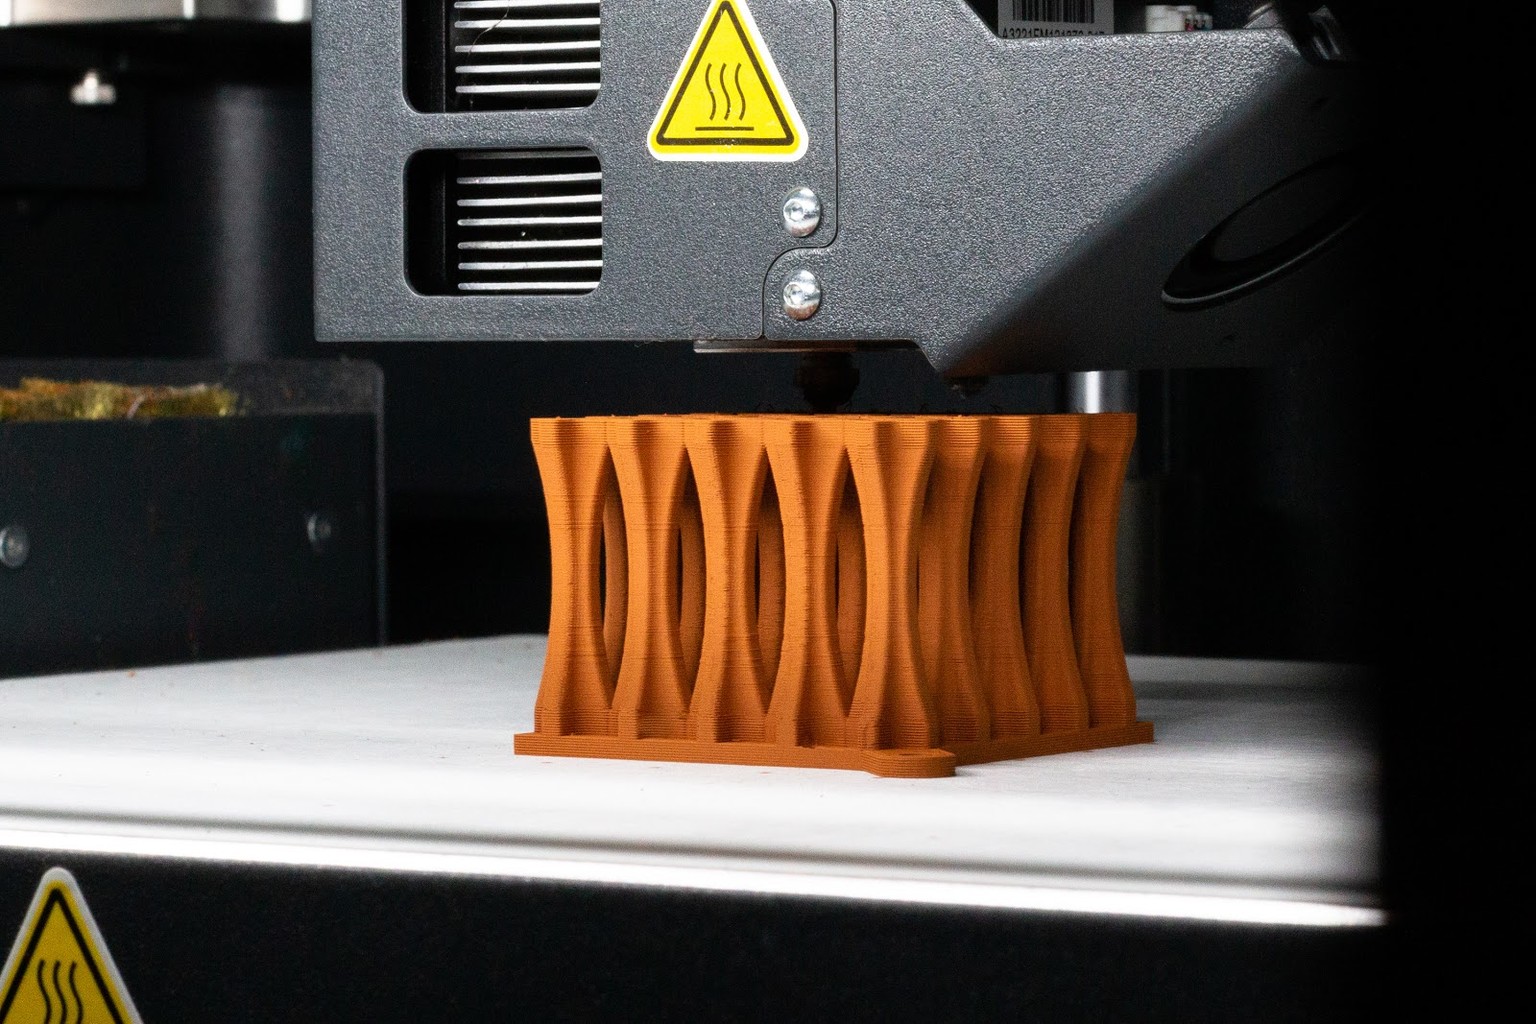
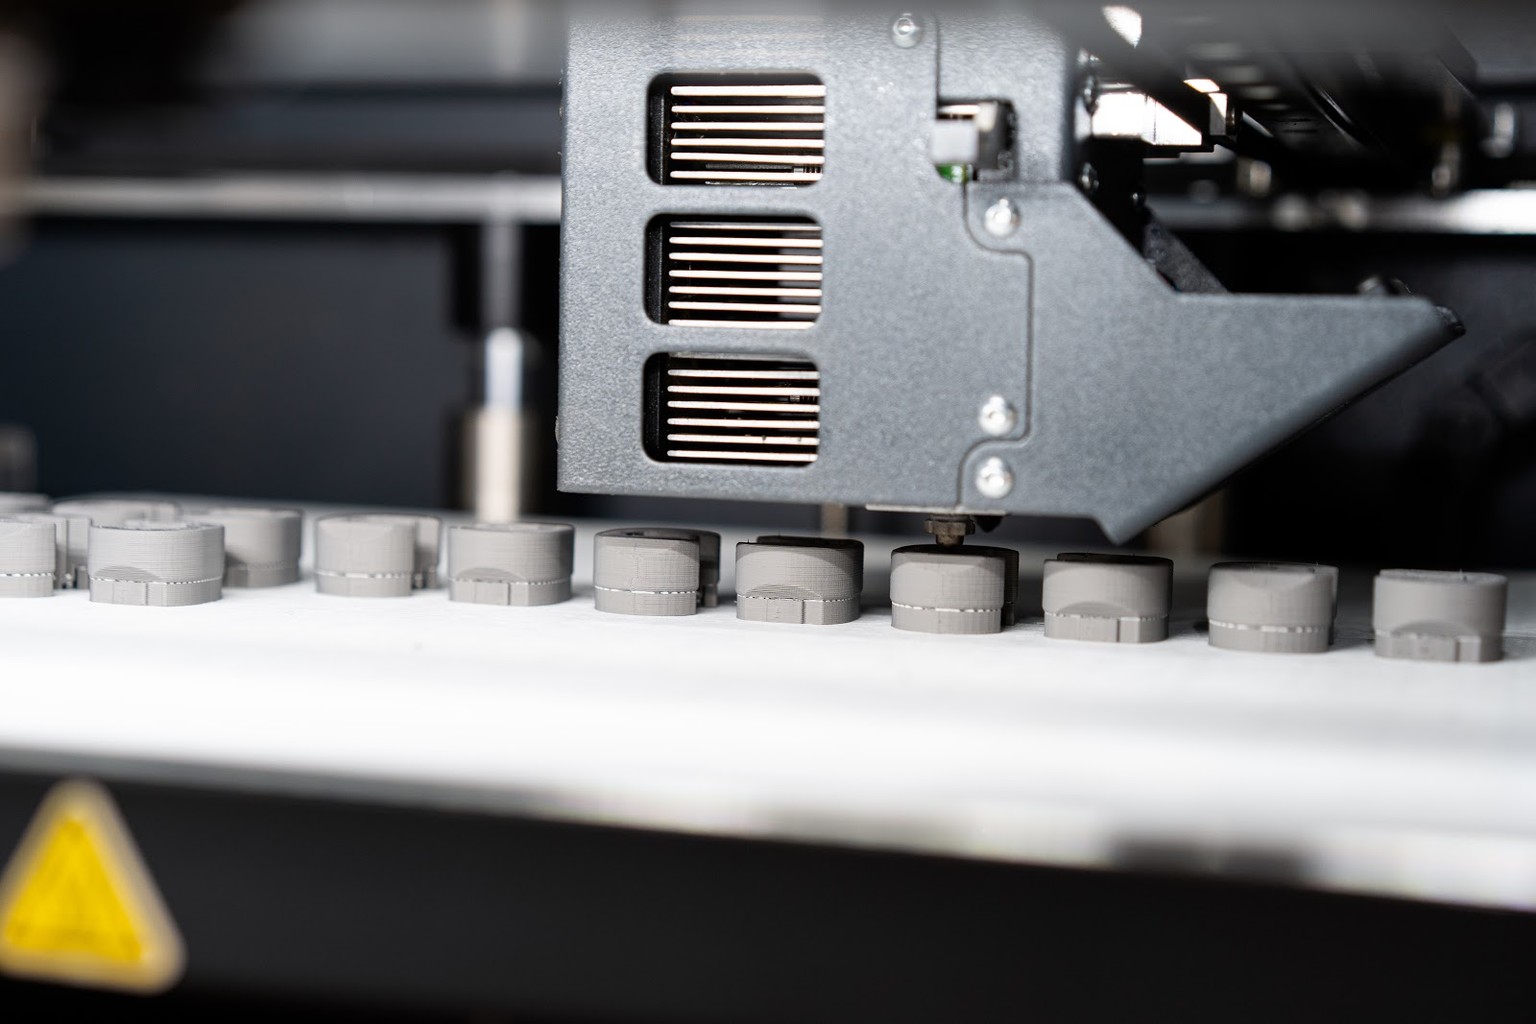
Before starting a print, the Metal X automatically maps and levels the print bed using a unique nozzle touch-off process to ensure the first layer prints properly. The print is built from two materials stored in the heated chamber located at the top of the printer. The first material is the metal and the second is a ceramic release. This filament material is metal powder safely suspended within a two-part plastic binder. The filament is heated and extruded onto the build plate where the part is built up layer by layer. The release material gets extruded as an interface between the part and its supports so that once your part comes out of the furnace, it's easy to remove.
Unlike other metal 3D printing systems, the Metal X process does not use loose metal powder, resulting in a safer and more cost-effective workflow.
The Markforged Metal X system is capable of printing in 17-4 PH Stainless Steel, H13, A2, and D2 Tool Steels, Copper, and Inconel 625, along with several other materials currently in development. You can easily switch between materials with a quick changeover.
Once your part is finished printing, the printer will notify you via email. At this point, you can go to the printer, remove the part from the build sheet, and clear the bed.
At this stage, the printed part is in green form. Next step, we'll be putting it into the wash for the debinding process.
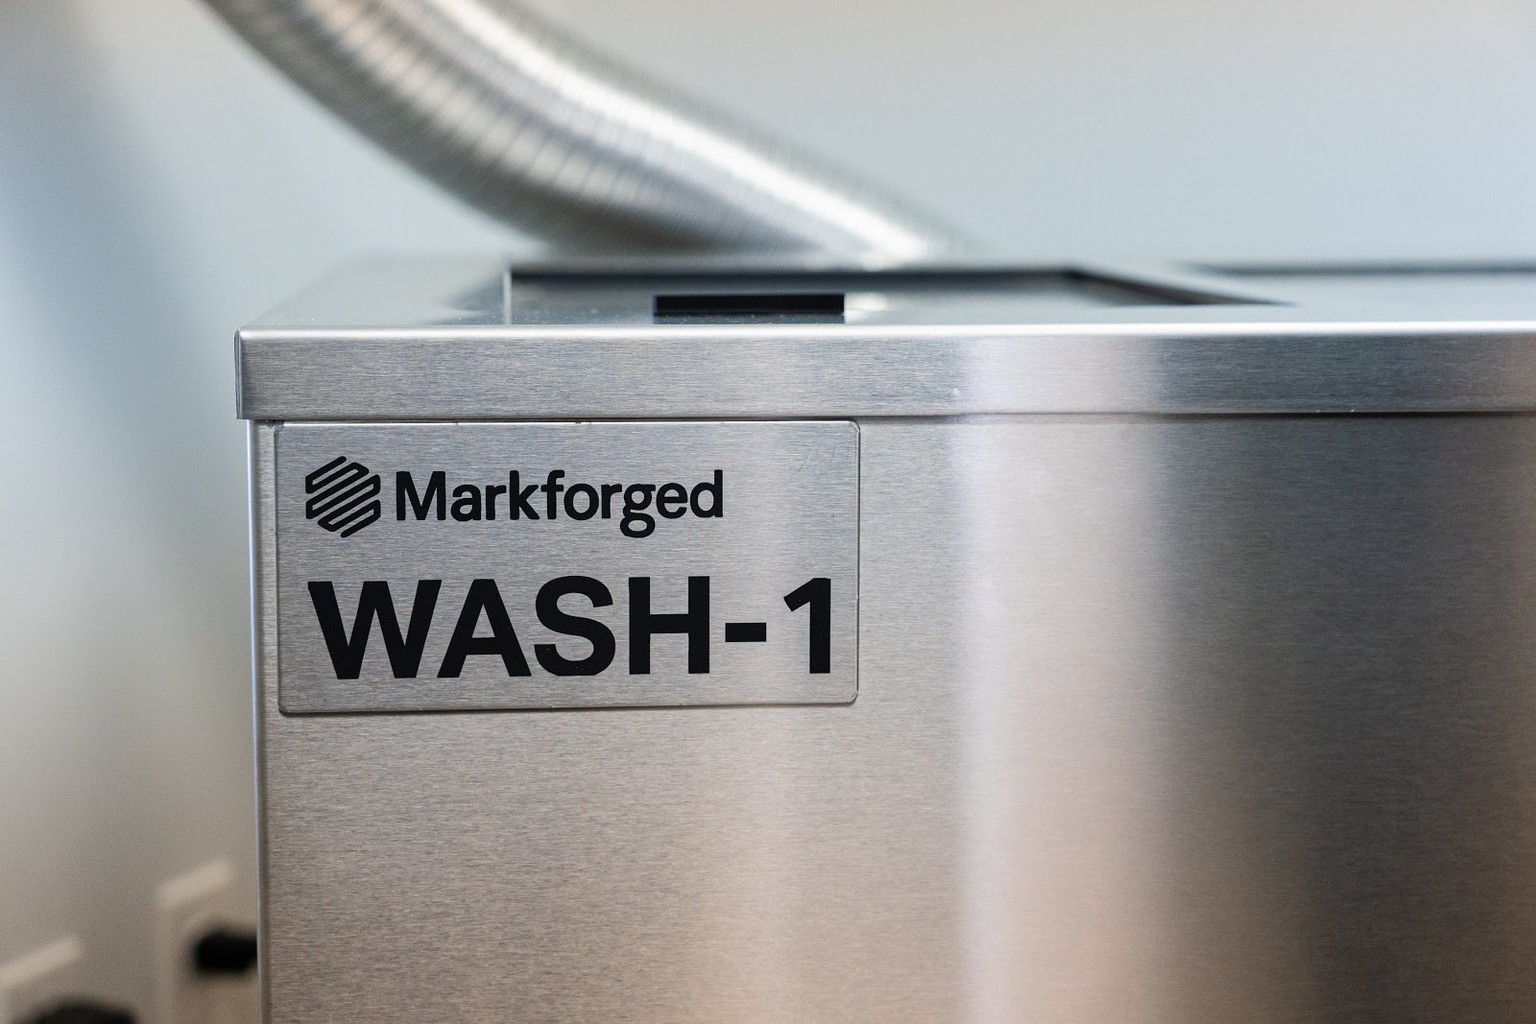
Step 2: Wash
In the wash stage, Markforged’s Wash-1 removes the first stage of the binding material. The green part is taken from the printer and placed into the wash basket, which is then lowered into the solvent.
Wash times will vary during this stage, from a few hours to a few days, depending on the thickest region of your part. After washing is complete, you have a brown part. We then move to the sintering process.
Step 3: Sinter
Sintering transforms a brown part into a fully metal part. To do this, the temperature is ramped up slowly to burn away the trace amounts of remaining binding material. As the temperature ramps up closer to the melting point of the material, the metal particles fuse together to create a strong metal part.
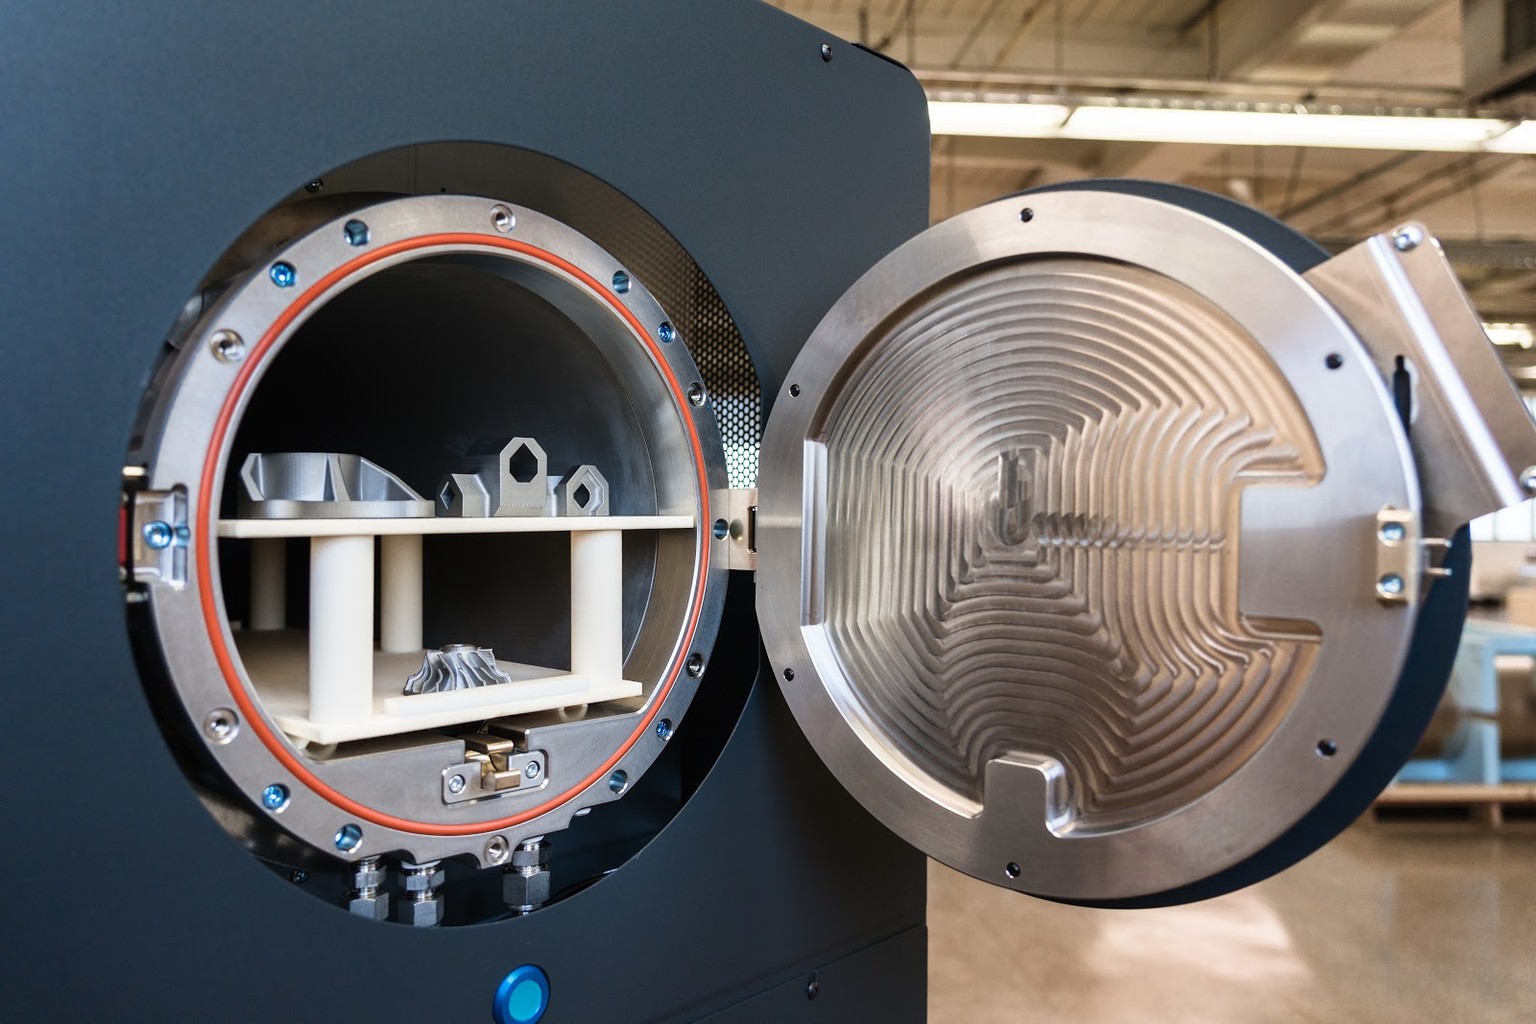
The Markforged Sinter-2 is a furnace designed for mid-volume production runs and larger printed parts. The Sinter-2 and other Markforged sintering furnaces use a carbon-free retort to ensure part quality and alloy composition standards are met for finished pieces.
Each run takes about a day and can be monitored remotely using the Eiger software. Once a run is complete, the setter tray with finished metal pieces can be removed from the furnace. Once removed from the raft, these parts are ready for use.
In the furnace, the layer of printed release material between supports, rafts, and your printer part turns to powder. This allows the structure to be tacked to the raft to better control shrinking and accuracy throughout the process, but also an easy release after sintering.
At this stage, your part is fully sintered and ready to be used. It can be post machined, polished, or otherwise processed as necessary for the final application, but in many uses, the accuracy and strength of the part after this process means it's ready for installation.
source: https://markforged.com/blog/metal-3d-printing-process/