Design with Precision
Bräutigam GmbH based in Freiberg am Neckar, Germany, has more than 30 years of experience in the fields of racing, automotive, development, and installation – both nationally and internationally. The company develops and produces high quality carbon fiber components that are used in Formula 1, Formula 3, Le Mans, and DTM vehicles. Bräutigam is defined by its love of motorsport, and this includes the precision and perfection required to be successful in this field. As specialists in composite components, they supply precisely these qualities, often under extremely tight deadlines. After all, their customers also fight for every last tenth of a second in racing and expect only the best.
To guarantee the high quality standards in automotive and motor sports, a lot of time and money was invested in external measuring service providers in the past. In order to reduce costs and have in-house measurement expertise, Bräutigam decided to invest in its own measurement system.
 Requirements for the Measuring System and the final Decision
A criteria catalog was defined to summarize the most important requirements for the measuring system:
- the ability to check, control, and document the individual production phases of the products in a fast and simple way
- the ability to check the dimensional accuracy of the products
- the ability to check the dimensional accuracy of the tools (molds) and production gauges necessary for the manufacture of the products
- being user-friendly in the acquisition, evaluation and documentation of the measurement data
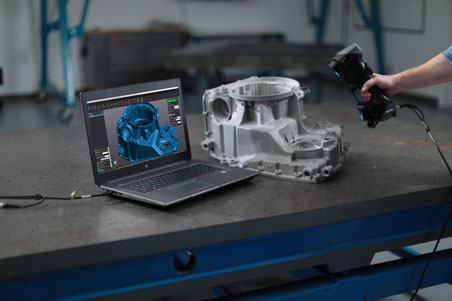
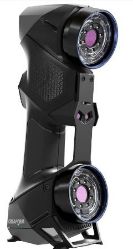
The choice of measurement technology finally came down to the HandySCAN 3D from Creaform. This 3D scanner combined key factors such as fast and uncomplicated acquisition and evaluation of measurement data as well as sufficient accuracy for the tasks at hand.
The HandySCAN Black Elite is part of the new generation of 3D scanners from Creaform. This portable system offers increased accuracy and resolution. It is the most versatile 3D scanner on the market for inspection and demanding reverse engineering.
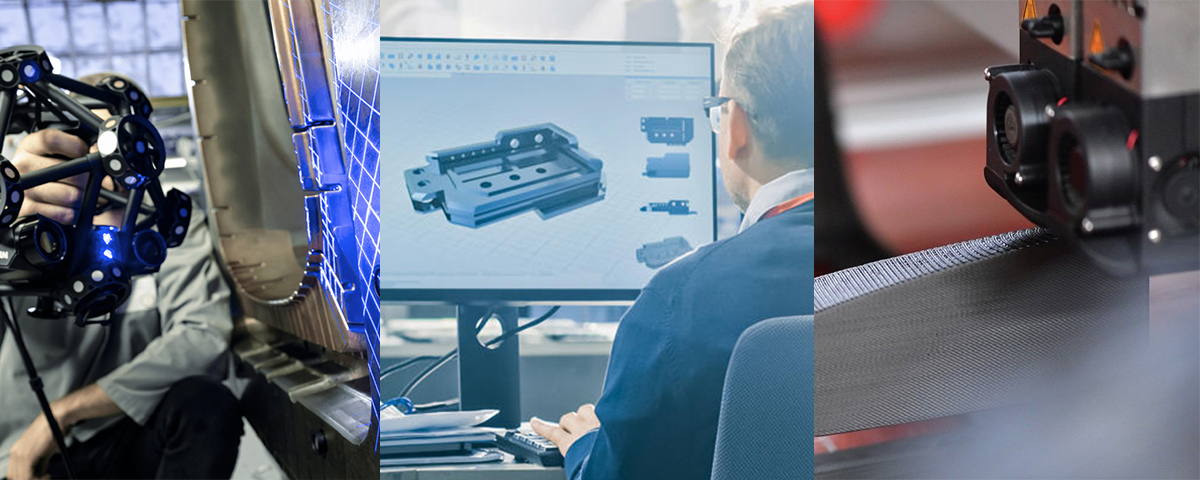
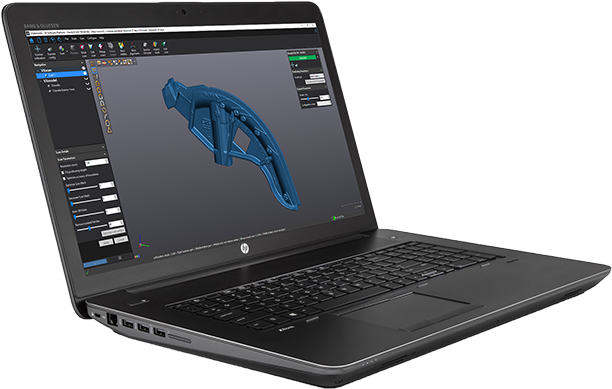
Implementation and Use of the 3D ScannerTo be able to ensure the dimensional accuracy and quality of their products, all production-relevant molds, tools, and gauges at Bräutigam are measured and checked with the HandySCAN 3D scanner. In this way, errors can be detected and eliminated at a very early stage of production. Project-related components can now also be measured in-house and the scan data evaluated. Due to the easy handling of the measuring system and the VXinspect metrology software, the employees were quickly able to deliver productive results. For example, to determine the correct scaling factor of a new tool material, a component was created from a test tool (laminated, baked, demolded). The component was then scanned and evaluated. During the “baking” process, the component hardens in an air-impermeable pressure vessel, called an autoclave, by applying pressure and heat. During this process, the tool including the laminate expands by a factor X (corresponding to the tool material). This expansion must be taken into account in advance in the mold manufacturing process (scaling). By completely measuring the contour of the component with the HandySCAN 3D, it was possible to determine the scaling factor more precisely. |
Register for our OPEN HOUSE on September 23rd, in Lake Mary, FL!
All-around Satisfaction
Bräutigam was able to save time and money by using the HandySCAN 3D. The elimination of external measuring services makes development more flexible, reduces production time, and allows the company to calculate more economically. Since the Creaform measuring system has been in use, the quality level at Bräutigam has been further improved. It is now possible to respond quickly to a wide variety of measuring and scanning tasks. It was also important to have a very accurate, detailed scan resolution, as this naturally facilitates design and data feedback.
In the meantime, the 3D scanner is used by the company for almost all projects either directly for measuring and evaluating components or indirectly for quality control of tools and gages. By gaining the possibility of reverse engineering, Bräutigam can now carry out new and interesting projects in this field.
Jonas Boxhorn, responsible for metrology & quality assurance at Bräutigam GmbH, is enthusiastic: “The HandySCAN 3D from Creaform is a measuring system that is easy for anyone to learn and that can record and evaluate measurement data in a quick and simple way. We are thrilled with the possibilities offered by the system, and the savings potential we have by using the 3D scanner is enormous.”
ORIGINAL ARTICLE WRITTEN BY CREAFORM – https://www.creaform3d.com/blog/inspection-control-and-documentation-of-carbon-fiber-race-car-components/
Ask us about 3D scanning services and equipment!
