The Chair for Aerospace Systems is an integrating chair dealing with the aircraft in its entirety and the integration within civil and/or military aviation. In addition to civil and military aircraft design, it focuses on the derivation and analysis of aviation boundary conditions as well as on the evaluation of aircraft according to these boundary conditions and requirements. As an integrating chair of the Faculty for Aviation, Astronautics, and Geodesy at the Technical University of Munich, the Chair for Aerospace Systems covers the complex system of aeronautical engineering in teaching and research subareas.

The research project:
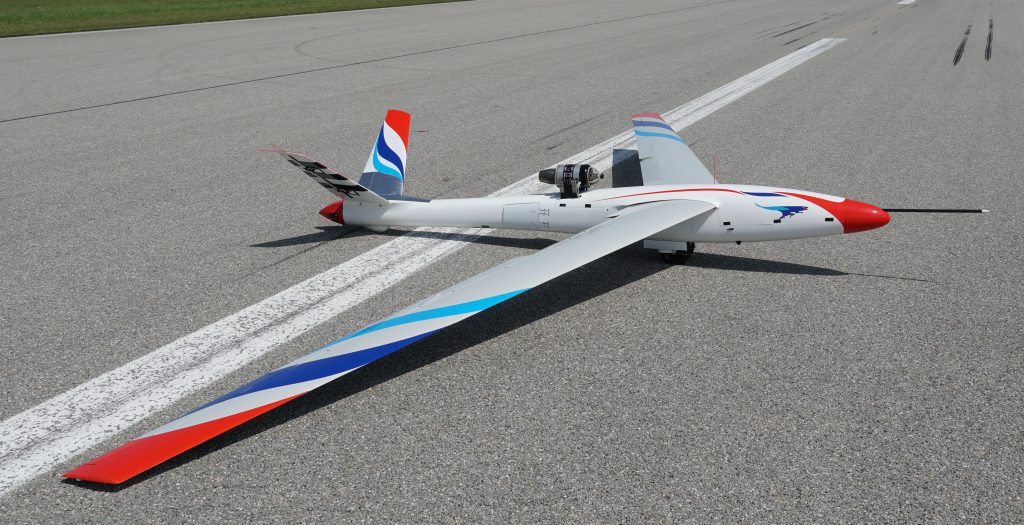
Within the framework of the European research project FLEXOP (Flutter Free Envelope Expansion for Economical Performance Improvement), new methods are being developed and validated from very light—and therefore flexible—wing structures for the design of active and passive systems for flutter damping. Under the European Union’s research and innovation program, Horizon 2020, research and industrial partners from six different nations work on control algorithms, actuators, and design optimization as well as on unmanned flight demonstrators with 7 m wingspans and turbine drives on which the developed approaches will be tested.
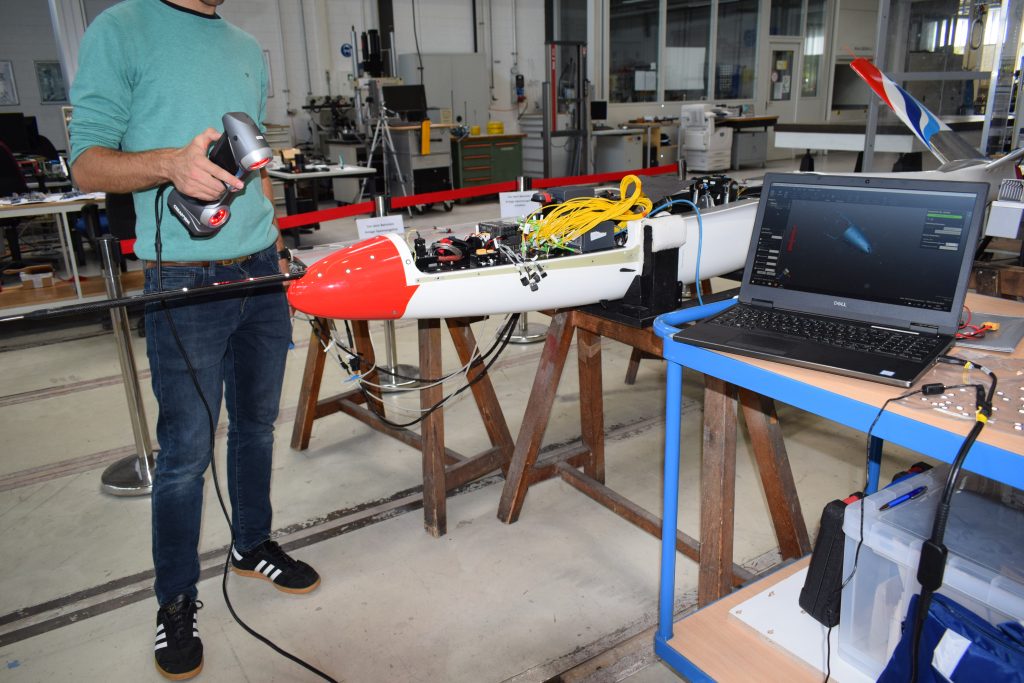
Several sensors on the flight demonstrator, such as the pitot tube for measuring flight speed, had to be oriented in the flight direction as accurately as possible for error-free measurements. In order to take into account errors in the measurement data caused by an installation angle deviating from 0°, this angle had to be determined very precisely by means of a 3D scan. The challenge is that the angle relative to the nose of the aircraft must be determined and the pitot tube is attached to the tip of the nose boom that is approximately 0.5 m long.

The fuselage segment of the aircraft was scanned in the front area (30 cm) with Creaform’s HandySCAN 3D scanner to generate measurements in order to determine a reference plane. The nose boom was then digitalized and used to determine the exact installation angle. Without the 3D scanner, accurate measurements would have been very difficult to achieve. The HandySCAN 3D allowed for flexible operation delivered quick results and provided an accuracy of 0.025 mm. Before the Creaform 3D scanner, such measurements had to be performed with costly photogrammetric systems.
3D scanning advantages
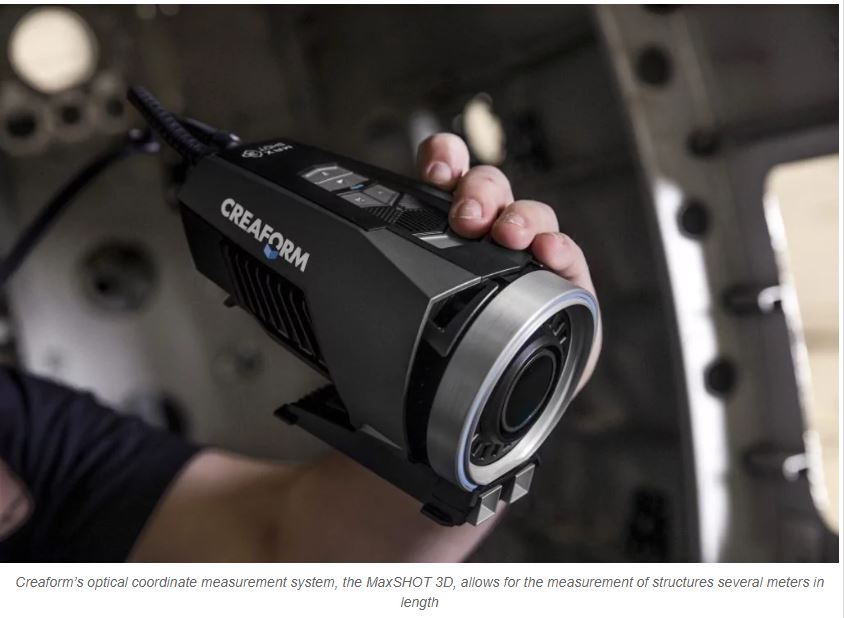
A 3D scanner allows for a multitude of different measurements and offers numerous possible applications at the Institute for Aviation and Astronautics at the TU Munich—all of which cannot be fully undertaken by other systems. Potential applications include the scanning of parts and components in order to create precisely fitting attachments using 3D printing processes. Furthermore, the profile geometries of purchased aircraft wings or propellers can be defined. This can improve the accuracy and simplicity of certain measurements and research tasks. “The ability to scan relatively small parts with the HandySCAN 3D as well as large structures, such as wings with wingspans of several meters under static loads, using the MaxSHOT 3D camera has convinced our Chair of the Creaform systems. The scanning of components up to complete aircraft allows us to quantify uncertainties during the construction process and production. We can take into account their effects during flight testing for the validation of aircraft design simulations,” explained Prof. Dr-Ing Mirko Hornung, Head of the Chair of Aviation Systems at the Faculty for Aviation, Astronautics, and Geodesy of the TU Munich.
Experiences with the system are consistently positive. The acquisition and measurement of components can be quickly learned even by inexperienced personnel. These technologies can therefore also be integrated into a future university internship in which students are carrying out measurement tasks.
