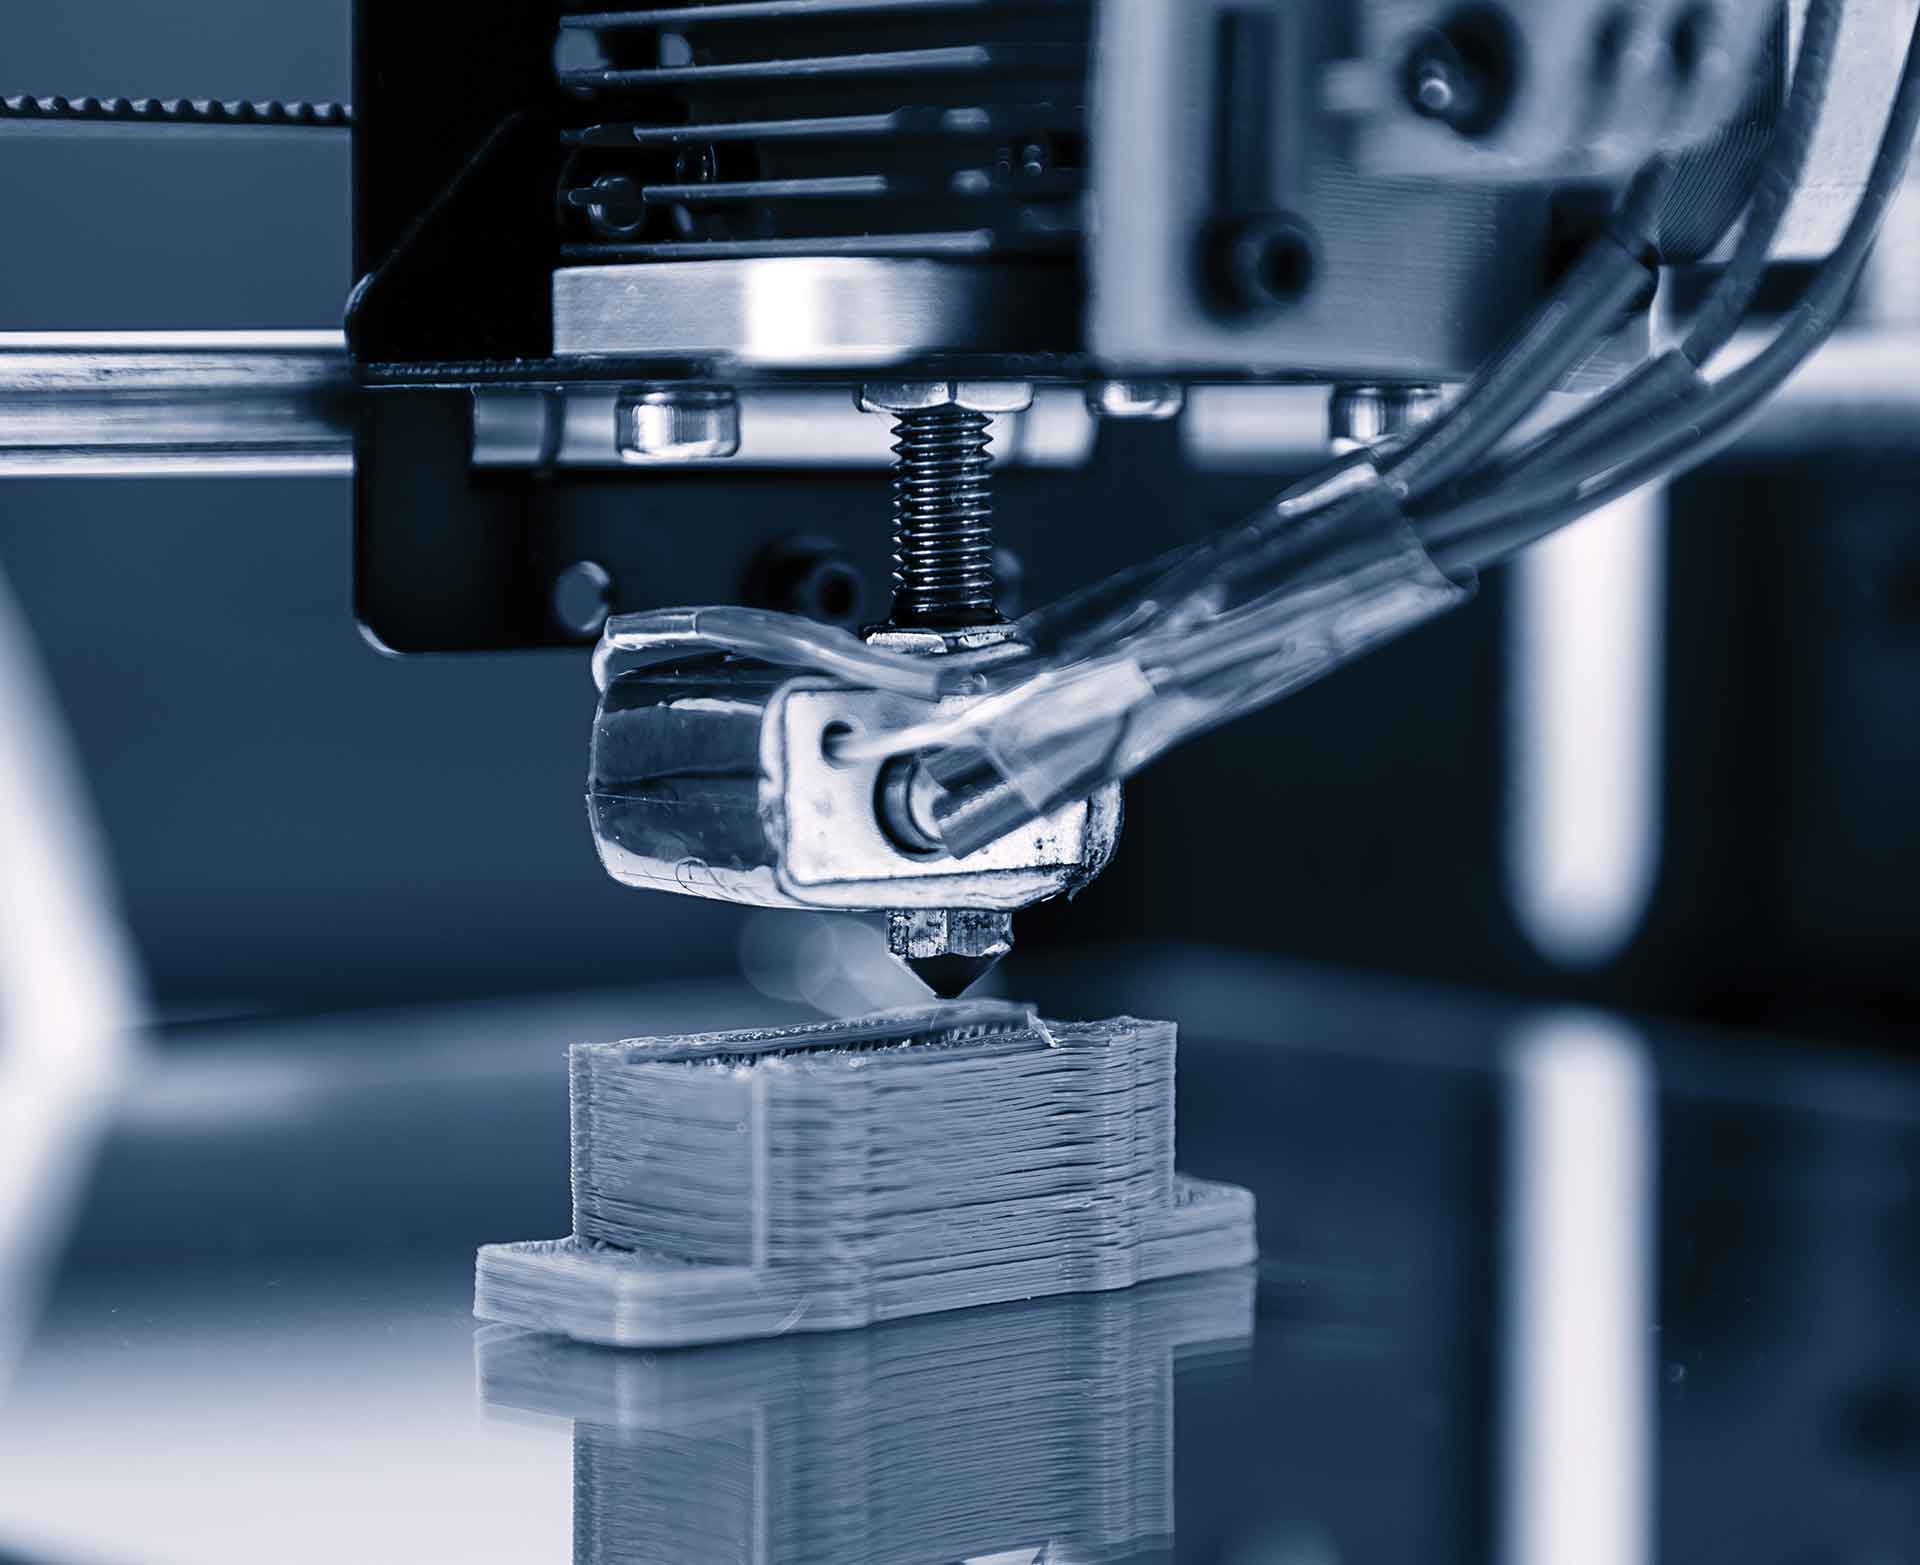
3D printers have brought about an exciting era of manufacturing where rapid, automated production of virtually designed objects is a reality – no hard-earned artisan skills required.
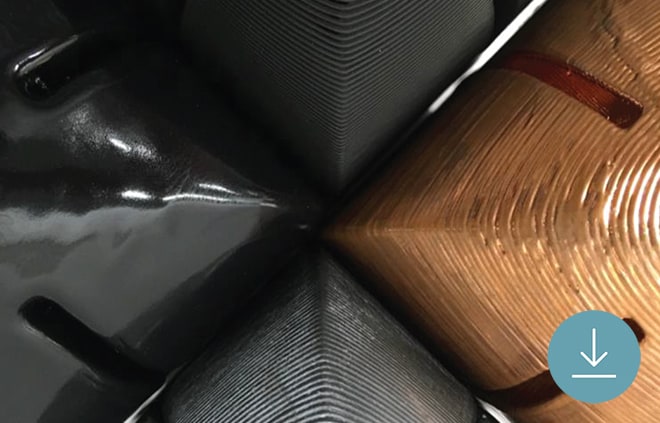
But while the growth of additive manufacturing may evoke visions of Star Trek replicators, most 3D printed parts aren’t quite ready when they leave the build platform. 3D printed parts almost always have “stepping,” where each layer looks like a step on a staircase, that is more pronounced the lower your print resolution; if support structures are needed for your part you’ll be left with additional flaws on their touch points; and so on.
Usually, there are a few steps that makers need to take after printing to clean, strengthen, or otherwise finalize a part and achieve their final vision, whether it’s a high-functioning industrial part or a purely aesthetic piece. In this guide, we’ve outlined common post processing methods for use at home or in the workshop to help you find the right workflow to perfect your parts.
Support Removal
- DIFFICULTY: SIMPLE
- CAVITY EFFICIENCY: NOT APPLICABLE
- SURFACE FINISH: ROUGH
If you’ve 3D printed in any form, you’re probably already familiar with the most basic kind of post-processing: support removal.
Unless your print is optimized for supportless 3D printing – and your specific 3D printer’s capabilities – you’ll probably be printing with supports. Support structures have come a long way since their original form and are usually easy to snap off. Still, the perforations that separate tear-away supports from parts aren’t perfect and even the best will leave behind imperfections like ridges where they were once attached.
Though simple subtractive post-processing methods like sanding and polishing can remove these imperfections, only finishing spots where supports were printed will leave clear marks on your part. It’s often preferable to remove supports and their remnants, then post-process the part as a whole for a uniform finish.
Alternatively, many additive manufacturing systems with dual extruders can print with soluble support materials. These supports disintegrate in water and leave no trace on your part, even on touch points. They’re especially useful for parts that demand perfect repeatability or where post-processing won’t be otherwise necessary.
Surface Finishing
With or without the imperfections left from support structures, it’s likely you’ll want to post-process your part to make it the best it can be. That might be so it’s more suitable for your industrial application, like getting a perfectly smooth surface on a mould, or just making it more aesthetically pleasing. There are several categories of post-processing to choose from for either goal. Broadly, they are subtractive, additive, and material changing post-processing categories. Within each of these categories are a variety of specific post-processing methods you can employ to achieve to finish your parts.
Subtractive Post Processing Methods
Probably the most common post-processing category, subtractive post-processing is the act of removing some of your part’s material. Usually this is in the form of sanding or polishing a part, but there are a variety of other methods that includes tumbling, milling, abrasive blasting, and chemical abrasive dipping.
Sanding & Polishing
- DIFFICULTY: SIMPLE
- CAVITY EFFICIENCY: LOW
- SURFACE FINISH: ROUGH – GRITTY
Both sanding and polishing are forms of subtractive post-processing that remove surface material by rubbing the object with coarse material.
In sanding, a coarser material – sandpaper – is used than when polishing. This is because sanding is typically used to remove easily visible blemishes on a part, such as support remnants or stepping, and even out a part’s surface. The processes coarse material leaves its own blemishes, however, in the form of visible scratches. Beyond their similarities this is why sanding and polishing are often grouped; one method often demands the other.
Polishing simply uses finer materials than sandpaper and smooths part surface beyond perceptible imperfections. In its simplest form, incredibly fine steel wool can be used to polish a part.
Simplicity and affordability make sanding and polishing the most common methods of post-processing, but they are severely limited in both their manual nature and their inefficiency, or indeed inability, in smoothing complex shapes with small cavities.
Tumbling
- DIFFICULTY: EASY
- CAVITY EFFICIENCY: MODERATE
- SURFACE FINISH: GRITTY – SMOOTH
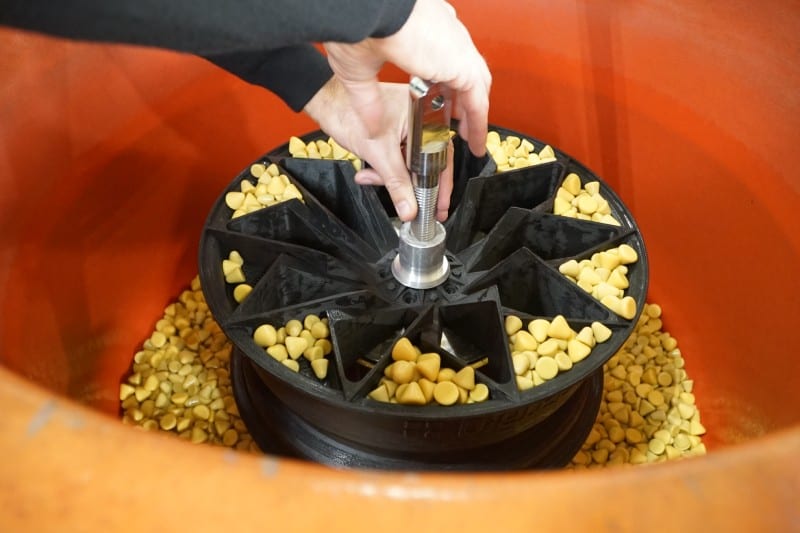
Tumbling is another subtractive process that removes a small amount of a part’s surface material. Unlike the manual processes of sanding and polishing, tumbling is done with a largely automated system and allows for multiple parts to be post-processed at once.
In tumbling, parts are put into a barrel or other container with a lubrication fluid and “abrasive media:” specialized stones that wear objects down according to their size, shape, and hardness as they tumble together. Some expertise is required to pair parts with the correct grit and processing time, but done correctly it’s very effective at producing uniform finishes.
Though tumbling is somewhat better at finishing complex objects when compared to sanding and polishing – depending on the abrasive media – it is still rather ineffective at finishing complex shapes and those with cavities as it may leave some unreachable sections unfinished.
It’s an attractive option for those looking to reduce print time with low resolution parts and later apply semi-automated post-processing.
Abrasive Blasting (Sand Blasting)
- DIFFICULTY: EASY
- CAVITY EFFICIENCY: MODERATE
- SURFACE FINISH: GRITTY
Abrasive blasting, commonly known as sand blasting is another subtractive post-processing method using grit. The abrasive material is blasted against 3D printed parts at high pressure to smooth, or sometimes roughen, their surface.
Like other grit-based subtractive methods there are a range of grits available to use in abrasive blasting, each producing a variant finish. Grit must be carefully chosen based on part geometry and desired finish. Usually abrasive blasting uses sand, thus the common name, but other small coarse object like slightly larger plastic beads can also be used for different results.
Though more effective to achieve a smooth surface on complex objects than other grit-based methods, part cavities are still significantly harder to finish in uniform but can be reached with the correct blasting orientations.
CNC Machining (Milling)
- DIFFICULTY: HARD
- CAVITY EFFICIENCY: LOW
- SURFACE FINISH: SMOOTH
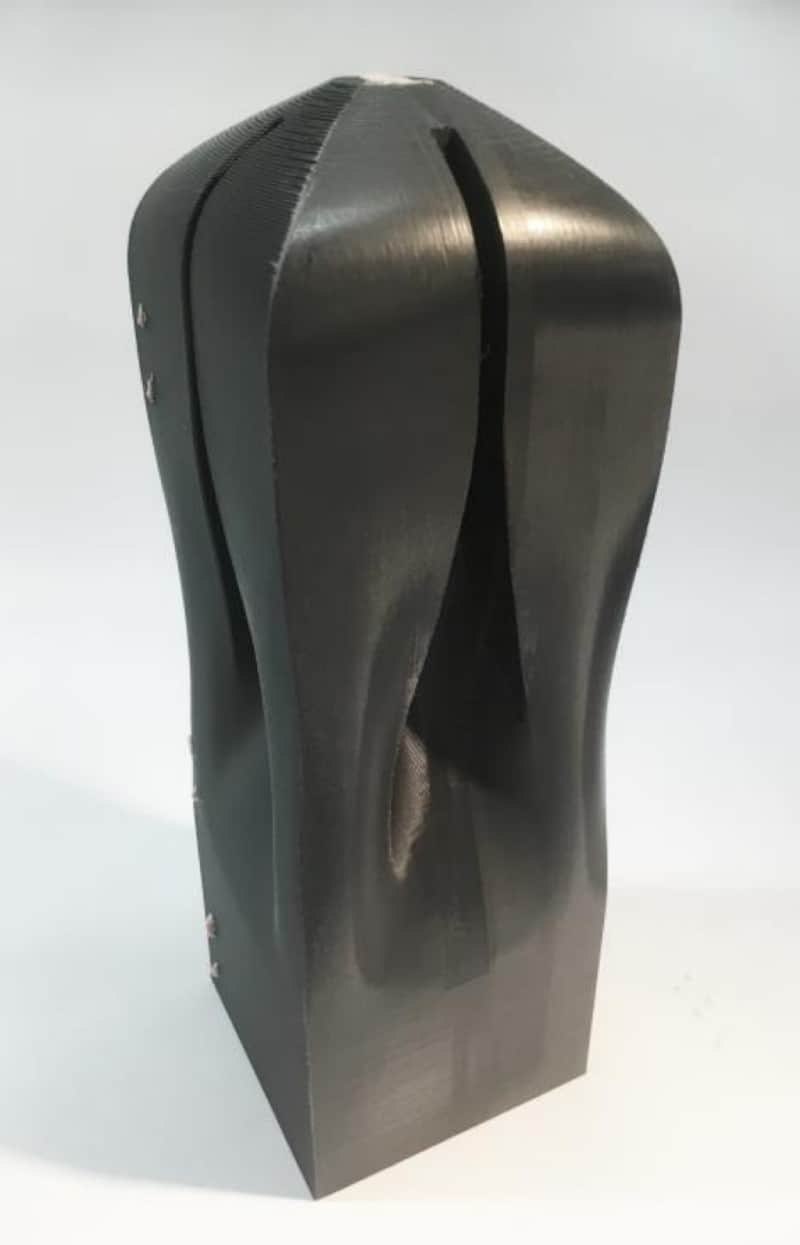
CNC machining, or “milling,” is the use of a computer-programmable drill able to change axis’ to subtractively mill shapes. CNC machining methods are often considered at odds with 3D printing technology, but the truth is much more complicated. While it’s true that additive manufacturing’s capacity to affordably produce complex shapes has replaced CNC machines in the creation of many low yield parts, many use cases still call for the intricate post-processing of 3D printed parts with a CNC machine.
Like 3D printers, the technology uses “G-Code” to program movements – extending the use of your part’s CAD model to automate post-processing. CNC machining is considered highly accurate from 0.005” to 0.00005” depending on the specific machine being used. The smaller of these units requires a highly specialized system for fine machining or polishing. The technology is more reliable than 3D printing at these minute tolerances, making it a must have for the development of 3D printed parts that require absolute dimensional accuracy.
In many cases where CNC machining is used to post-process 3D printed parts, objects are fine-tuned where accuracy is most important. Alternately, manufacturers can save material by printing a part in roughly its final shape before milling it to perfection. These workflows can also enable a drastic reduction of print time by allowing users to plan production in two stages, each with its own design file. An original additive manufacturing design can be simplified by increasing layer height and reducing complex features such as part cavities that are simply added in the second stage of production with a CNC machine while simultaneously perfecting the part’s finish and other fine details.
Chemical Abrasive Dipping
- DIFFICULTY: EXPERT
- CAVIETY EFFICIENCY: HIGH
- SURFACE FINISH: SMOOTH
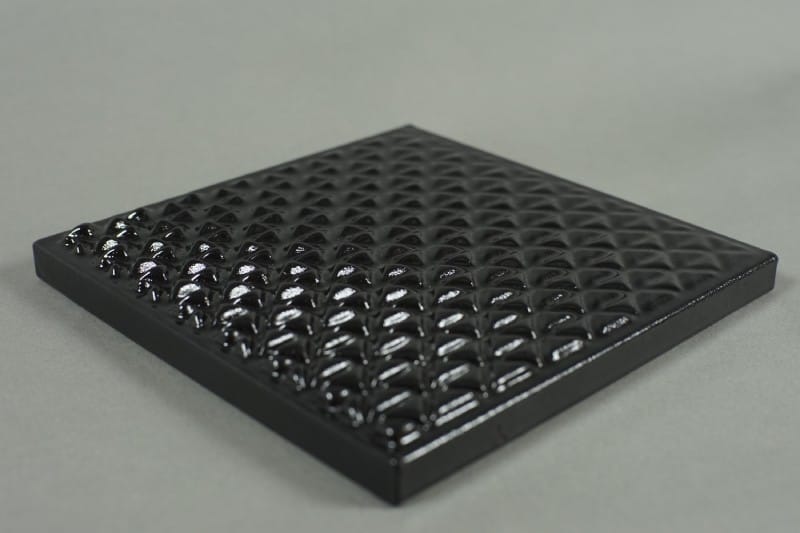
Acid dipping is a surface finishing process that involves dangerous caustic materials and should only be done by experts in facilities with the requisite safety features. The process is done by submerging 3D printed parts in a chemical bath of lye and sodium hydroxide, dichloromethane, or other chemical that eats away at top layers of parts. The process is ideal for parts with complex geometries as the liquid can reach all part surfaces of a submerged part simultaneously.
The process requires some expertise to decide how long parts should remain submerged. Too little submersion and your part won’t be sufficiently smooth, too much and it could be ruined entirely. It’s also vital that submerged parts are manipulated in the bath to allow all air to escaped from a part’s cavities. Should air bubbles remain on a part, they’ll block the chemicals from the most difficult places to reach and result in an irregular finish.
Despite these challenges, chemical abrasive dipping is an attractive post-processing method for industrial users due to its unique accessibility and scalability.
Post Processing eBook
This guide is a work in progress and will be continued with more post-processing methods. Check back later for more details how to finish your 3D printed parts.
For real life industrial examples, download BigRep’s free eBook Post-Processing for FFF Prints.
The eBook explores the three types of FFF post-processing techniques: 1) Material Removal, 2) Material Addition and 3) Material Property Change. Also, learn more about how various techniques like high resolution tumbling, resin coating and aluminum plating are transforming 3D printed parts.
Source: https://bigrep.com/post-processing/?utm_source=neometrix

