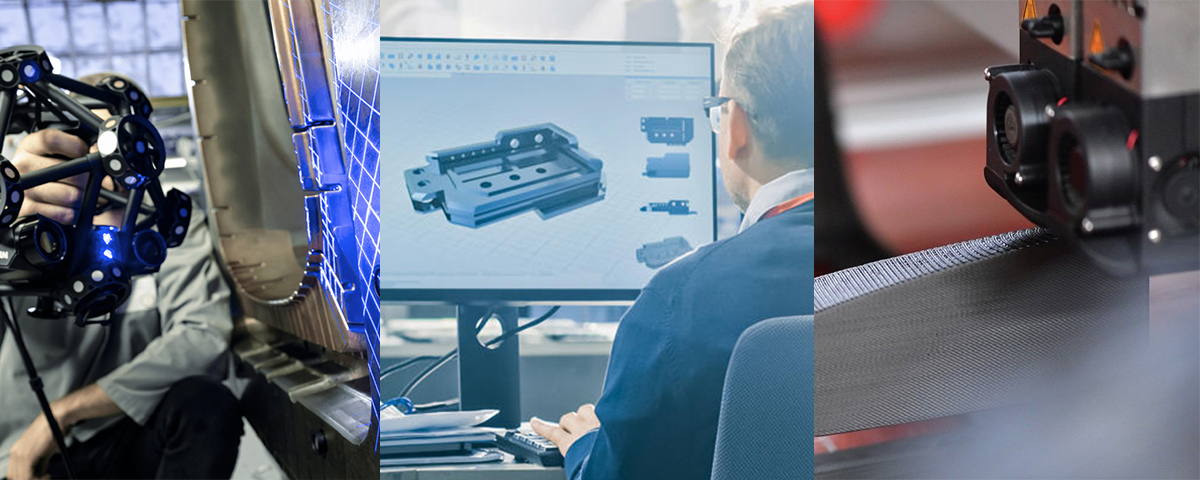
SCAN IT 3D GmbH a Swiss 3D measurement service provider, was commissioned to determine the geometry of a suction pipe of a hydroelectric power plant using 3D scanning technology. In order to prepare for the inspection project and evaluate the equipment required, the client provided material images in advance.
Planning, equipment and execution
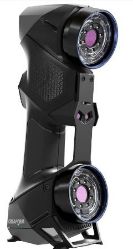
Based on available information, it was decided to use the HandySCAN BLACK | Elite 3D scanner for this workflow. An overhead crane and industrial climbing harnesses was used to secure personnel and lower them into the pipe.
In addition, a second person was on hand for safety reasons, to operate the crane, and for give feedback on how the 3D scan result appeared in the metrology software.
After preparing the components for the acquisition process, the 3D scanning took only 30 minutes.
3D Scan Results
Three reports were generated from the scan data using Control X, which the client used for further processing in internal systems.
The scan data was aligned in the STL format. The client could either load this STL file into CAD software or assess it with various free viewers.
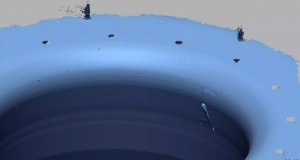
In addition, a 3D model was created from the scan data by reverse engineering in Design X, which the client then received in various formats, such as STEP, Parasolid, IGES or ACIS. Alternatively, the CAD data could also be transferred to the client natively using Feature Tree.
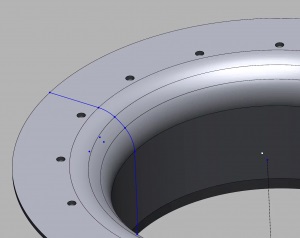
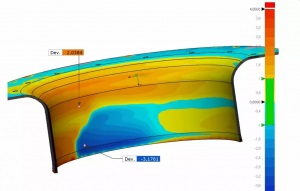
As a result the client could easily assess the quality of the data. What’s more, a 3D quality report was also provided, showing, in colour, where the scan data deviated from the modelled CAD.
Get Started Today!

3D scanning is a fantastic way to embrace technology and remove many obstacles. The process can be used in any industry from product development, planning & manufacturing all the way up through production – you’ll see how it saves time! It’s easy enough that even someone without much technical knowledge will do just fine implementing these devices into their workday;
